The chest freezer is one of the appliances that is conquering Italians thanks to its capacity. To ensure its correct functioning, it is important to carry out the correct maintenance and cleaning at least once a year. Let’s see together how to defrost the chest freezer in a few simple steps.

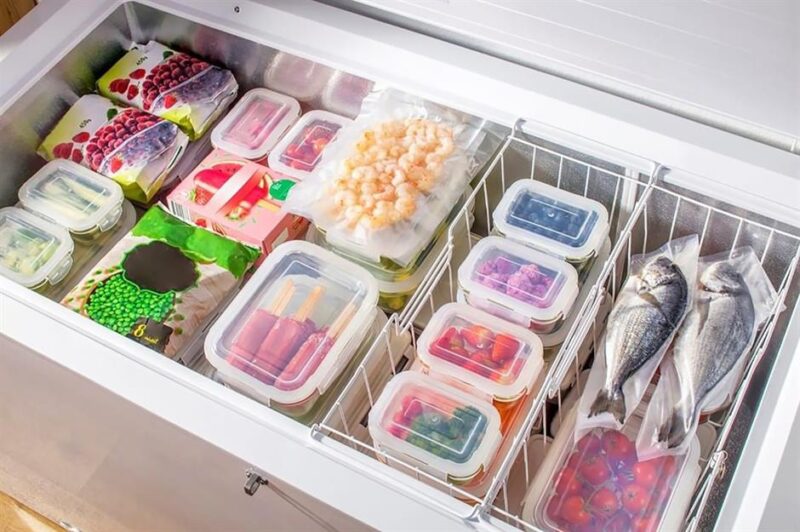
A tool, we could say, indispensable for keep frozen foods optimally and at the desired temperature that we buy. The chest freezer needs at least one cleaning and maintenance cycle to allow it to operate at its maximum efficiency. In particular, we will see together the basic steps to follow for defrosting practice.
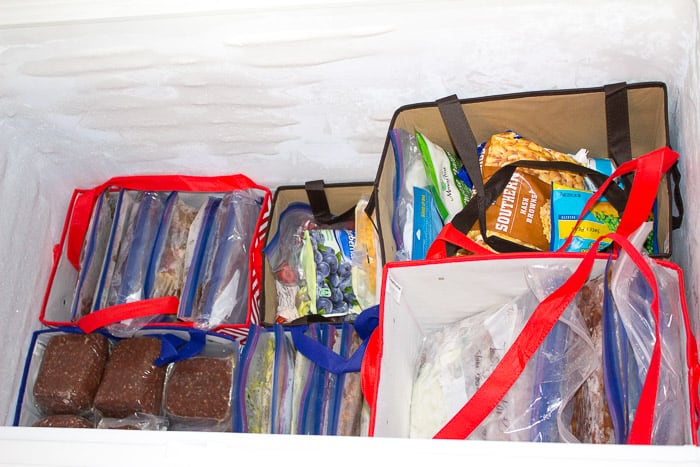
Read also: The 10 things to do before defrosting the freezer
Why defrost the chest freezer
This device, like all appliances that work with low temperatures, it needs to let it flow away, at least once a year, all liquids that solidify in the appliance and leave it free of ice inside. This operation helps eliminate excessive ice that has accumulated during the months of use of the freezer and which could compromise its efficiency over time.
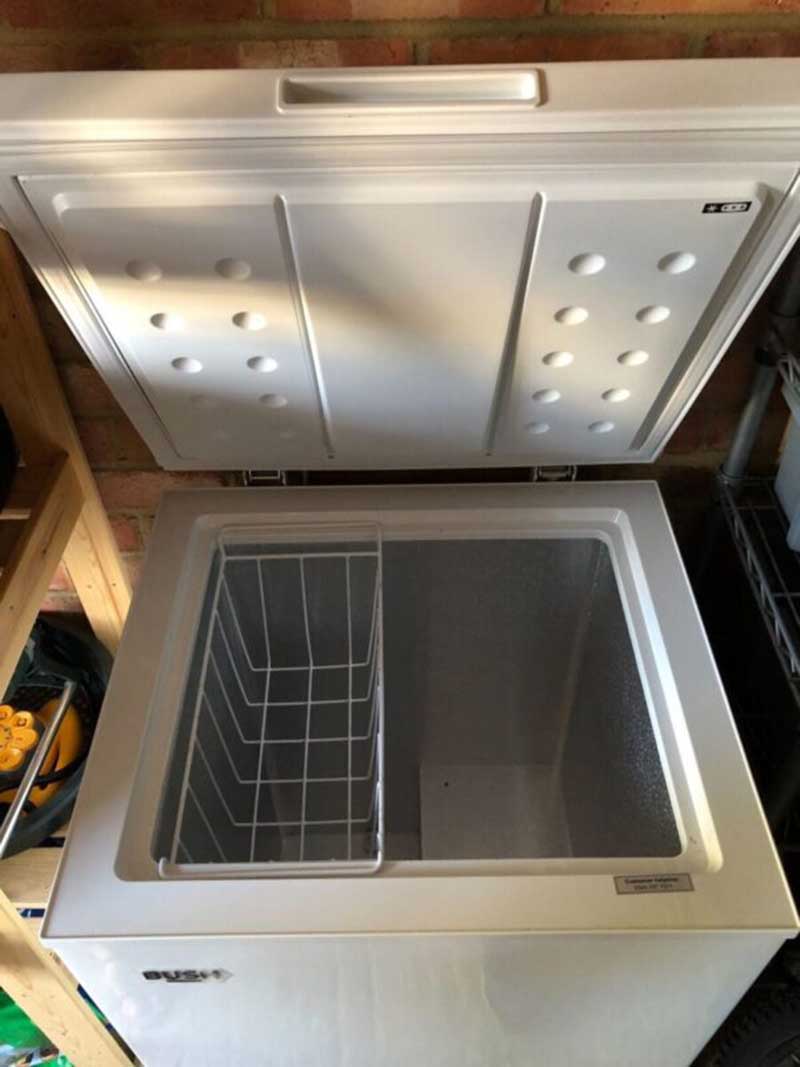
When to defrost the chest freezer
There is no perfect time to do it, but it is recommended that this step takes place when two main conditions arise:
- we have the ability to move frozen food to another device that maintains the correct temperature
- be it summer or winter (possibly in both periods) so that the ice is not too much to melt. The thicker the ice layer, the longer it will take to do this.
The no-frost system
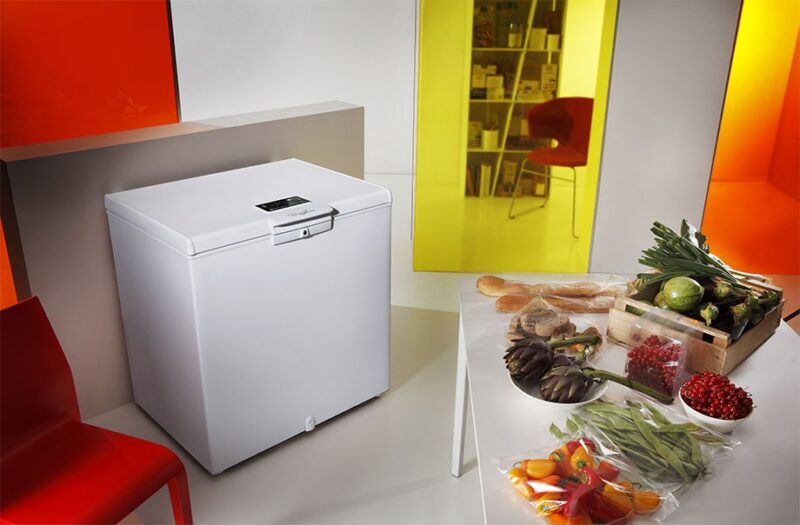
It is possible that our freezing device is among the most modern and innovative, and has a internal mechanism defined no-frost system. This type of structure allows for a reduced maintenance, as we are not forced to defrost them, since the excessive formation of ice is automatically made to vaporize.
You may be interested in: How to choose the best freezer for your home
A comfortable way to experience our kitchen, without having to manually clean our chest freezer from the ice: the frost is eliminated and the humidity is conveyed outside.

How to defrost the chest freezer
Having identified the appropriate time to carry out this freezer defrosting operation, we have to think about the food to be translated into another device or possibly move to consume it. It is clear that the Advice is operate when we have a small quantity of products, so as to have the least damage in terms of quality loss.
IS important pay attention to energy saving but also consumption: we do not waste food at home! Here are the basic steps to follow.
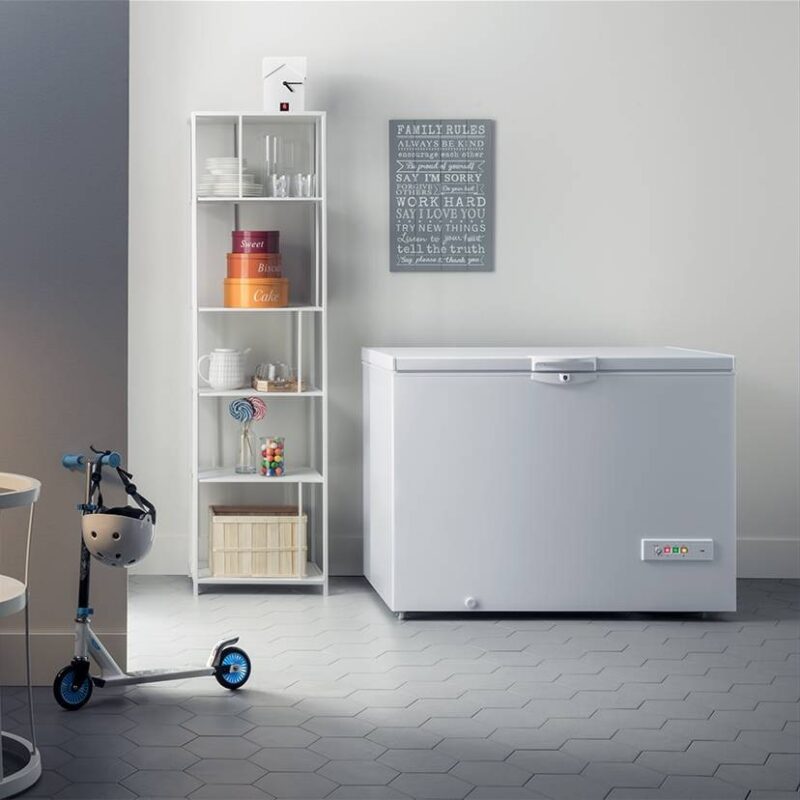
1. Make sure the freezer is at least 1cm thick
Before deciding when to do this, let’s go to check the thickness of ice that has formed, so as to realize the work that awaits us and the time needed. Indeed, we can use thermal bags inside the freezer in the cockpit which slow down its defrosting during its use, so as to be sure that the food is never compromised. At this stage, we must clearly also remove these cool bags from the freezer.
2. Moving the food
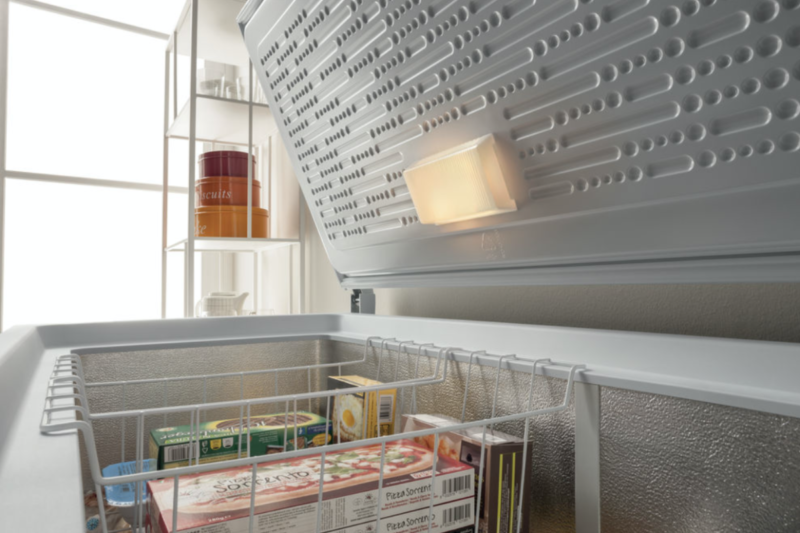
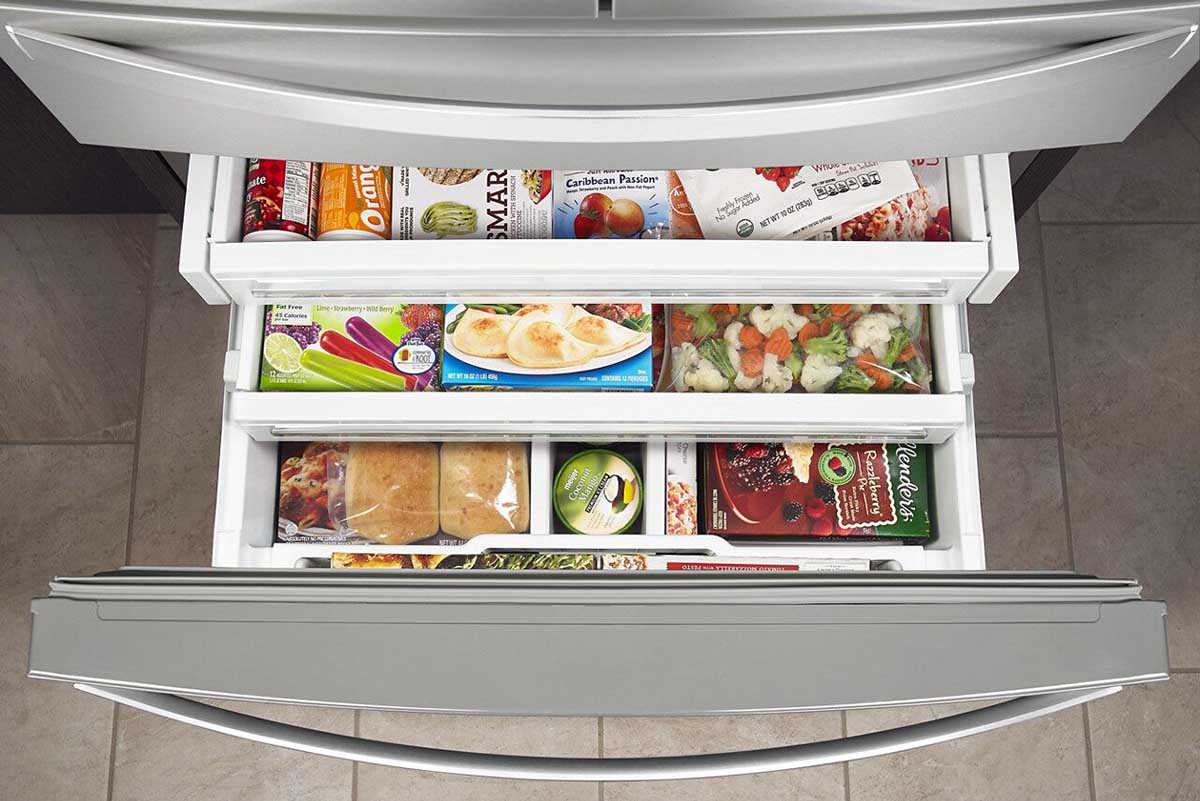
Here comes the fateful time to empty the freezer. At this stage we must not forget anything about what the freezer is holding, but we must not waste any useful time. Before emptying it, let’s make sure we have another device that maintains the temperature of the food, so as not to allow the latter to defrost and then refreeze, losing properties useful for the preservation of the products.
3. Disconnect the plug
Removed the plug from the electric current, our chest freezer will begin to lose its ability to keep the temperature low, so the ice will slowly begin to lose texture and melt. Obviously, the higher the room temperature, the shorter the time required for this operation.
4. Remove excess water
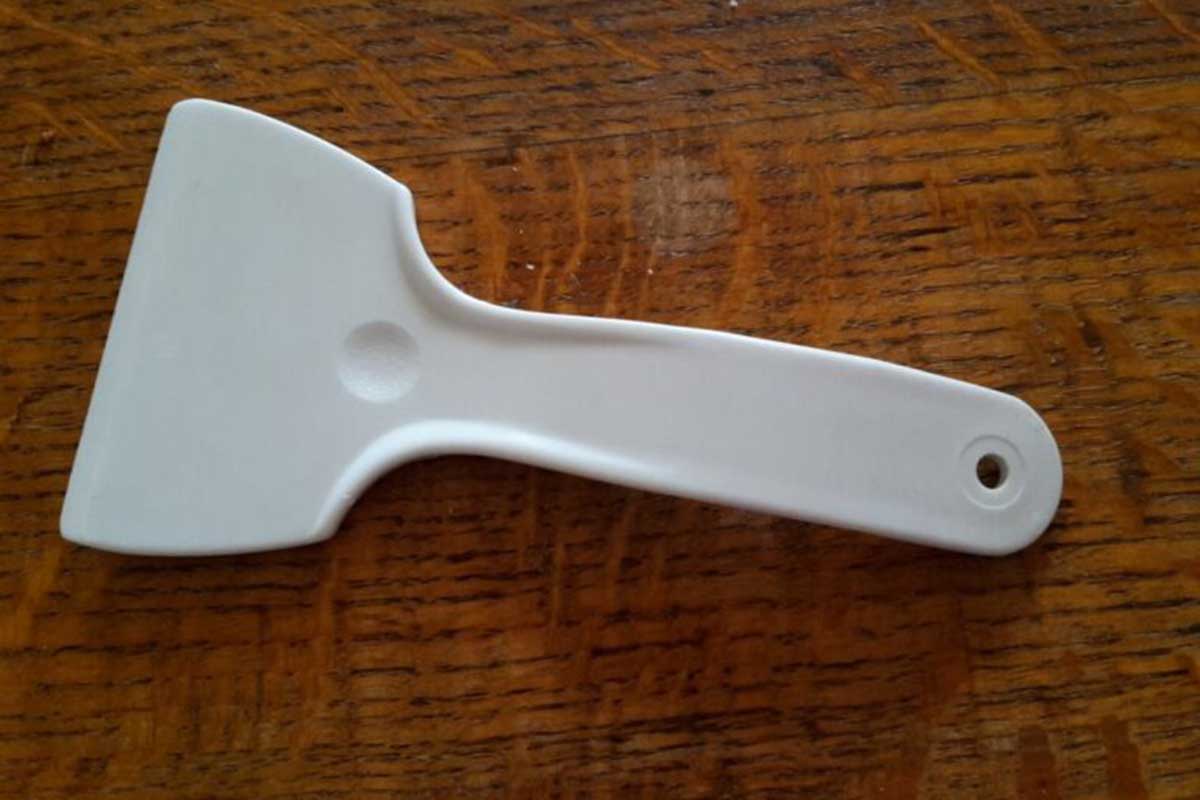
At this point we must prepare to eliminate all excess water. To facilitate the process and reduce time, we can equip ourselves with a plastic scoop to push away the residues outer edges of ice still solidified in the freezer.
When, finally, the water starts to drip, we must be ready with a basin and some dry cotton cloth to collect it. IS important In this sentence continuously dry the inside of the tray of our freezer, to complete the process.
5. Clean the freezer tray
In this sentence we have, finally, the possibility of cleaning and carrying out a deeper maintenance on our freezer. The Advice and of use chemical products that are not too aggressive, homemade natural ones are fine too. Equipped with a damp sponge and a rag, let’s go and remove all the dirty parts who need it.
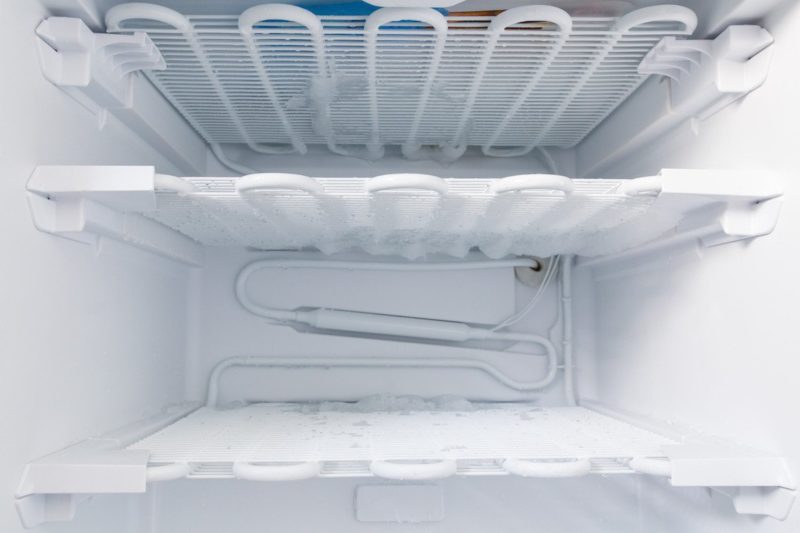
6.Restart the freezer
The operation is coming to an end: we defrosted the chest freezer and cleaned everything. There is only one step left to bring the device back to its original operating condition. We have to, then, restart the freezer, but we must not be in a hurry: it will be necessary to wait for the freezer to reach the necessary low temperature; at that point we can put the food back inside.
The Advice is always of chcheck the supplier’s instruction manual of our freezer, so as to correctly set the operating parameters.
How to defrost the chest freezer: photos and pictures
We have seen all the main steps to best perform this maintenance operation which is essential for the correct functioning of the freezer. Here are some pictures of these steps.
The chest freezer is one of the appliances that is conquering Italians thanks to its capacity. To ensure its correct functioning, it is important to carry out the correct maintenance and cleaning at least once a year. Let’s see together how to defrost the chest freezer in a few simple steps.


A tool, we could say, indispensable for keep frozen foods optimally and at the desired temperature that we buy. The chest freezer needs at least one cleaning and maintenance cycle to allow it to operate at its maximum efficiency. In particular, we will see together the basic steps to follow for defrosting practice.

Read also: The 10 things to do before defrosting the freezer
Why defrost the chest freezer
This device, like all appliances that work with low temperatures, it needs to let it flow away, at least once a year, all liquids that solidify in the appliance and leave it free of ice inside. This operation helps eliminate excessive ice that has accumulated during the months of use of the freezer and which could compromise its efficiency over time.

When to defrost the chest freezer
There is no perfect time to do it, but it is recommended that this step takes place when two main conditions arise:
- we have the ability to move frozen food to another device that maintains the correct temperature
- be it summer or winter (possibly in both periods) so that the ice is not too much to melt. The thicker the ice layer, the longer it will take to do this.

The no-frost system
It is possible that our freezing device is among the most modern and innovative, and has a internal mechanism defined no-frost system. This type of structure allows for a reduced maintenance, as we are not forced to defrost them, since the excessive formation of ice is automatically made to vaporize.
You may be interested in: How to choose the best freezer for your home
A comfortable way to experience our kitchen, without having to manually clean our chest freezer from the ice: the frost is eliminated and the humidity is conveyed outside.

How to defrost the chest freezer
Having identified the appropriate time to carry out this freezer defrosting operation, we have to think about the food to be translated into another device or possibly move to consume it. It is clear that the Advice is operate when we have a small quantity of products, so as to have the least damage in terms of quality loss.
IS important pay attention to energy saving but also consumption: we do not waste food at home! Here are the basic steps to follow.
1. Make sure the freezer is at least 1cm thick
Before deciding when to do this, let’s go to check the thickness of ice that has formed, so as to realize the work that awaits us and the time needed. Indeed, we can use thermal bags inside the freezer in the cockpit which slow down its defrosting during its use, so as to be sure that the food is never compromised. At this stage, we must clearly also remove these cool bags from the freezer.

2. Moving the food
Here comes the fateful time to empty the freezer. At this stage we must not forget anything about what the freezer is holding, but we must not waste any useful time. Before emptying it, let’s make sure we have another device that maintains the temperature of the food, so as not to allow the latter to defrost and then refreeze, losing properties useful for the preservation of the products.

3. Disconnect the plug
Removed the plug from the electric current, our chest freezer will begin to lose its ability to keep the temperature low, so the ice will slowly begin to lose texture and melt. Obviously, the higher the room temperature, the shorter the time required for this operation.

4. Remove excess water
At this point we must prepare to eliminate all excess water. To facilitate the process and reduce time, we can equip ourselves with a plastic scoop to push away the residues outer edges of ice still solidified in the freezer.
When, finally, the water starts to drip, we must be ready with a basin and some dry cotton cloth to collect it. IS important In this sentence continuously dry the inside of the tray of our freezer, to complete the process.

5. Clean the freezer tray
In this sentence we have, finally, the possibility of cleaning and carrying out a deeper maintenance on our freezer. The Advice and of use chemical products that are not too aggressive, homemade natural ones are fine too. Equipped with a damp sponge and a rag, let’s go and remove all the dirty parts who need it.

6.Restart the freezer
The operation is coming to an end: we defrosted the chest freezer and cleaned everything. There is only one step left to bring the device back to its original operating condition. We have to, then, restart the freezer, but we must not be in a hurry: it will be necessary to wait for the freezer to reach the necessary low temperature; at that point we can put the food back inside.
The Advice is always of chcheck the supplier’s instruction manual of our freezer, so as to correctly set the operating parameters.
How to defrost the chest freezer: photos and pictures
We have seen all the main steps to best perform this maintenance operation which is essential for the correct functioning of the freezer. Here are some pictures of these steps.

