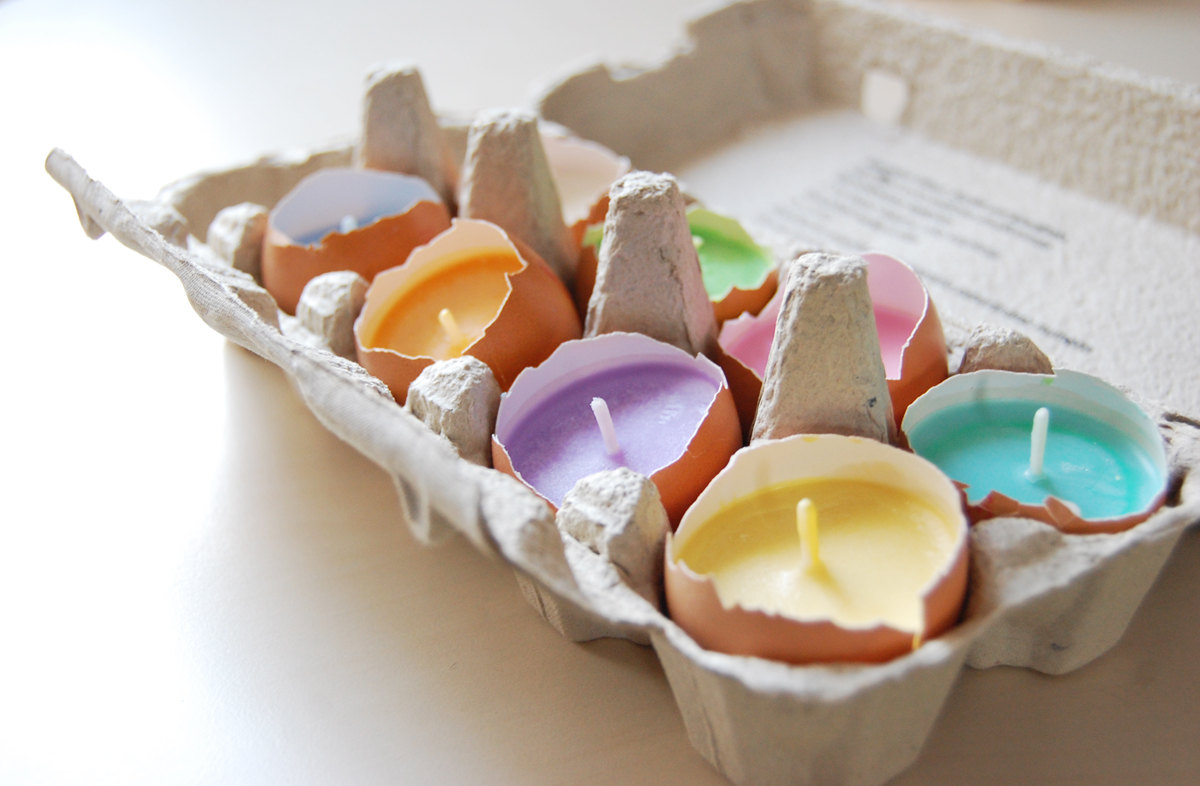
How to make custom DIY candles: useful material and procedure to create 25 types of handmade candles.
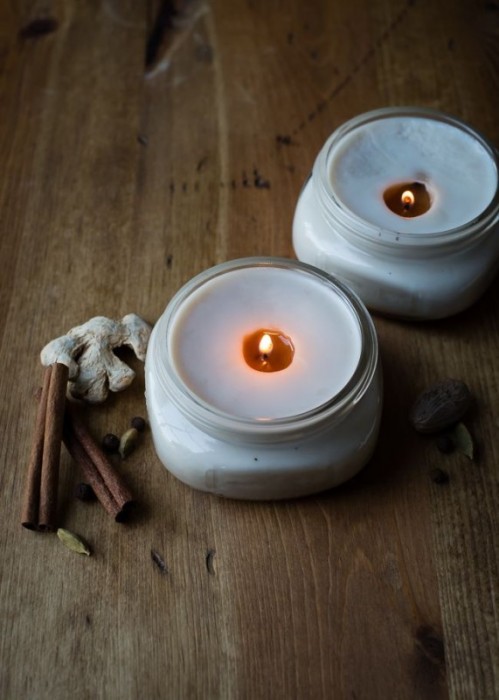
There creation of candles it is relatively simple, just a little imagination and the right material to make beautiful candles at home.
Useful material for the creation of candles
- a old pot in which to put the water to melt the wax in a bain-marie and some small pots (tin or aluminum are also good);
- a old knife to cut candles to melt into pieces;
- a cutter, of the scissors and of wooden toothpicks;
- glass molds, molds or containers (On the market there are molds for candles in plastic or latex, but you can also use molds made from coffee boxes or milk cartons, the important thing is that you can then remove the candle once it is cooled);
Read also: 50 curtain ideas for the kids’ bedroom
- oil tableware, to grease the molds;
- wire, to fix the objects placed inside the candle;
- gods pastel colors wax or colored wax (using for example old colored candles) to melt together with the wax to color it;
- wicks, obtainable from common cords or from old candles.
- paraffin useful if you do not buy the wax at shops or wax shops, in which case it would be already mixed with a minimum part of stearin and therefore no paraffin is needed. On the other hand, candles with little stearin are more transparent and are better suited for creating artistic candles.
Procedure for making candles
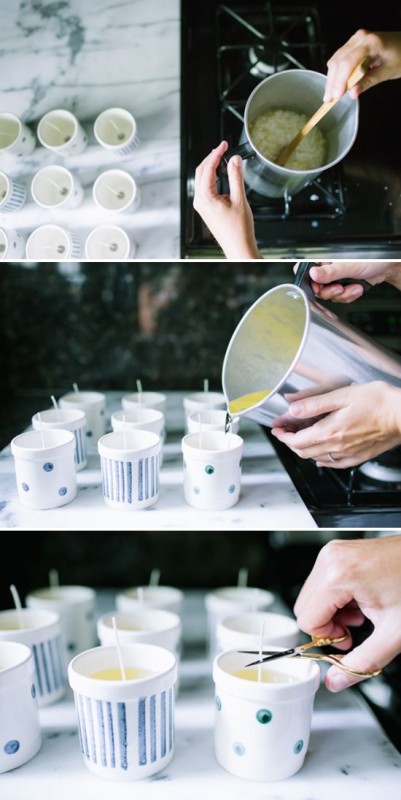
Place the wax to melt in saucepan.
Wait the necessary time for the wax to melt and at this point, if desired, add the pieces of crayon to color it, mixing well.
Remember that the liquid wax it is always lighter than solidified wax, so use with caution i colors (a tip: to check the final color, let a small piece of wax solidify).
In the meantime (if you want to have the candle without the container) grease the mold you intend to use with oil, in this way the candleonce cooled, it will easily detach from the walls.
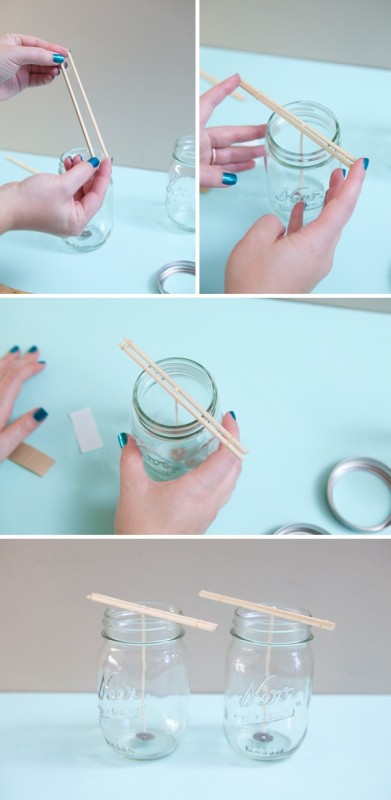
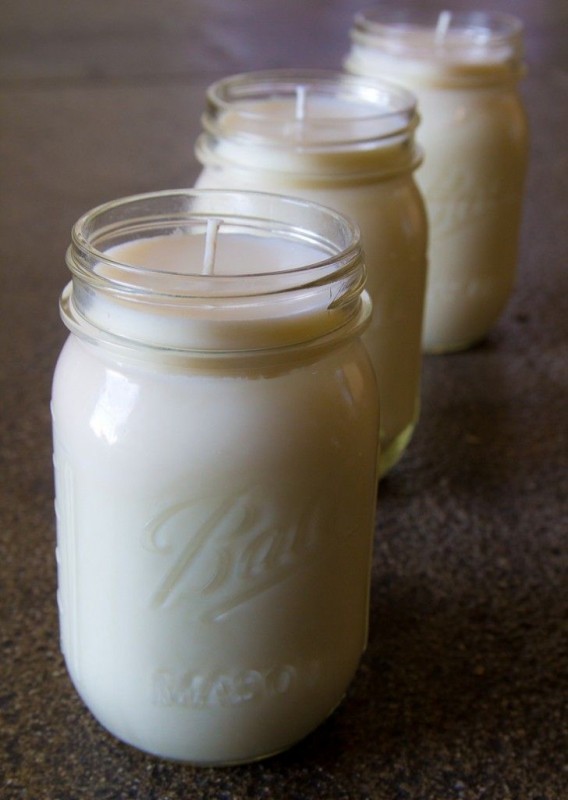
If you have decided to have the candle inside a chosen container, pour the wax, after positioning the wicks (supporting them with a stick)
You may be interested in: Handmade kitchens, tailor-made crafts: design and costs
At this point you have to wait for the candle to come out solidify: the solidification time depends on the diameter of the candle, it is usually a few hours.
Only (in oil-greased molds), when the candle is completely cold, there is a shrinkage that allows it to be removed easily.
A little trick: to speed up solidification you can immerse the candle in cold water, but it is important that the candle is cooled with graduality.
Some handmade candle ideas

- Degree in political science international relations
- Founder and Director pianetadesign.it
How to make custom DIY candles: useful material and procedure to create 25 types of handmade candles.

There creation of candles it is relatively simple, just a little imagination and the right material to make beautiful candles at home.
Useful material for the creation of candles
- a old pot in which to put the water to melt the wax in a bain-marie and some small pots (tin or aluminum are also good);
- a old knife to cut candles to melt into pieces;
- a cutter, of the scissors and of wooden toothpicks;
- glass molds, molds or containers (On the market there are molds for candles in plastic or latex, but you can also use molds made from coffee boxes or milk cartons, the important thing is that you can then remove the candle once it is cooled);
Read also: 50 curtain ideas for the kids’ bedroom

- oil tableware, to grease the molds;
- wire, to fix the objects placed inside the candle;
- gods pastel colors wax or colored wax (using for example old colored candles) to melt together with the wax to color it;
- wicks, obtainable from common cords or from old candles.
- paraffin useful if you do not buy the wax at shops or wax shops, in which case it would be already mixed with a minimum part of stearin and therefore no paraffin is needed. On the other hand, candles with little stearin are more transparent and are better suited for creating artistic candles.
Procedure for making candles

Place the wax to melt in saucepan.
Wait the necessary time for the wax to melt and at this point, if desired, add the pieces of crayon to color it, mixing well.
Remember that the liquid wax it is always lighter than solidified wax, so use with caution i colors (a tip: to check the final color, let a small piece of wax solidify).
In the meantime (if you want to have the candle without the container) grease the mold you intend to use with oil, in this way the candleonce cooled, it will easily detach from the walls.

If you have decided to have the candle inside a chosen container, pour the wax, after positioning the wicks (supporting them with a stick)
You may be interested in: Handmade kitchens, tailor-made crafts: design and costs
At this point you have to wait for the candle to come out solidify: the solidification time depends on the diameter of the candle, it is usually a few hours.
Only (in oil-greased molds), when the candle is completely cold, there is a shrinkage that allows it to be removed easily.
A little trick: to speed up solidification you can immerse the candle in cold water, but it is important that the candle is cooled with graduality.
Some handmade candle ideas

- Degree in political science international relations
- Founder and Director pianetadesign.it

