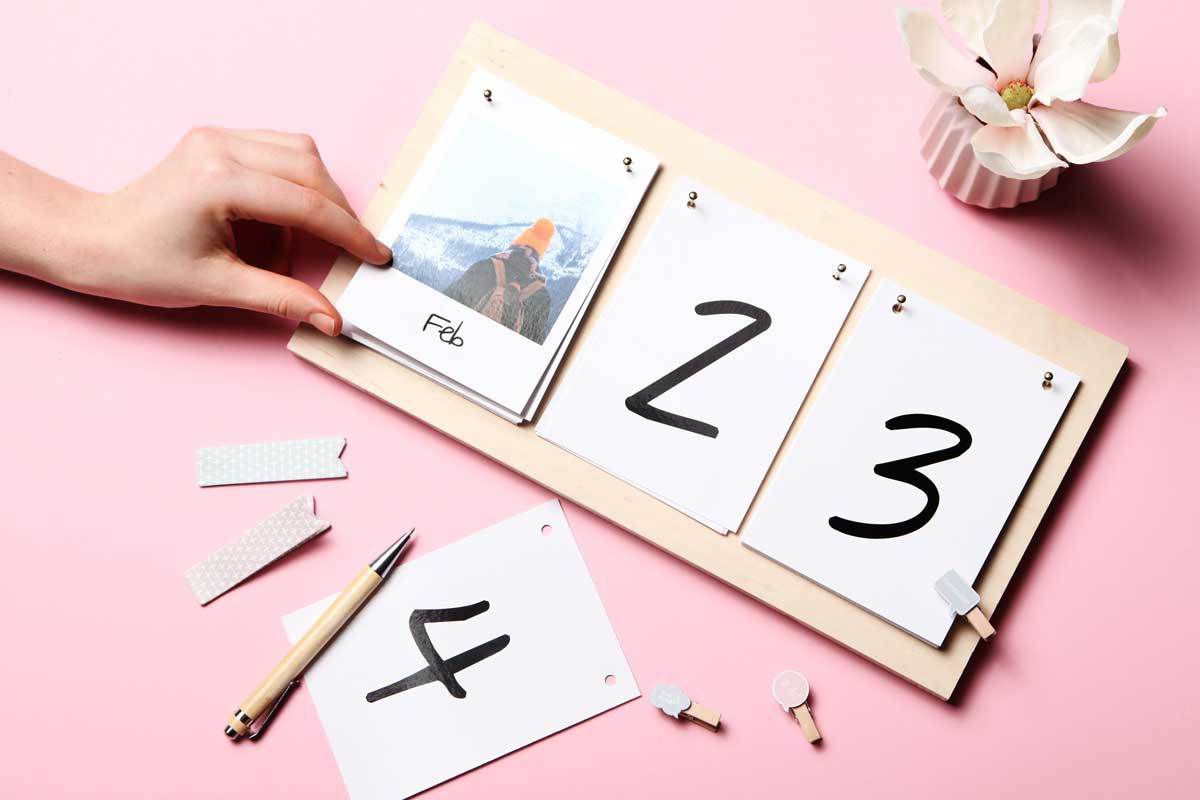
A personalized calendar will already make the new year visually special with a unique object to hang on the wall; here’s how to make it with the DIY technique.
Starting the new year in the best possible way has never been easier. With a personalized calendar in fact, you can look to the future with joy. Furthermore, hanging an object born of creativity on the wall it will beautify even more. In fact, it is certainly a useful element, for example, to mark all the most important appointments but, if chosen in the best possible way, it can also be a pretty good decoration.
To have a truly original and unique one the best solution is to make it with your own hands. In fact, we are talking about something simple to achieve with the DIY technique, you just need to pay attention to a few small tricks. Here it is then all instructions to create a special calendar with a personal touch. Let’s find out all the details together to proceed in the best way without making mistakes.
Read also: Ideas for making a children’s calendar
Choose the type of calendar
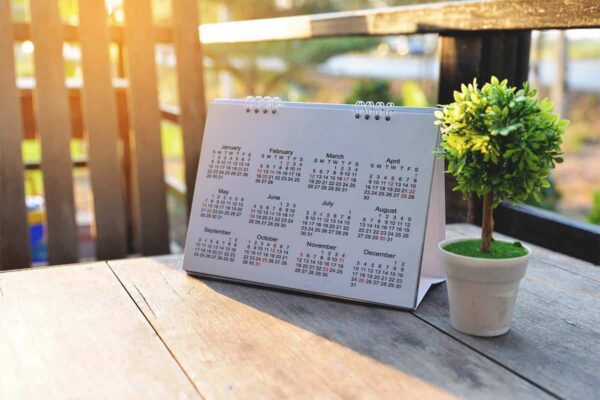
According to your taste and according to what you need, as a first step you can proceed with choosing the calendar template. In fact, on the market there are different types from which to take inspiration to create one with the DIY technique.
First of all, they are objects that are subdivided into desk calendars and wall calendars; the latter in turn are divided into one page calendars which show all year round or calendars that are browsed month after month.
The right photos
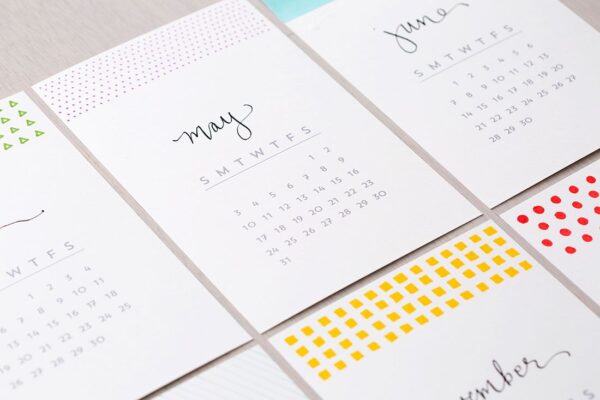
Choosing photos is one of the funniest and most creative things when it comes to a custom calendar. Depending on the model, you can choose 12 or 13 wonderful shots (one a month plus possibly the initial page) or a single large photo if it is a calendar that already includes the whole year on the cover. In fact, though, it is also possible to make collages: in this case, even calendars that have only one page will be able to show multiple images.
However, all options provide a huge choice because the themes are the most disparate: come on animals ai family moments passing through music is cinema and so on. As always, much of the decision will be left to your personal taste.
You may be interested in: How to customize the Monopoly board
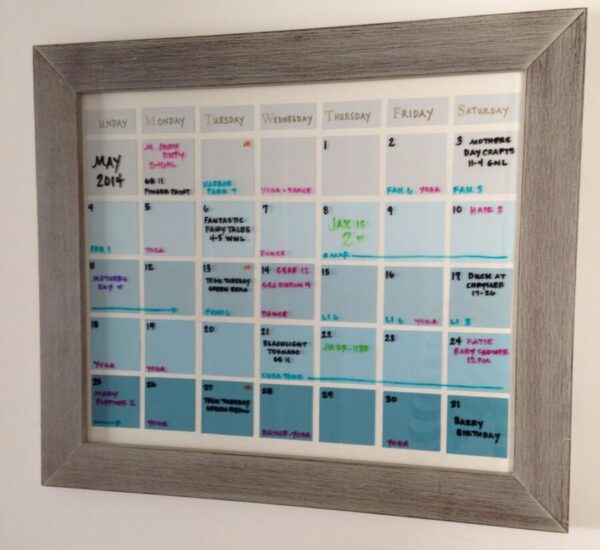
The ideal colors for the DIY calendar
The pages of a DIY calendar are often blank because it is an evergreen color that goes well with everything. Not only will it therefore match the walls and the rest of the combination but also the chosen photos.
But if you want to create a little contrast with the total white look of the house or you simply want to give a touch of liveliness you can choose the most different shades.
The blue it can fit very well as well as the red or the green; strong colors are perfect because they allow you to highlight the object and always keep it under control so as not to forget any appointment.
Do you want design advice on how to furnish? Join the group
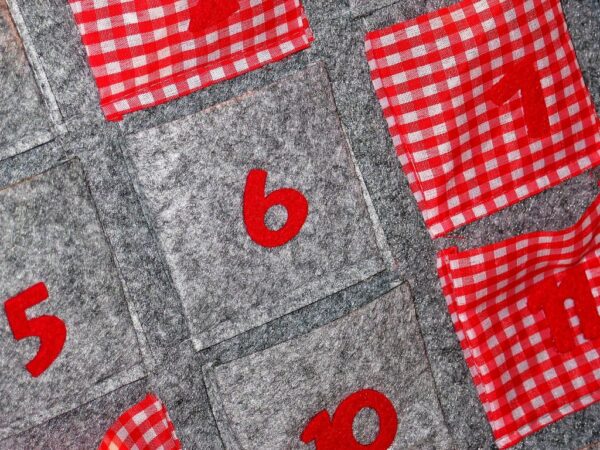
The size and paper
The format of a DIY calendar needs to be decided definitely according to your taste but also based on the rest of the furniture of the room where you are going to place it. This because it is necessary to check that it is not a footprint too excessive on your desk or you should check the exact space you have available on the wall on which you are going to hang it.
Otherwise there is a risk of having to move objects and / or paintings already present among the furnishing accessories. You should also pay attention to the type of paper you want to use: it should be lightweight cardstock to ensure that the pages turn correctly but at the same time resistant so it does not fall off the wall or stand quite well when placed on a shelf. Then remember to punch the edge of the page so that it can be hung.
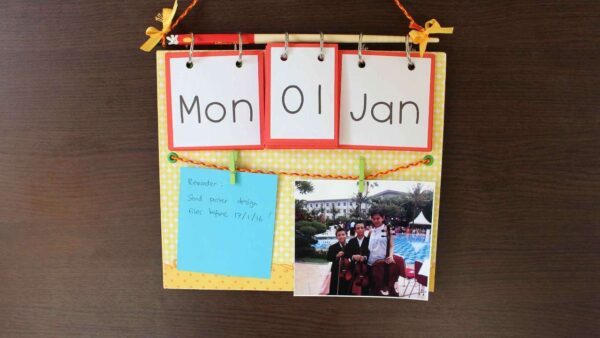
The binding
Once all the sheets are printed (at home, in the stationery or copy shop) it will be possible to laminate them or make them easier to clean and maintain anyway. You can then move on to binding and there are several ways to do this. On the internet there are many tutorials to learn how to do it in the best way, but the rules are always the same.
It’s possible to do it with needle, wire together with drilling machine and cutter or with the metal spring. Remember that tape, glue, scissors and a stapler will always be useful to you in some way. You also have the possibility to leave the sheets free and not to bind them in any way by hanging them one at a time in the refrigerator with a nice magnet.

Create a DIY calendar: images and photos
In the photo gallery here are the most original ideas for you from which you can take inspiration to create a calendar with the DIY technique to have a unique and special object on which to mark all the next appointments.
A personalized calendar will already make the new year visually special with a unique object to hang on the wall; here’s how to make it with the DIY technique.

Starting the new year in the best possible way has never been easier. With a personalized calendar in fact, you can look to the future with joy. Furthermore, hanging an object born of creativity on the wall it will beautify even more. In fact, it is certainly a useful element, for example, to mark all the most important appointments but, if chosen in the best possible way, it can also be a pretty good decoration.
To have a truly original and unique one the best solution is to make it with your own hands. In fact, we are talking about something simple to achieve with the DIY technique, you just need to pay attention to a few small tricks. Here it is then all instructions to create a special calendar with a personal touch. Let’s find out all the details together to proceed in the best way without making mistakes.
Read also: Ideas for making a children’s calendar

Choose the type of calendar
According to your taste and according to what you need, as a first step you can proceed with choosing the calendar template. In fact, on the market there are different types from which to take inspiration to create one with the DIY technique.
First of all, they are objects that are subdivided into desk calendars and wall calendars; the latter in turn are divided into one page calendars which show all year round or calendars that are browsed month after month.

The right photos
Choosing photos is one of the funniest and most creative things when it comes to a custom calendar. Depending on the model, you can choose 12 or 13 wonderful shots (one a month plus possibly the initial page) or a single large photo if it is a calendar that already includes the whole year on the cover. In fact, though, it is also possible to make collages: in this case, even calendars that have only one page will be able to show multiple images.
However, all options provide a huge choice because the themes are the most disparate: come on animals ai family moments passing through music is cinema and so on. As always, much of the decision will be left to your personal taste.
You may be interested in: How to customize the Monopoly board

The ideal colors for the DIY calendar
The pages of a DIY calendar are often blank because it is an evergreen color that goes well with everything. Not only will it therefore match the walls and the rest of the combination but also the chosen photos.
But if you want to create a little contrast with the total white look of the house or you simply want to give a touch of liveliness you can choose the most different shades.
The blue it can fit very well as well as the red or the green; strong colors are perfect because they allow you to highlight the object and always keep it under control so as not to forget any appointment.
Do you want design advice on how to furnish? Join the group

The size and paper
The format of a DIY calendar needs to be decided definitely according to your taste but also based on the rest of the furniture of the room where you are going to place it. This because it is necessary to check that it is not a footprint too excessive on your desk or you should check the exact space you have available on the wall on which you are going to hang it.
Otherwise there is a risk of having to move objects and / or paintings already present among the furnishing accessories. You should also pay attention to the type of paper you want to use: it should be lightweight cardstock to ensure that the pages turn correctly but at the same time resistant so it does not fall off the wall or stand quite well when placed on a shelf. Then remember to punch the edge of the page so that it can be hung.

The binding
Once all the sheets are printed (at home, in the stationery or copy shop) it will be possible to laminate them or make them easier to clean and maintain anyway. You can then move on to binding and there are several ways to do this. On the internet there are many tutorials to learn how to do it in the best way, but the rules are always the same.
It’s possible to do it with needle, wire together with drilling machine and cutter or with the metal spring. Remember that tape, glue, scissors and a stapler will always be useful to you in some way. You also have the possibility to leave the sheets free and not to bind them in any way by hanging them one at a time in the refrigerator with a nice magnet.

Create a DIY calendar: images and photos
In the photo gallery here are the most original ideas for you from which you can take inspiration to create a calendar with the DIY technique to have a unique and special object on which to mark all the next appointments.

