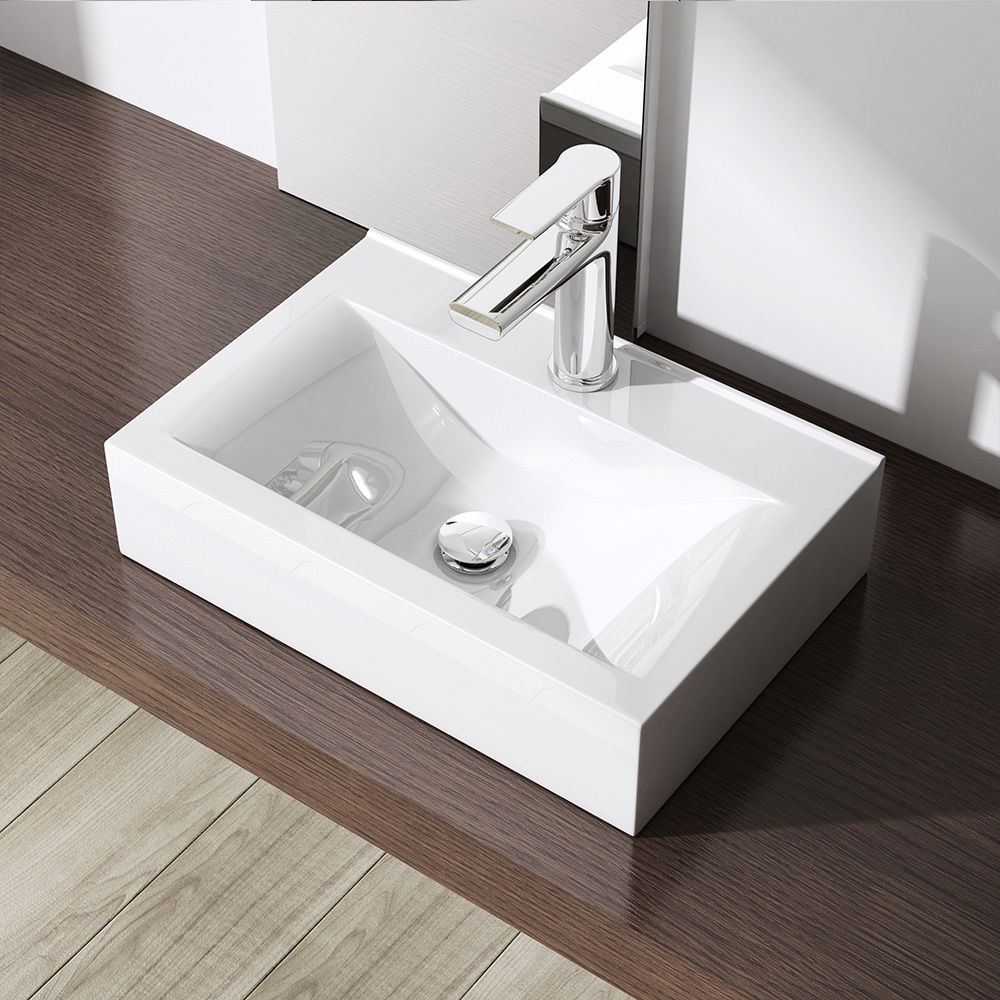
How to repair a damaged sink: materials, tools and repair kits necessary to carry out the procedure correctly.
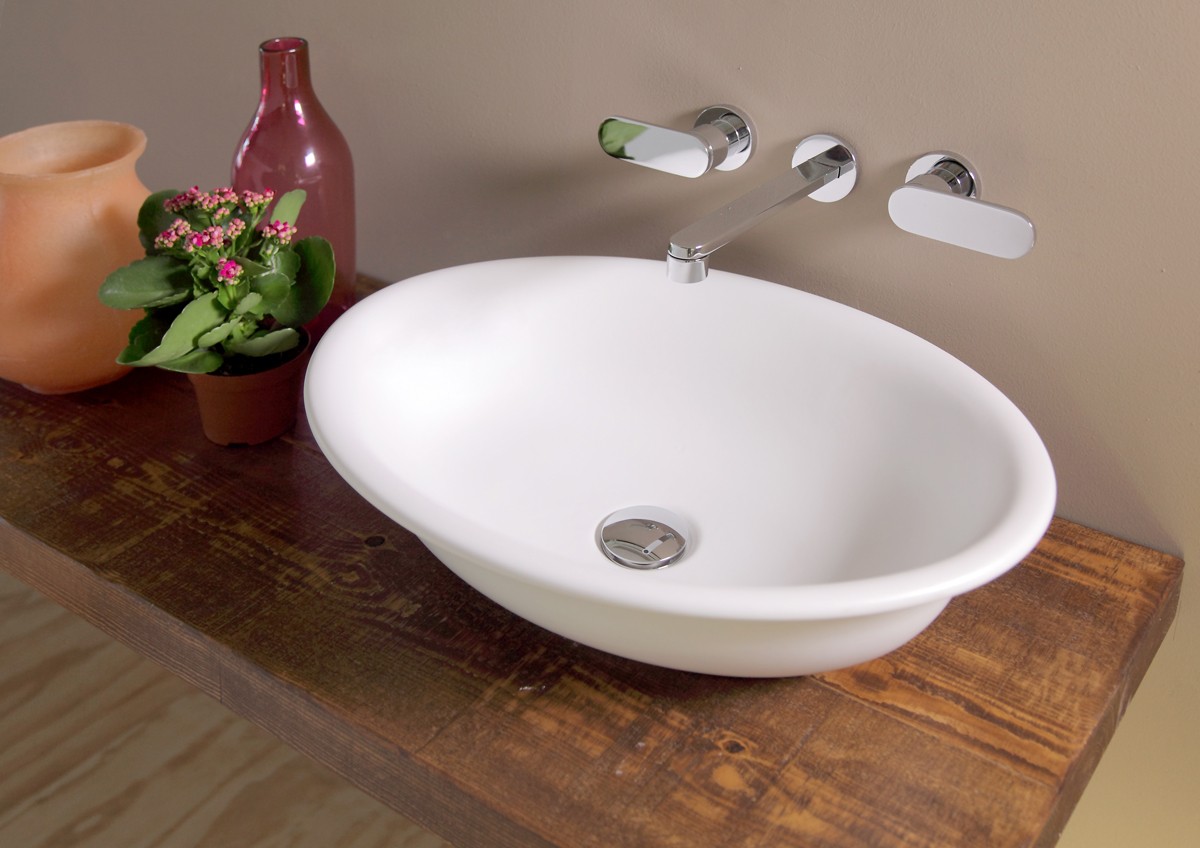
A occasional damage at the bathroom or kitchen sink is a not uncommon fact at home: a heavy object that falls into it or a children’s toy can cause a crack which will not only provide an unsightly sign, but could force you to interventions expensive like the replacement.
Let’s see how to remedy and how to repair a damaged sink.
How to repair a damaged sink: procedure
The first step to take is to get some small tools and a specific repair kit at hardware, do-it-yourself and DIY stores:
- fine-grained sandpaper or electric cutter;
- repair kit for ceramic surfaces;
- trichlorethylene;
- enamel paint for ceramics.
Then, once you have purchased the necessary products, you can move on to executive phase of repair of the sink:
Read also: Tool shed
- Remove any visible splinters in the cracked part;
- With sandpaper, sand the area to be repaired or, if equipped with a cutter, carry out the same operation;
- With a swab soaked in trichlorethylene, remove the dust;
- Prepare, in a separate basin, the synthetic paste in the quantity necessary for the repair. The kits on sale indicate in the instructions the suitable percentage to be mixed;
- Apply the mixture on the affected part until a slight thickness is formed;
- Wait for it to dry perfectly;
- Remove excess material with sandpaper;
- Paint with ceramic enamel, identical in color to that of the washbasin.
Before to return to use the sink wait a few hours: the water could ruin the nice completed job forcing you to repeat all the operations from scratch.
How to repair damaged sink with loose parts
It could happen, in the most serious cases, that a little piece more or less large ceramic is detached from the sink.
Do not worry, the intervention will be similar to repairing a broken handle on a vase or a coffee cup.
You may be interested in: Essential kitchen utensils: 10 + 1 you can’t give up on
In this case you will need the following products, which can always be purchased in hardware stores or at large chains of DIY and do-it-yourself items:
- cyanoacrylate glue or water-resistant epoxy glue,
- spanish white, a type of white chalk
- canvas adhesive tape
- old toothbrush
- alcohol
- sand paper
Then, follow the method indicated:
- Clean the surface to be bonded with a brush soaked in alcohol;
- Check that the flaps are perfectly adherent;
- Apply the cyanoacrylate glue and join the two parts for at least 30 seconds; if instead you use epoxy glues, place a small strip of damp cloth tape to hold the edges in place which, once dry, will shrink, making the two parts adhere better;
- Let it dry;
- Remove excess glue with a small piece of sandpaper.
Do you want design advice on how to furnish? Join the group
Also in this case, do not rush to go back to use the sink immediately.
Also make sure that the two parts have adhered perfectly: if there is even a slight overhang between the sink and the glued piece, you could scratch or cut yourself when you use the sink.
In this case, sand to make the surface perfectly smooth.

- Degree in Economics and Commerce, international address
- Author specialized in interior design and furnishing
How to repair a damaged sink: materials, tools and repair kits necessary to carry out the procedure correctly.

A occasional damage at the bathroom or kitchen sink is a not uncommon fact at home: a heavy object that falls into it or a children’s toy can cause a crack which will not only provide an unsightly sign, but could force you to interventions expensive like the replacement.
Let’s see how to remedy and how to repair a damaged sink.
How to repair a damaged sink: procedure
The first step to take is to get some small tools and a specific repair kit at hardware, do-it-yourself and DIY stores:
- fine-grained sandpaper or electric cutter;
- repair kit for ceramic surfaces;
- trichlorethylene;
- enamel paint for ceramics.

Then, once you have purchased the necessary products, you can move on to executive phase of repair of the sink:
Read also: Tool shed
- Remove any visible splinters in the cracked part;
- With sandpaper, sand the area to be repaired or, if equipped with a cutter, carry out the same operation;
- With a swab soaked in trichlorethylene, remove the dust;
- Prepare, in a separate basin, the synthetic paste in the quantity necessary for the repair. The kits on sale indicate in the instructions the suitable percentage to be mixed;
- Apply the mixture on the affected part until a slight thickness is formed;
- Wait for it to dry perfectly;
- Remove excess material with sandpaper;
- Paint with ceramic enamel, identical in color to that of the washbasin.
Before to return to use the sink wait a few hours: the water could ruin the nice completed job forcing you to repeat all the operations from scratch.

How to repair damaged sink with loose parts
It could happen, in the most serious cases, that a little piece more or less large ceramic is detached from the sink.
Do not worry, the intervention will be similar to repairing a broken handle on a vase or a coffee cup.

You may be interested in: Essential kitchen utensils: 10 + 1 you can’t give up on
In this case you will need the following products, which can always be purchased in hardware stores or at large chains of DIY and do-it-yourself items:
- cyanoacrylate glue or water-resistant epoxy glue,
- spanish white, a type of white chalk
- canvas adhesive tape
- old toothbrush
- alcohol
- sand paper
Then, follow the method indicated:
- Clean the surface to be bonded with a brush soaked in alcohol;
- Check that the flaps are perfectly adherent;
- Apply the cyanoacrylate glue and join the two parts for at least 30 seconds; if instead you use epoxy glues, place a small strip of damp cloth tape to hold the edges in place which, once dry, will shrink, making the two parts adhere better;
- Let it dry;
- Remove excess glue with a small piece of sandpaper.
Do you want design advice on how to furnish? Join the group
Also in this case, do not rush to go back to use the sink immediately.
Also make sure that the two parts have adhered perfectly: if there is even a slight overhang between the sink and the glued piece, you could scratch or cut yourself when you use the sink.
In this case, sand to make the surface perfectly smooth.

- Degree in Economics and Commerce, international address
- Author specialized in interior design and furnishing

