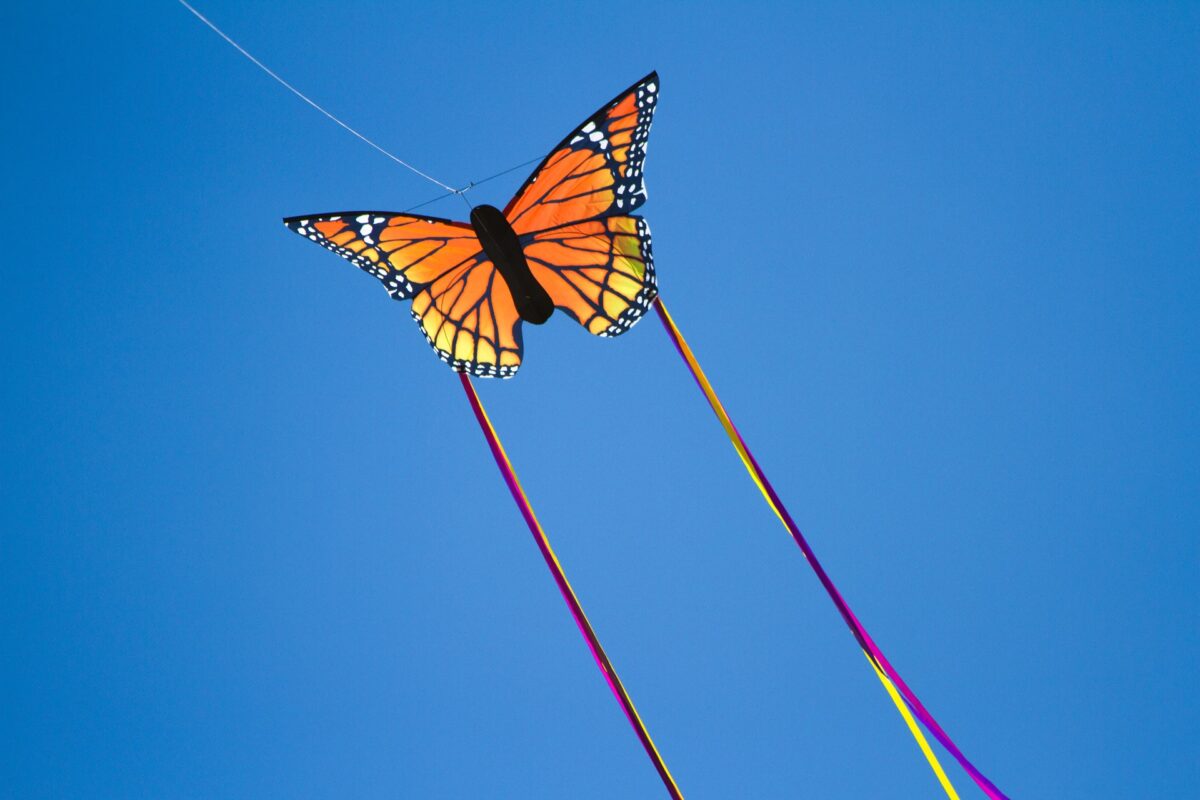
Kite – every child’s favorite toy. Let’s find out how to build a homemade one: techniques, procedures and materials to build the perfect toy with your own hands. A few things will be enough to return to fly with the imagination and beyond.
Do you remember the ending of Mary Poppins? Mr Banks, regretting his rigid behavior towards his children, he tries to right his wrongs by building Jane and Michael a kite, using a suffragette band as a string. There was also a little song about how beautiful it was to fly a kite. As a child, everything seems more magical: a bit of fabric tied to a string is enough to smile again.
If you love vintage games, create a kite made in home it will be a great way to become children again and play with your children in the open air. But how to build a kite using everyday objects?
Read this article to find out how to build the perfect kite do-it-yourself.
Read also: Building and living in a wooden house
Kite: how it’s done
Before we find out how to build it, we need to understand how a kite is made. A kite can fly using the force of the wind. To be able to do this it needs two things:
- a fabric light
- a base solid
To ensure that your kite knows how to exploit the force of the wind without being overwhelmed by the force itself, it must therefore be equipped with a frame that it is resistant. But be careful: resistant does not mean heavy: your kite must therefore be resistant but light so that even the smallest ones can steer it effortlessly.
In summary: a kite must be light, strong and fluttering at the same time. Sounds difficult right? We assure you that it is not at all. It will be enough to follow our advice below.
How to build a kite in just a few steps
To build your kite you will need, as we said, to make a strong frame and a lighter top.
Material
Let’s see together what there will serve in detail:
- paper colored tissue paper
- wire of nylon and twine
- two sticks of wood not too thick
- pencil
- team is ruler
Method
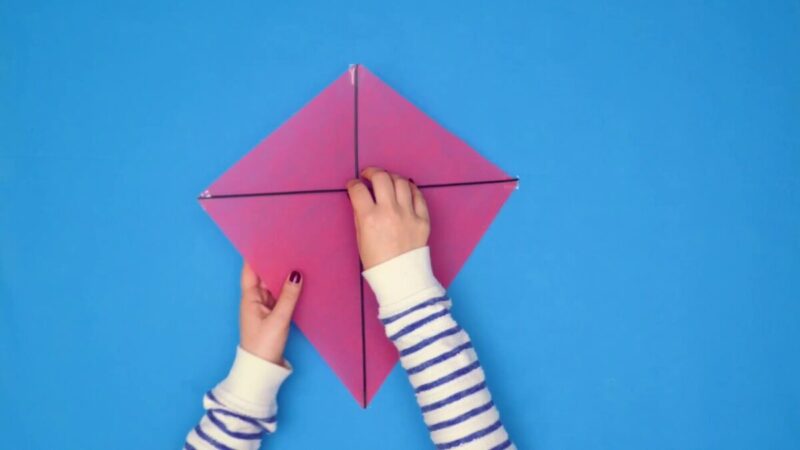
- Bend the sheet of tissue paper in half, close it and draw a triangle rectangle making the fold of the tissue paper with the straight line.
- After drawing it, cropped the rectangle and then open the sheet of tissue paper.
- On the back of the sheet, glued the two sticks of wood perpendicular to each other following height and length.
- Find the point of meeting between the two pieces of wood e tie them with nylon thread.
- To create the tail of your kite, cropped from paper leftover tissue many pieces.
- Glue them together until it forms a beautiful fluttering tail. L
- Tie the tail to the base of your kite being careful to make it adhere well.
- Attach the wire to the frame that you will use to fly your kite.
You might be interested in: IKEA catalog for mom and baby: ideas for the first years of children
Now that you have made your kite, you just have to wait for a nice windy day to make it fly. If this is your first time trying to use a kite and you need some little advice on how to fly it, read the next paragraph.
Ready to fly: useful tips to have fun in safety
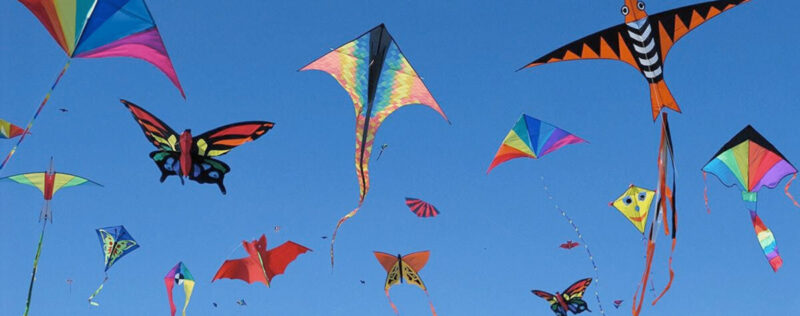
It sounds easy but it’s not. To do to fly a kite, especially if it is the first time, many factors must be considered. First of all, it will be good that you choose a place not too much crowded; a free beach for example, if you are positioned on the shoreline, could be the ideal place. Second tip: position yourself to shoulders to the real direction of the wind, making sure that your kite can use it to its full advantage.
Do you want design advice on how to furnish? Join the group
Last tip: make your object fly by asking for theHelp of an friend. In addition to making everything more fun, flying a kite in company makes the launching operation less complicated: while one holds the line in his hands, the other can take care of launching the kite in flight. Fun is guaranteed.
A thousand different shapes: the tradition of Japanese kites
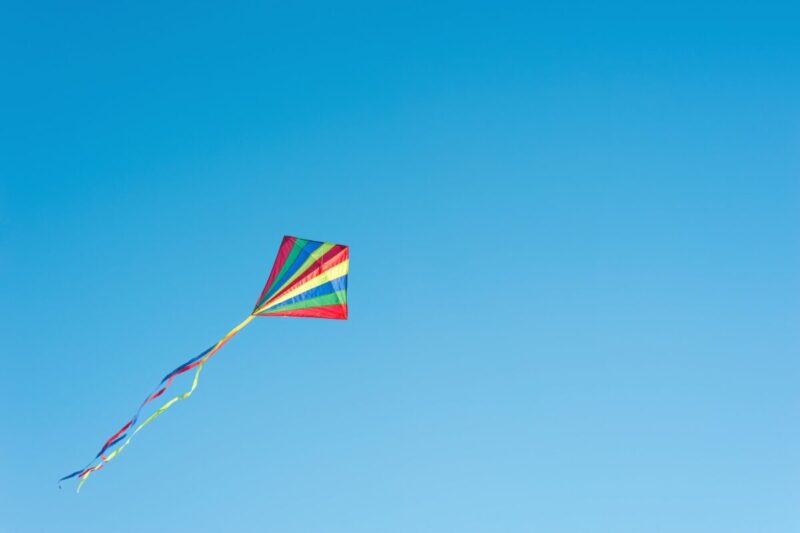
We fly up to Japan to tell you how this form of entertainment has been fundamental for this country: since their arrival from China in the Edo era (corresponding more or less to our Middle Ages), these flying objects immediately won the hearts of the Japanese. In the homeland of cherry blossoms, every region it has a different type. They can vary in shape, color and material.
For the Japanese, kites represented a bond direct between sky and earth and for this reason, in the first years of their diffusion they were considered sacred objects. This form of entertainment has over time become a real symbol of Japanese culture. So important that it earned its own space in an exhibition. Today, that the spaces of the cities are almost all full of concrete, this tradition has been lost a little.
If you want to try to become a child again by entrusting yourself to the wind for a moment, follow our advice.
DIY kites: photos and pictures
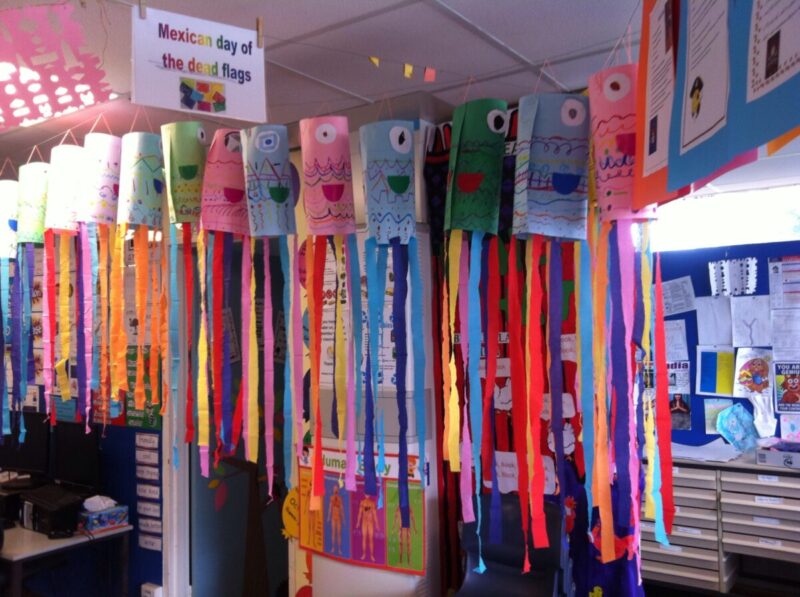
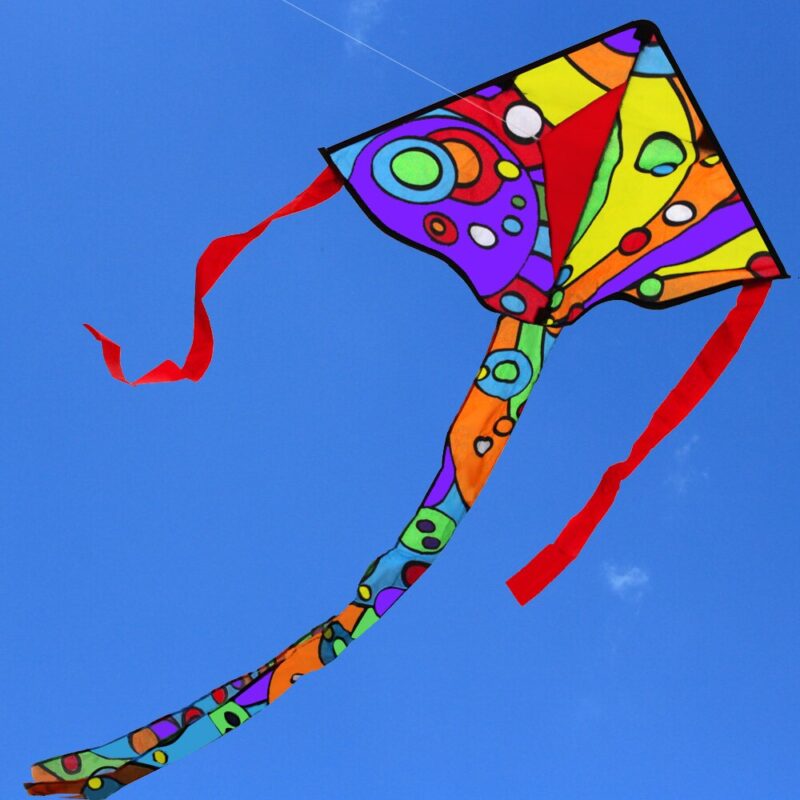
Here are some examples of creative kites to have fun with your little ones or just to come back for a few hours as children.
Kite – every child’s favorite toy. Let’s find out how to build a homemade one: techniques, procedures and materials to build the perfect toy with your own hands. A few things will be enough to return to fly with the imagination and beyond.

Do you remember the ending of Mary Poppins? Mr Banks, regretting his rigid behavior towards his children, he tries to right his wrongs by building Jane and Michael a kite, using a suffragette band as a string. There was also a little song about how beautiful it was to fly a kite. As a child, everything seems more magical: a bit of fabric tied to a string is enough to smile again.
If you love vintage games, create a kite made in home it will be a great way to become children again and play with your children in the open air. But how to build a kite using everyday objects?
Read this article to find out how to build the perfect kite do-it-yourself.
Read also: Building and living in a wooden house

Kite: how it’s done
Before we find out how to build it, we need to understand how a kite is made. A kite can fly using the force of the wind. To be able to do this it needs two things:
- a fabric light
- a base solid
To ensure that your kite knows how to exploit the force of the wind without being overwhelmed by the force itself, it must therefore be equipped with a frame that it is resistant. But be careful: resistant does not mean heavy: your kite must therefore be resistant but light so that even the smallest ones can steer it effortlessly.
In summary: a kite must be light, strong and fluttering at the same time. Sounds difficult right? We assure you that it is not at all. It will be enough to follow our advice below.

How to build a kite in just a few steps
To build your kite you will need, as we said, to make a strong frame and a lighter top.
Material
Let’s see together what there will serve in detail:
- paper colored tissue paper
- wire of nylon and twine
- two sticks of wood not too thick
- pencil
- team is ruler
Method
- Bend the sheet of tissue paper in half, close it and draw a triangle rectangle making the fold of the tissue paper with the straight line.
- After drawing it, cropped the rectangle and then open the sheet of tissue paper.
- On the back of the sheet, glued the two sticks of wood perpendicular to each other following height and length.
- Find the point of meeting between the two pieces of wood e tie them with nylon thread.
- To create the tail of your kite, cropped from paper leftover tissue many pieces.
- Glue them together until it forms a beautiful fluttering tail. L
- Tie the tail to the base of your kite being careful to make it adhere well.
- Attach the wire to the frame that you will use to fly your kite.
You might be interested in: IKEA catalog for mom and baby: ideas for the first years of children
Now that you have made your kite, you just have to wait for a nice windy day to make it fly. If this is your first time trying to use a kite and you need some little advice on how to fly it, read the next paragraph.

Ready to fly: useful tips to have fun in safety
It sounds easy but it’s not. To do to fly a kite, especially if it is the first time, many factors must be considered. First of all, it will be good that you choose a place not too much crowded; a free beach for example, if you are positioned on the shoreline, could be the ideal place. Second tip: position yourself to shoulders to the real direction of the wind, making sure that your kite can use it to its full advantage.
Do you want design advice on how to furnish? Join the group
Last tip: make your object fly by asking for theHelp of an friend. In addition to making everything more fun, flying a kite in company makes the launching operation less complicated: while one holds the line in his hands, the other can take care of launching the kite in flight. Fun is guaranteed.

A thousand different shapes: the tradition of Japanese kites
We fly up to Japan to tell you how this form of entertainment has been fundamental for this country: since their arrival from China in the Edo era (corresponding more or less to our Middle Ages), these flying objects immediately won the hearts of the Japanese. In the homeland of cherry blossoms, every region it has a different type. They can vary in shape, color and material.
For the Japanese, kites represented a bond direct between sky and earth and for this reason, in the first years of their diffusion they were considered sacred objects. This form of entertainment has over time become a real symbol of Japanese culture. So important that it earned its own space in an exhibition. Today, that the spaces of the cities are almost all full of concrete, this tradition has been lost a little.
If you want to try to become a child again by entrusting yourself to the wind for a moment, follow our advice.

DIY kites: photos and pictures
Here are some examples of creative kites to have fun with your little ones or just to come back for a few hours as children.

