Can you build a vanity unit yourself? How you do it? We will guide you step by step to make one with the DIY.
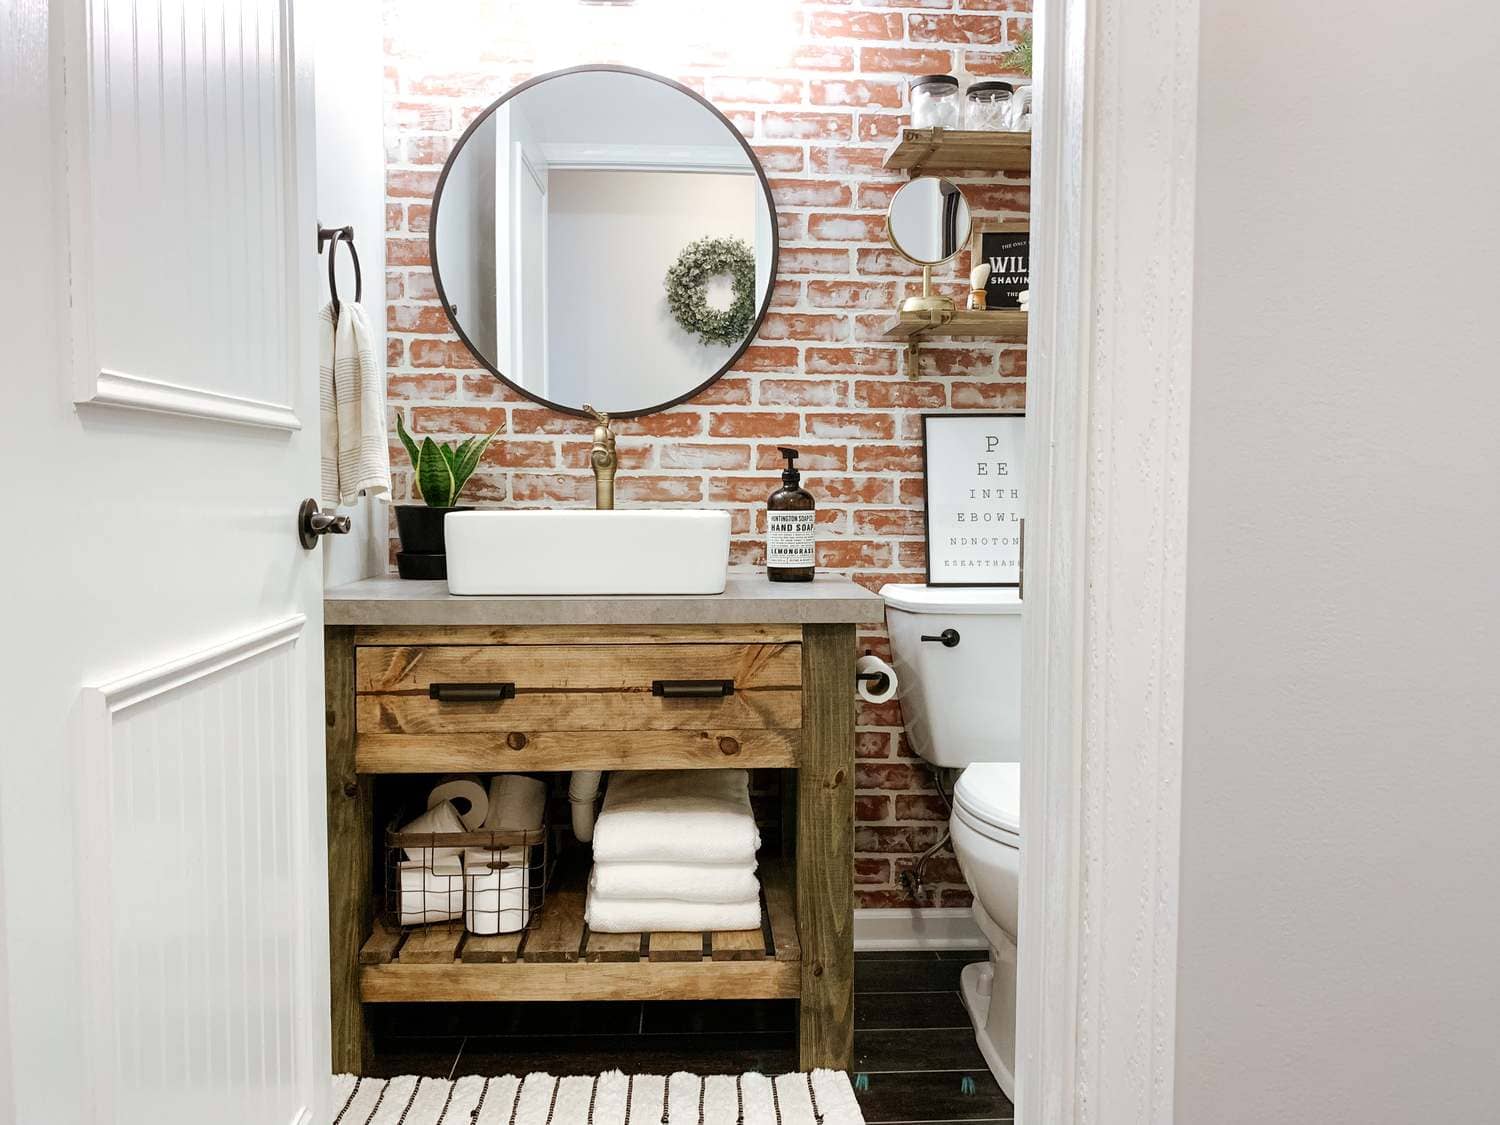
There is often the problem of having to optimize the spaces in a small bathroom, without however putting aside the functionality that must be had in this environment. It is therefore good to choose furniture that does not clutter but that is equally usable. The right solution is i furnishings tailored designed according to the space you have available, and furniture such as the vanity unit you can build it also alone. All you need is a little time, goodwill and one guide to follow: ours!
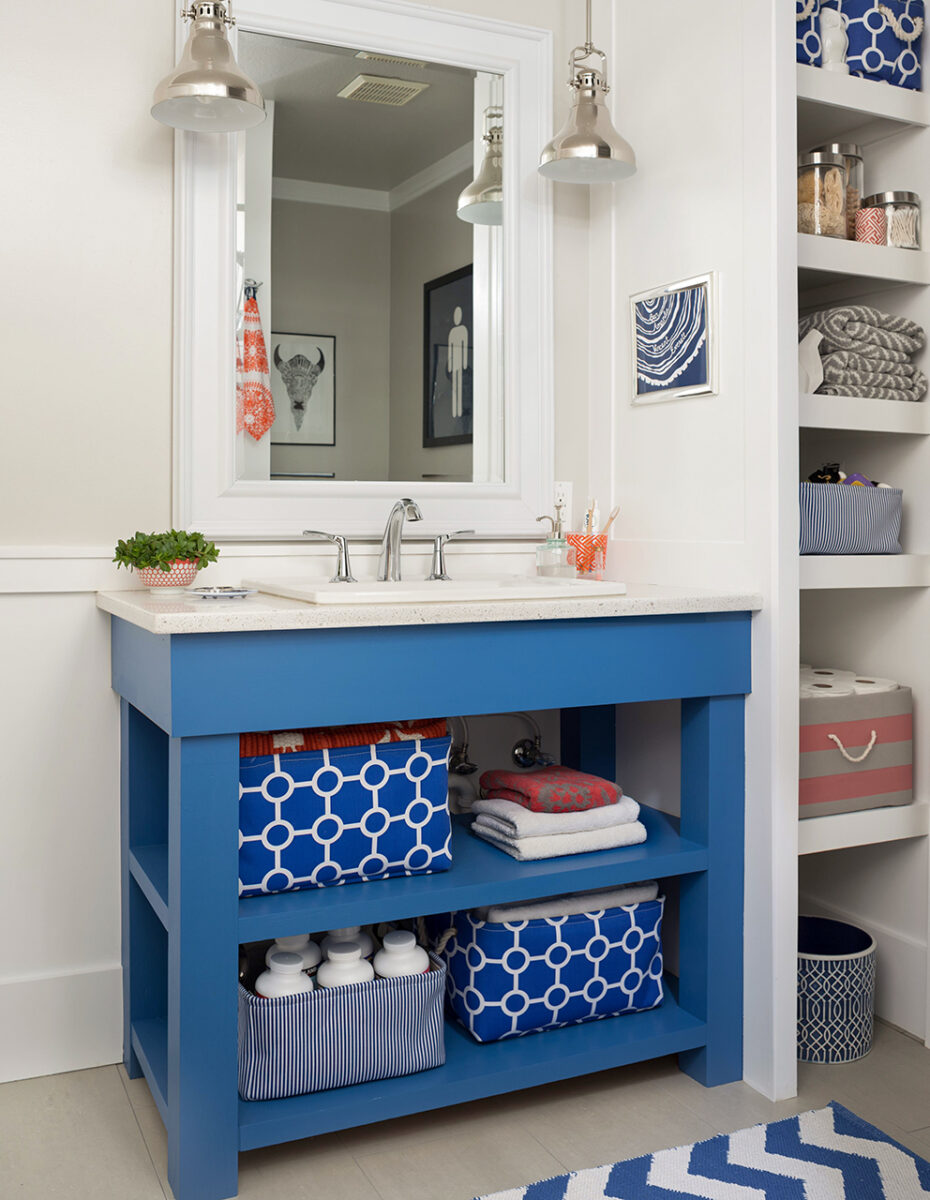
What we will propose to you below is a vanity unit which does not include doors but which leaves all bathroom linen exposed. But this is just a basic guide to which you can add every detail you want according to your tastes and needs, just like adding doors that hide what’s inside for more privacy. Good job!
Read also: How to furnish a small bathroom
1. Design
First of all the first thing to do is to take the measures of the space you have available to build the cabinet that will go under the bathroom sink. Doing it correctly will allow you to do a successful job and above all you will not have to blow up the whole effort for having done things “at a guess”.
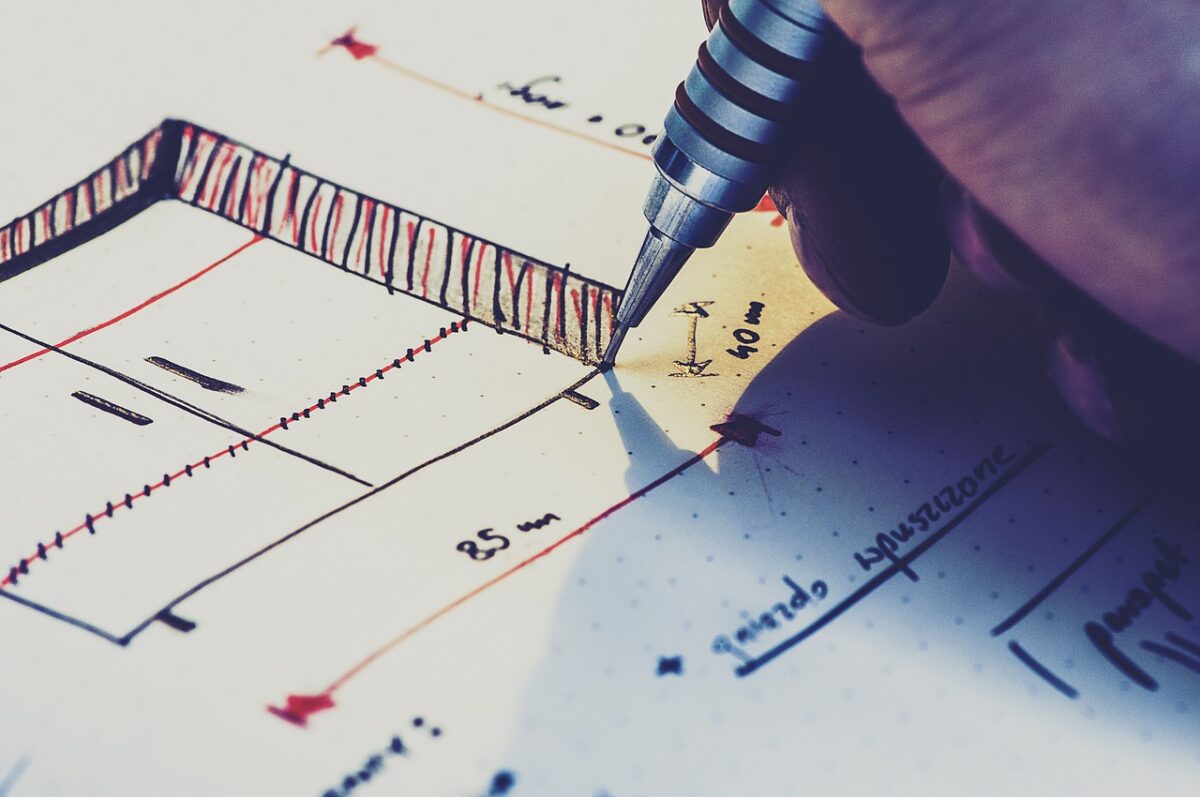
Only after that, you can proceed with the realization of a sketch. The drawing in fact you will need to get a real idea of what you are going to make with your hands and you will have a precise scheme to follow during construction.
2. Material and design
Now do the following:
- Get yourself 4 joists is 2 panels of fir of a thickness suitable to withstand the weight of the chosen washbasin,
- With the panel to build the table top for the washbasin, take there measure directly close to the washbasin so you settle on where is it Sara positioned the siphon to calculate the overall dimensions and build an ad hoc piece of furniture,
- Draw there position with a pencil,
- Now you can start working on the practical part.
3. Wood cutting
Now that you have the sketch in your hands and you have drawn down on the panel there Shape of the siphon, you can proceed to clipping of the wood following the directions with the help of a jigsaw following the drawn lines. The cut panel obviously you can’t leave it like this, in fact it will be necessary smooth it for remove any imperfections natural wood.
At this point you can take care of the joists. At end of the joists you will have to make some points of support for the upper floor where the sink will then be placed. You will then have to create with the help of one chisel, a kind of recess a U in which you will go to fit together the shelf inferior support. If you have realized that you need more space for your towels, you need to prepare your furniture with an extra shelf.
You may be interested in: IKEA bathroom furniture: low cost ideas and solutions
So once you have taken the measurements for the new panel, continue with the same procedure of the bottom panel and then proceed with the U-shaped incision.
4. Join the pieces
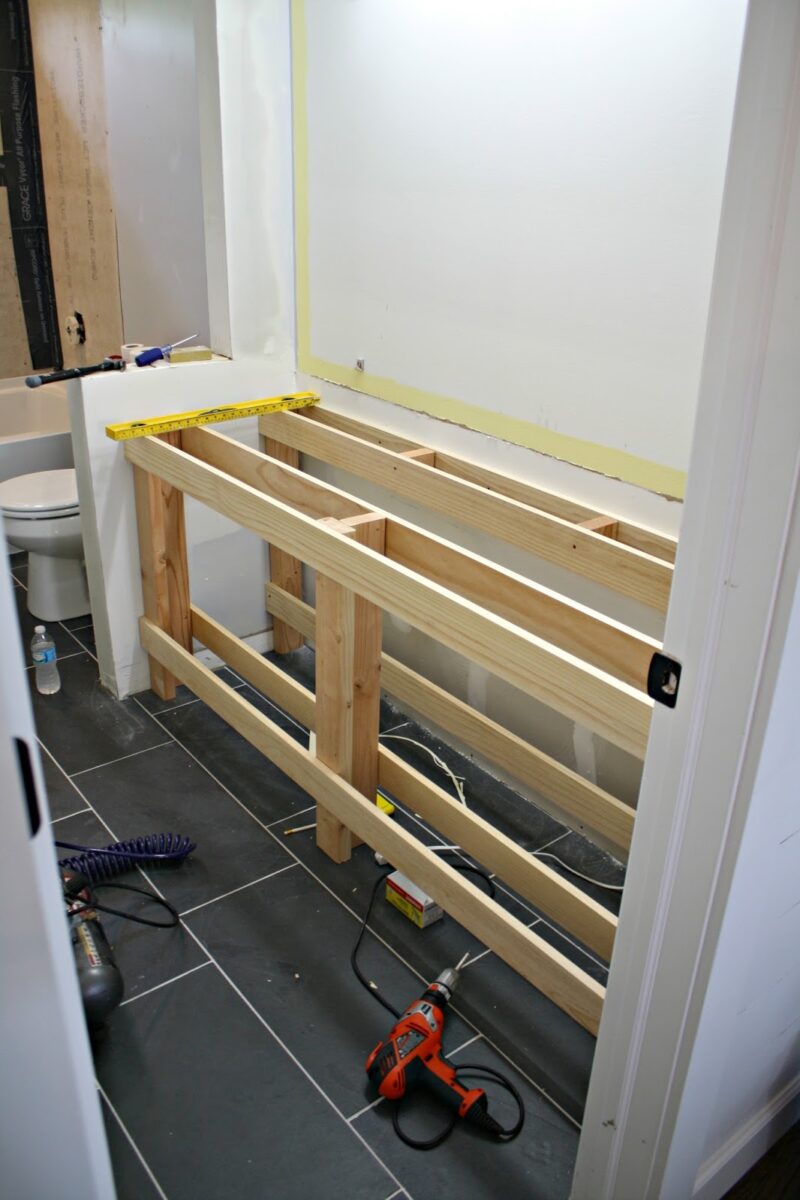
Now that the pieces of furniture are all ready, you can proceed to sandpaper the individual pieces to eliminate any imperfections in the wood. Then you just have to to assemble the whole with the screws, is to decide whether to leave the cabinet of his color natural using a fixing special, or paint it the color of your choice and that best matches the rest of the bathroom furniture.
But in case you decide to paint the furniture, it’s better wait that the painting both completely dry before settling the mobile to the sink to avoid dirtying the wall and sink, thus combining a disaster!
Do you want design advice on how to furnish? Join the group
5. Installation
At this point, the construction of your vanity unit is finished, but the work is not quite finished yet. What you still lack is connect the siphon and once done you have to though make sure to have acted in right way. There is only one way to be, which is you have to to fill the sink of water for to verify if there are any losses.
In fact as a precaution, it is always better get ready of basin so as not to wet the entire floor if water should leak out. Once you have made sure that the siphon installation is successful, you can proceed with the accommodation of the vanity unit that you created with your skilled hands.
After all these steps, you will finally be able to admire the vanity unit that you built entirely by yourself, and to which you have given all your personality.
How to build a vanity unit: photos and images
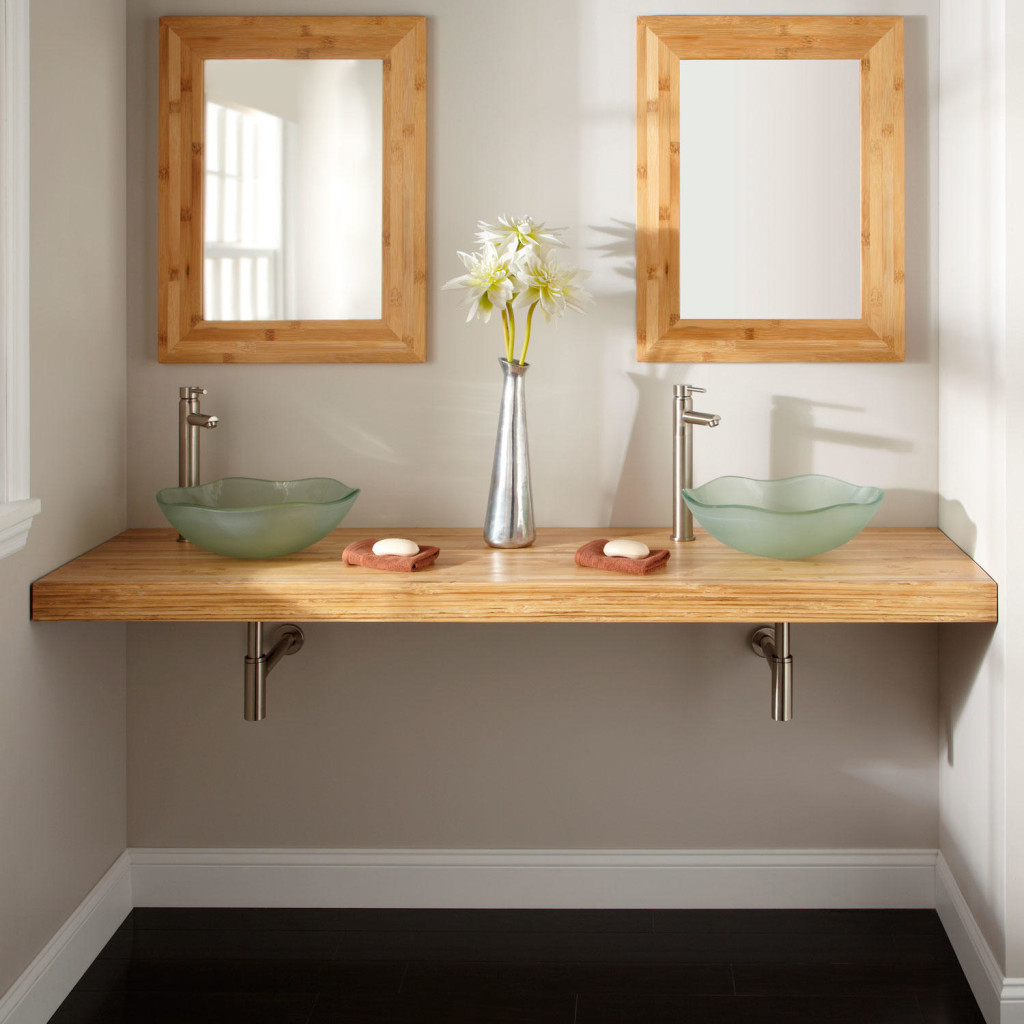
Build the vanity unit with your own hands and with just a few elements, and let yourself be inspired by our gallery created especially for you.
Can you build a vanity unit yourself? How you do it? We will guide you step by step to make one with the DIY.

There is often the problem of having to optimize the spaces in a small bathroom, without however putting aside the functionality that must be had in this environment. It is therefore good to choose furniture that does not clutter but that is equally usable. The right solution is i furnishings tailored designed according to the space you have available, and furniture such as the vanity unit you can build it also alone. All you need is a little time, goodwill and one guide to follow: ours!
What we will propose to you below is a vanity unit which does not include doors but which leaves all bathroom linen exposed. But this is just a basic guide to which you can add every detail you want according to your tastes and needs, just like adding doors that hide what’s inside for more privacy. Good job!
Read also: How to furnish a small bathroom
1. Design
First of all the first thing to do is to take the measures of the space you have available to build the cabinet that will go under the bathroom sink. Doing it correctly will allow you to do a successful job and above all you will not have to blow up the whole effort for having done things “at a guess”.
Only after that, you can proceed with the realization of a sketch. The drawing in fact you will need to get a real idea of what you are going to make with your hands and you will have a precise scheme to follow during construction.

2. Material and design
Now do the following:
- Get yourself 4 joists is 2 panels of fir of a thickness suitable to withstand the weight of the chosen washbasin,
- With the panel to build the table top for the washbasin, take there measure directly close to the washbasin so you settle on where is it Sara positioned the siphon to calculate the overall dimensions and build an ad hoc piece of furniture,
- Draw there position with a pencil,
- Now you can start working on the practical part.

3. Wood cutting
Now that you have the sketch in your hands and you have drawn down on the panel there Shape of the siphon, you can proceed to clipping of the wood following the directions with the help of a jigsaw following the drawn lines. The cut panel obviously you can’t leave it like this, in fact it will be necessary smooth it for remove any imperfections natural wood.
At this point you can take care of the joists. At end of the joists you will have to make some points of support for the upper floor where the sink will then be placed. You will then have to create with the help of one chisel, a kind of recess a U in which you will go to fit together the shelf inferior support. If you have realized that you need more space for your towels, you need to prepare your furniture with an extra shelf.
You may be interested in: IKEA bathroom furniture: low cost ideas and solutions
So once you have taken the measurements for the new panel, continue with the same procedure of the bottom panel and then proceed with the U-shaped incision.

4. Join the pieces
Now that the pieces of furniture are all ready, you can proceed to sandpaper the individual pieces to eliminate any imperfections in the wood. Then you just have to to assemble the whole with the screws, is to decide whether to leave the cabinet of his color natural using a fixing special, or paint it the color of your choice and that best matches the rest of the bathroom furniture.
But in case you decide to paint the furniture, it’s better wait that the painting both completely dry before settling the mobile to the sink to avoid dirtying the wall and sink, thus combining a disaster!
Do you want design advice on how to furnish? Join the group

5. Installation
At this point, the construction of your vanity unit is finished, but the work is not quite finished yet. What you still lack is connect the siphon and once done you have to though make sure to have acted in right way. There is only one way to be, which is you have to to fill the sink of water for to verify if there are any losses.
In fact as a precaution, it is always better get ready of basin so as not to wet the entire floor if water should leak out. Once you have made sure that the siphon installation is successful, you can proceed with the accommodation of the vanity unit that you created with your skilled hands.
After all these steps, you will finally be able to admire the vanity unit that you built entirely by yourself, and to which you have given all your personality.

How to build a vanity unit: photos and images
Build the vanity unit with your own hands and with just a few elements, and let yourself be inspired by our gallery created especially for you.

