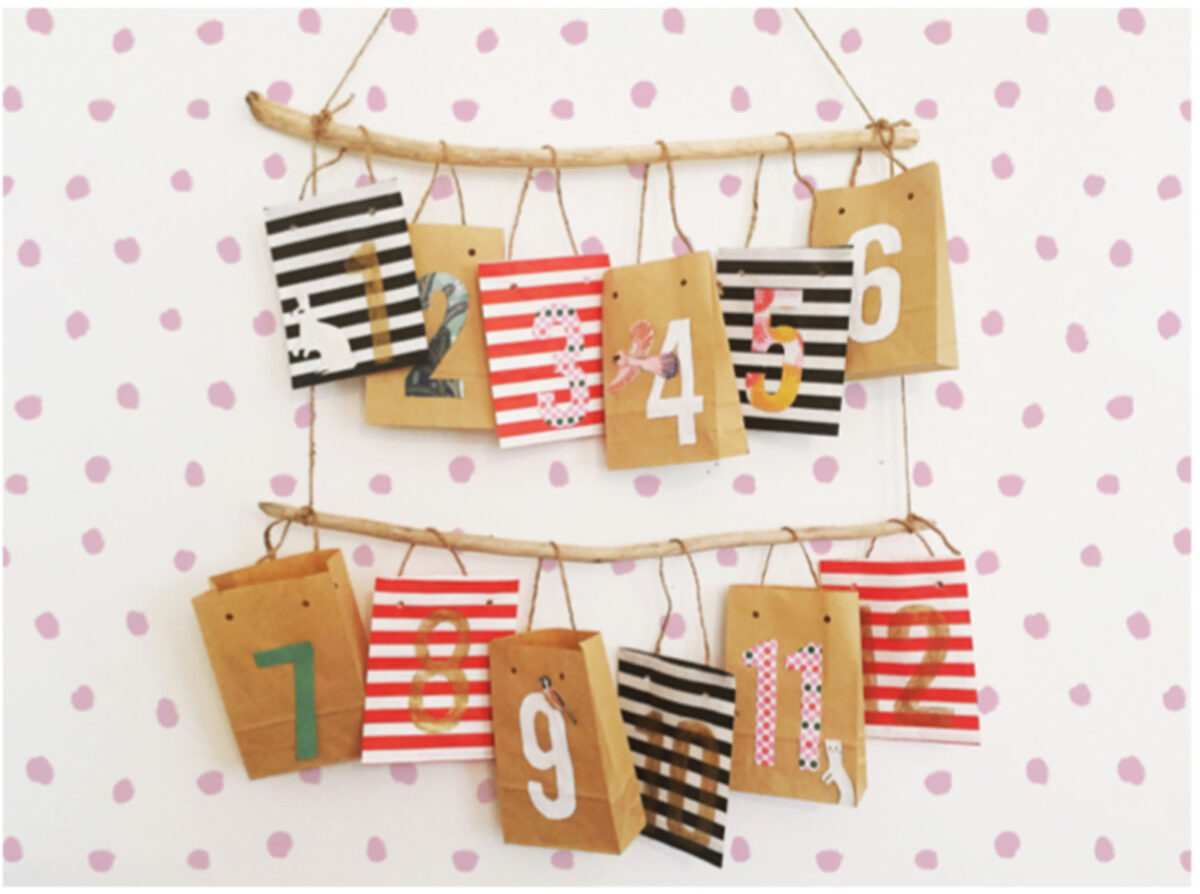
DIY Christmas Calendar: Making a DIY Christmas calendar has never been easier. With our advice, you will have such a creative and original calendar that your children will ask you to make one again next year.
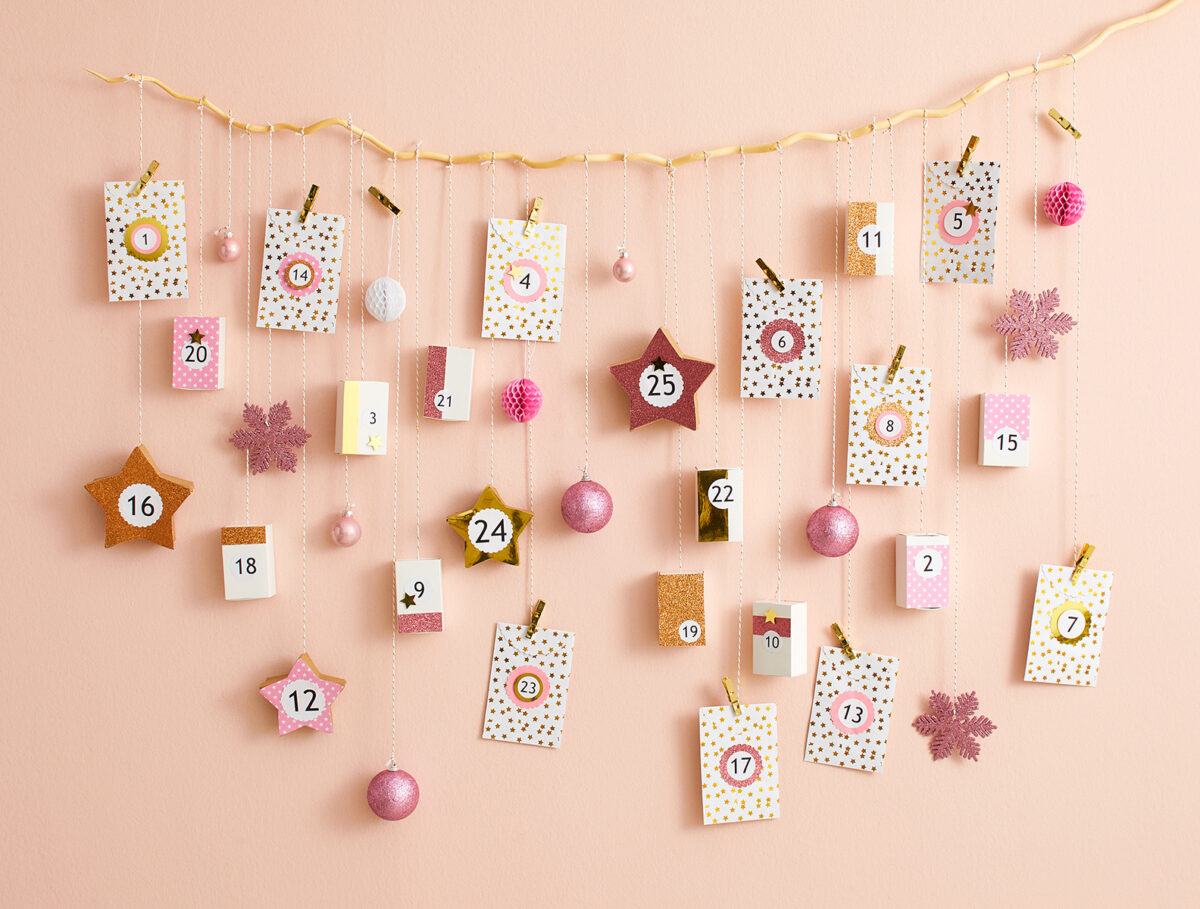
When Christmas is coming children in particular are in large excitement for the arrival of Santa Claus and keeping them at bay can become increasingly difficult as December approaches. To make them pass the time faster and make him keep track of the days, it could be a good idea create for them an advent calendar which you can then fill with sweets and various surprises.
Today we will give you well 3 different ideas for to be able make a DIY Christmas calendar for your little ones, to entertain them and make them happy while they wait for Christmas to come and their gifts.
Read also: Ideas for making a children’s calendar
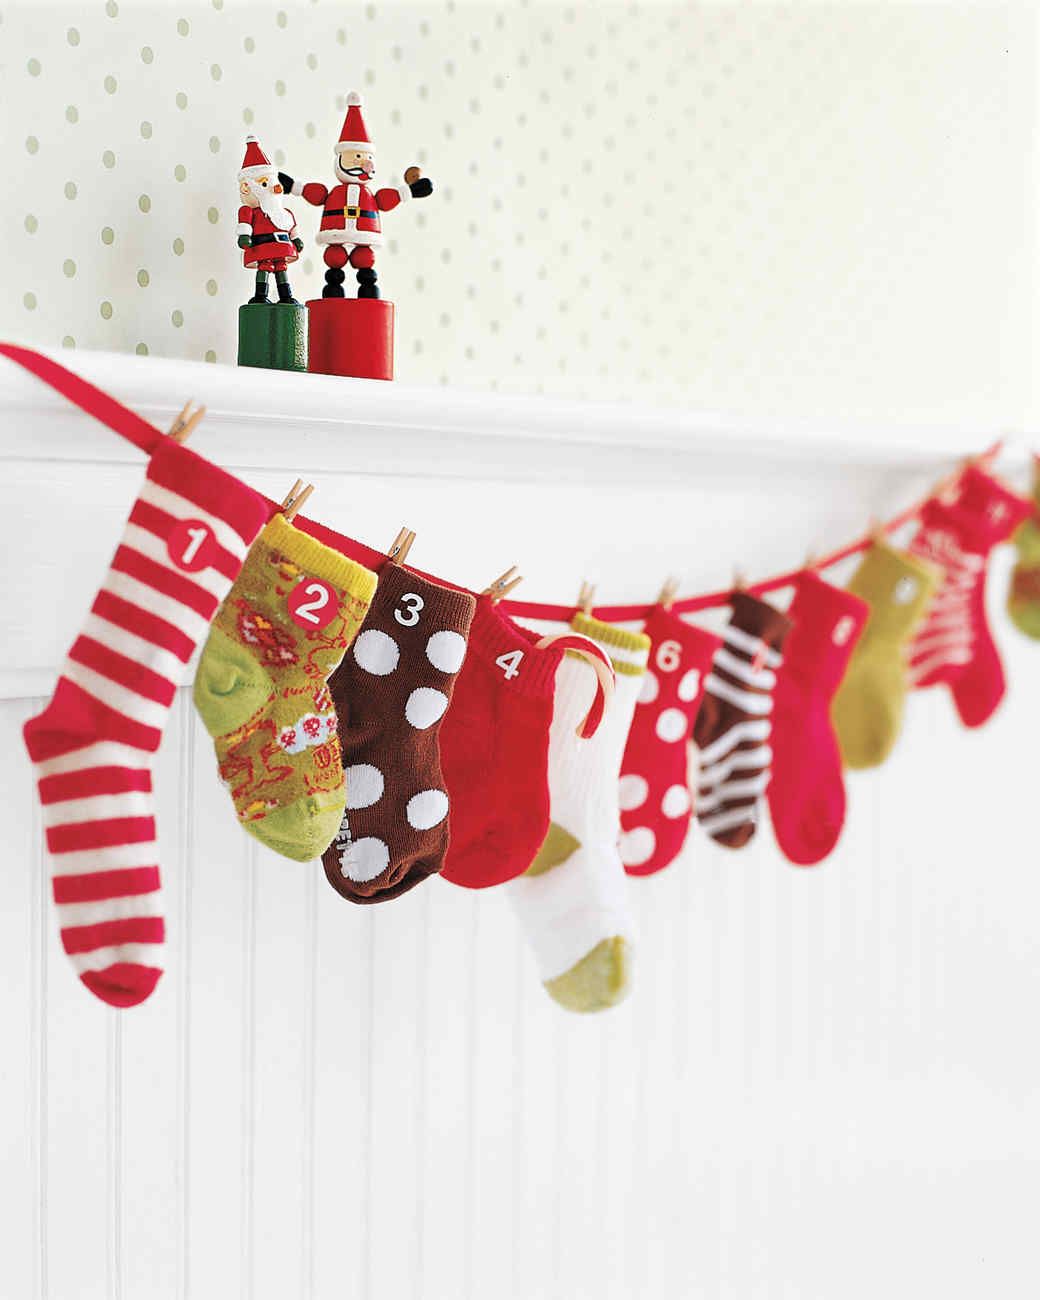
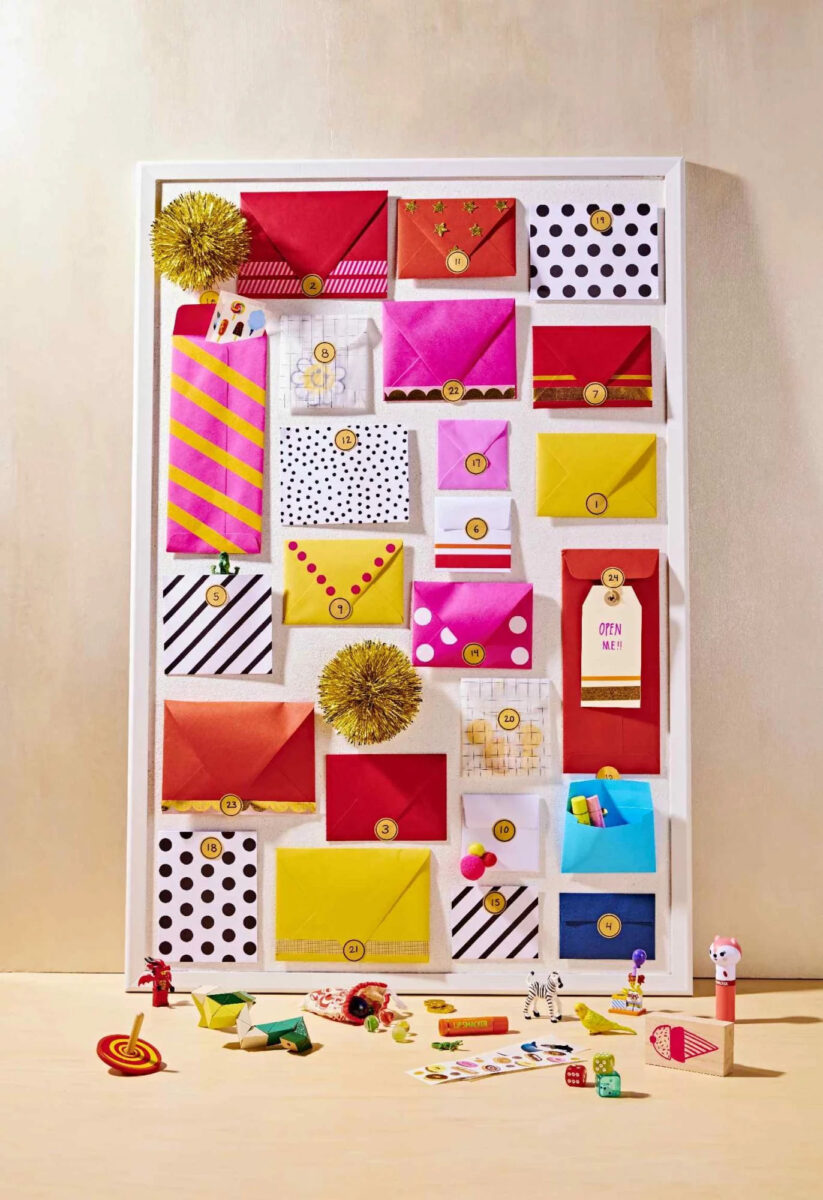
1. An advent calendar made of letters
We are used to perceiving the calendar as a set of boxes to be ticked day after day with a cross. A Christmas calendar can be more than all this, it can be fun but above all original. It might be an idea to make one with a succession of letters and could become at the same time a object with which to furnish the desk or the bedside table in the bedroom.
For to achieve this particular calendar you will need:
- colored a4 sheets
- Scotch tape
- hot glue
- a picture with frame or slate

The method it is very simple and it begins with creating 24 letters, using gods simple colored sheets or paper of any pattern you like, for example the paper used to wrap gifts.
Take the paper and place it in front of you lengthwise.
- Fold the paper on himself horizontally to do match the corners of the paper. Press well so that the crease you just made is visible.
- Now reopen the sheet and place it in vertical. At this point, take the right corner and bring it to the center until it touches the mark you left earlier. Do it same method with the left side. Press both ends firmly so that the marks are clearly visible here as well.
- Start from lower part e make a fold of a couple of centimeters on both sides, right and left.
- Fold the paper on himself taking the bottom of the sheet until it arrives at the base of the triangle at the top which would then be the closing part of your letter. Smooth the sheet well to give it shape.
- Seal left and right with duct tape and your envelope is ready.
- Number your letters from 1 to 24 is glue them one by one on the base that you will have chosen for your calendar between the frame and the slate.
- Now insert a note inside the envelopes for a mini treasure hunt, to help children find the gift of the day, or put a small item in the bag and your calendar of letters is ready.
You might be interested in: 14 pillow ideas for your kids
2. Bags for a Nordic style calendar
If your living room is furnished in Scandinavian style, any Christmas calendar could be out of tune with the rest of the environment. Precisely for this you need make a Nordic style calendar, that is right for you and that you become part integral part of the furniture without it being off topic.
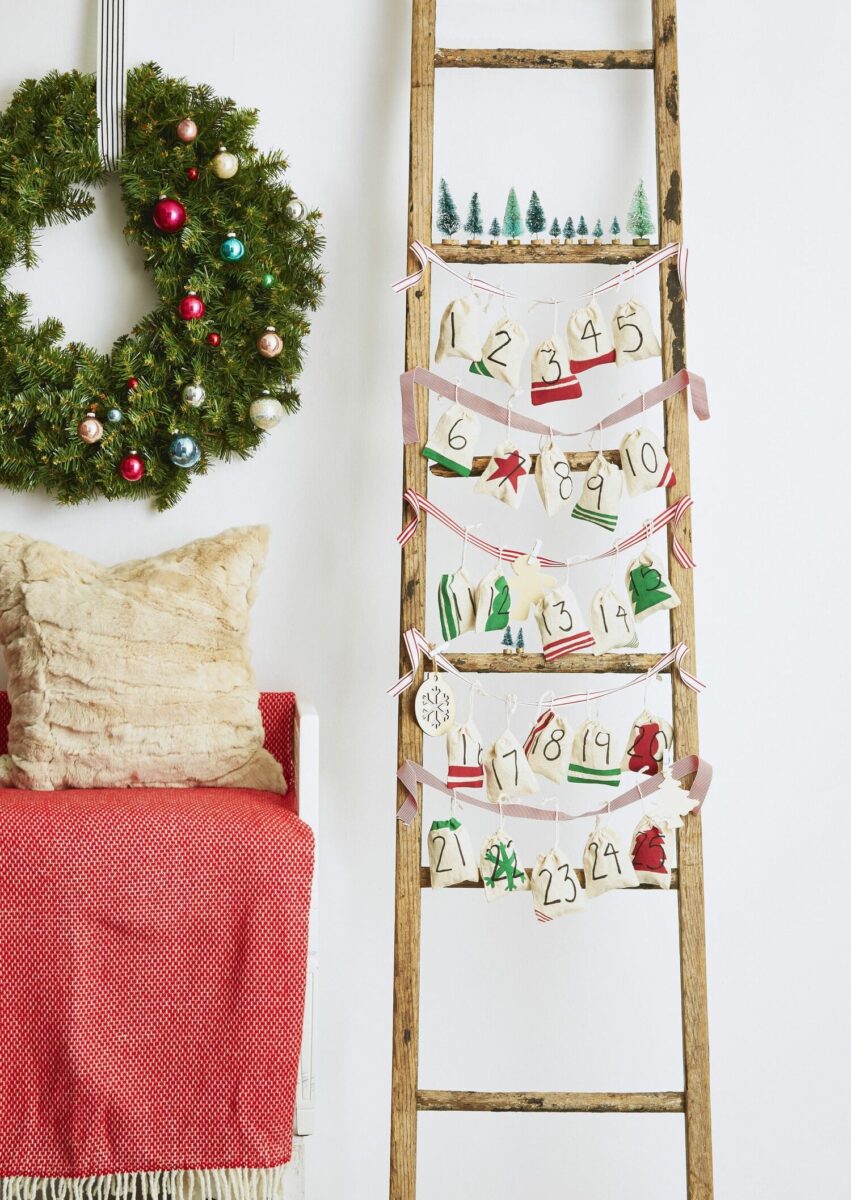
You could then create a Christmas calendar made up of many linen bags to hang on an empty wall or a wooden staircase, a piece of furniture that is very often found in Nordic style homes.
To make the bags of your calendar you they will need:
Do you want design advice on how to furnish? Join the group
- linen
- scissors
- hot glue
- colors for fabric
- brushes with the small tip
- a piece of construction paper
- ribbon
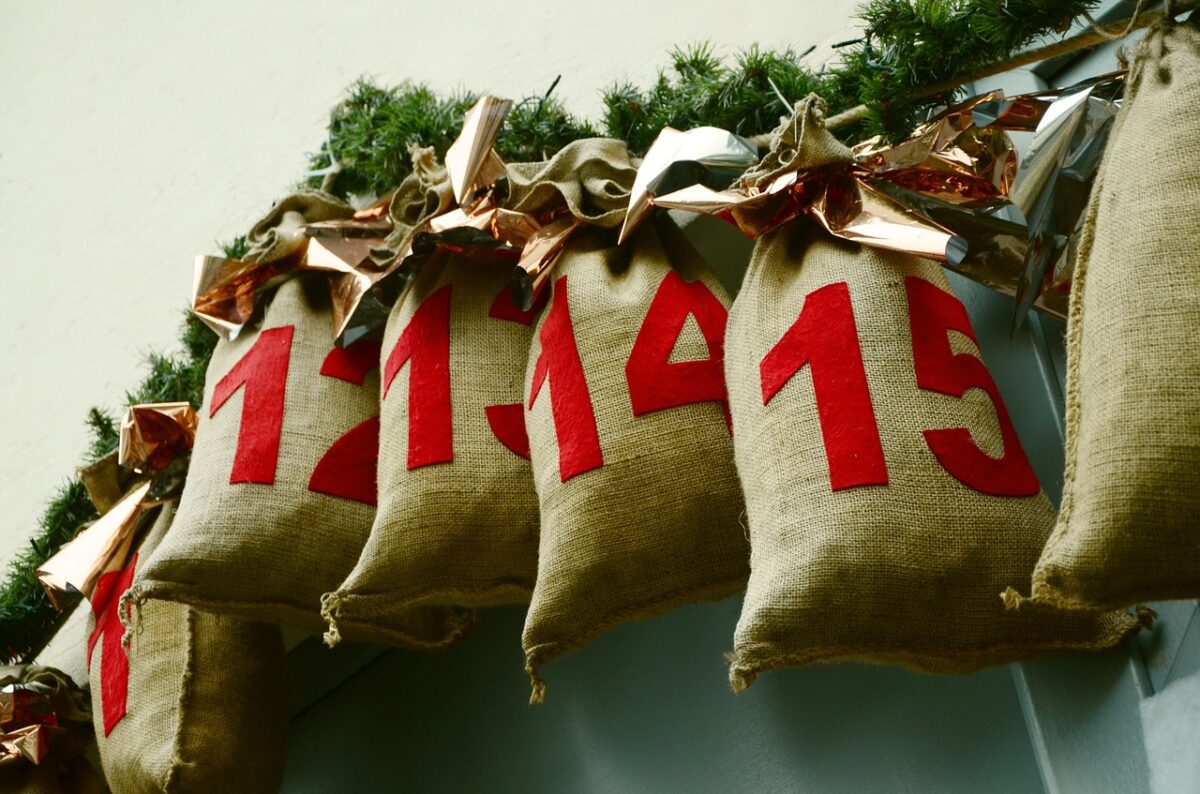
For making the bags you will not have to sew them because we will show you a alternative method of not using needle and thread.
- Decide on the size of the bags that you want to create for your calendars. Draw the lines on the fabric and cut. Now that you have a sample bag, cut out some more 47 pieces of the same size.
- Lay one rectangle on top of the other and paste with glue hot the two sides and the bottom edge, leaving however free the upper part a couple of centimeters.
- Make sure that the lanyard is twice the size of the top of the bag and you will have to have two lanyards for each bag to realize. Place on the inside and above of the bag one cord that goes to the right and one that goes to the left. Fold back the top of the bag on itself to cover the cords and glue with hot glue.
- Now turn the bag upside down, take the lanyards coming out from the opposite side e arrange them as you did previously. At this point, the cords coming out of the bag will form a U from the sides. Fold back like before cloth to cover the lines and paste with hot glue. Make two knots tight at the ends of the lanyards and tighten so as to close the bag.
At this point your work is done because just hang the bags wherever you like, but if you want to customize them it will be enough for you decorate them with fabric colors. you can write their number on the bags and draw silhouettes of trees and gift packages, but remember that before coloring the fabric you will have to place between one fabric and another a cardboard to prevent the color from penetrating on both sides.
3. A calendar with boxes: simple but original
If you don’t have much time but still want to make a Christmas calendar yourself you can create it in minutes and with few needed.
You they will need:
- 24 mini boxes
- markers
- mini trees or other Christmas decorations
- hot glue
- small magnets
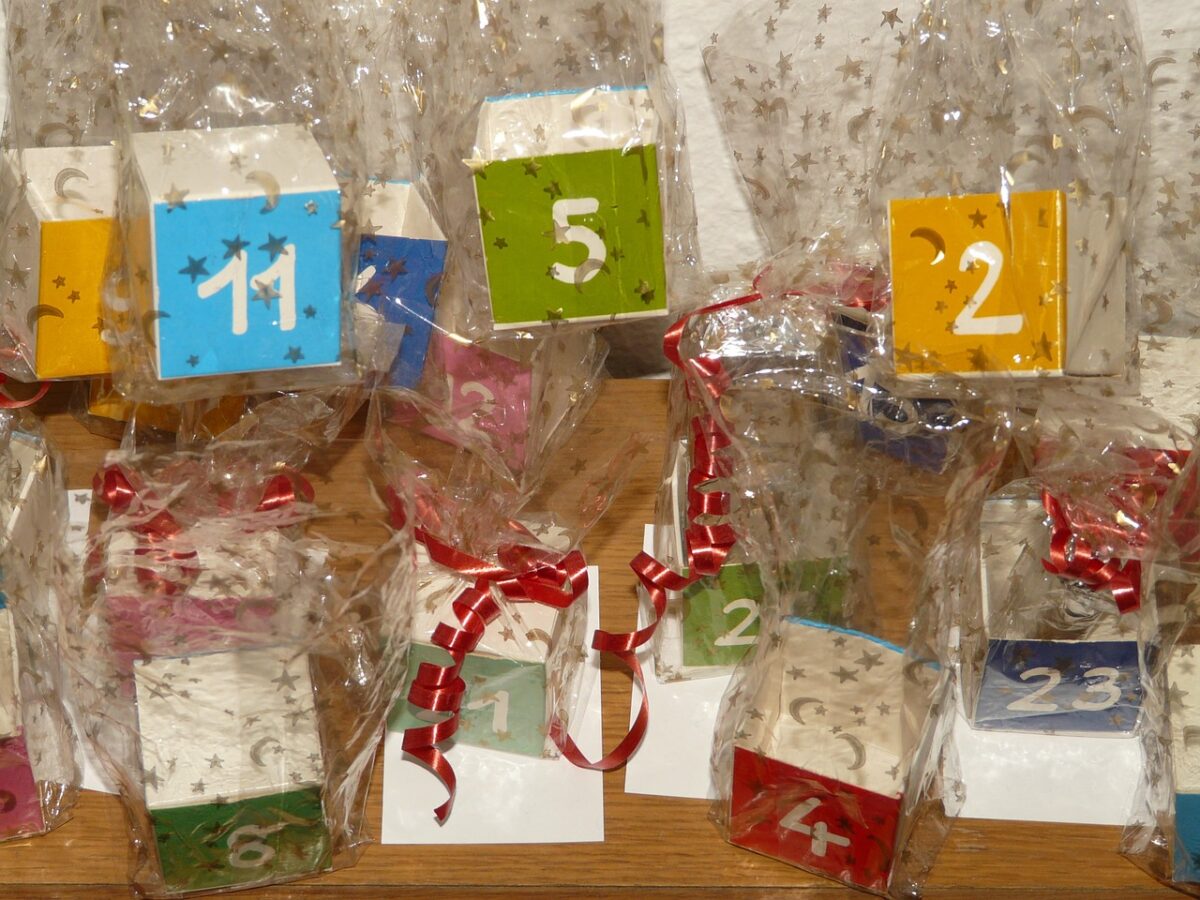
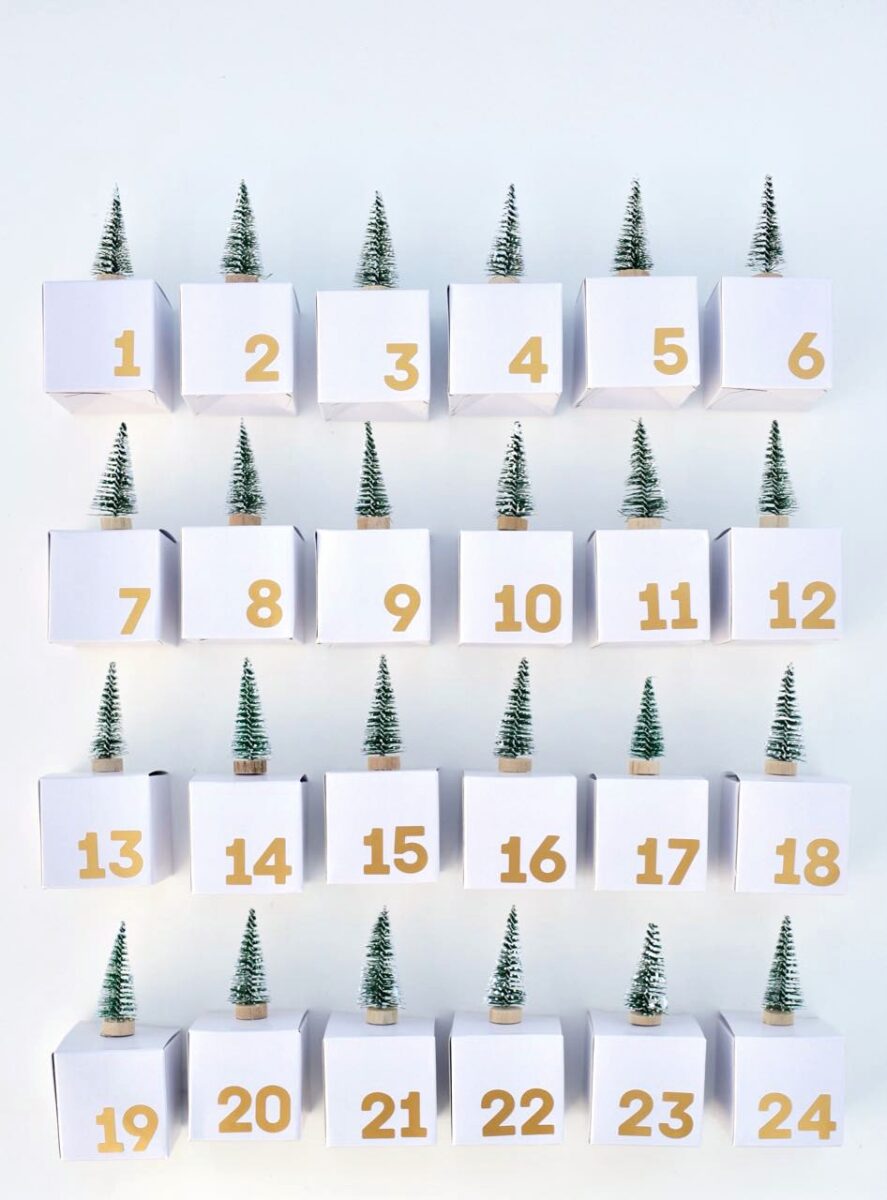
This calendar that we have defined as minimal, you can hang it on any metal surface or on a magnetic board so as to make it more original.
There realization of this calendar it is very simple and ends with sun 3 simple steps:
- Number every little box with the marker
- With hot glue decorate the top of the box (the one that won’t open) with mini Christmas trees or any other Christmas decoration you prefer.
- In the back of the box apply the magnet with hot glue and place them numbered boxes on the suitable surface.
DIY Christmas Calendar: Pictures and Photos
This year your little ones will have a special Christmas calendar because you will have created it with your own hands, but above all it will be original and different from all the others. Here is our gallery from which you can draw inspiration.
DIY Christmas Calendar: Making a DIY Christmas calendar has never been easier. With our advice, you will have such a creative and original calendar that your children will ask you to make one again next year.

When Christmas is coming children in particular are in large excitement for the arrival of Santa Claus and keeping them at bay can become increasingly difficult as December approaches. To make them pass the time faster and make him keep track of the days, it could be a good idea create for them an advent calendar which you can then fill with sweets and various surprises.
Today we will give you well 3 different ideas for to be able make a DIY Christmas calendar for your little ones, to entertain them and make them happy while they wait for Christmas to come and their gifts.
Read also: Ideas for making a children’s calendar

1. An advent calendar made of letters
We are used to perceiving the calendar as a set of boxes to be ticked day after day with a cross. A Christmas calendar can be more than all this, it can be fun but above all original. It might be an idea to make one with a succession of letters and could become at the same time a object with which to furnish the desk or the bedside table in the bedroom.
For to achieve this particular calendar you will need:
- colored a4 sheets
- Scotch tape
- hot glue
- a picture with frame or slate

The method it is very simple and it begins with creating 24 letters, using gods simple colored sheets or paper of any pattern you like, for example the paper used to wrap gifts.
Take the paper and place it in front of you lengthwise.
- Fold the paper on himself horizontally to do match the corners of the paper. Press well so that the crease you just made is visible.
- Now reopen the sheet and place it in vertical. At this point, take the right corner and bring it to the center until it touches the mark you left earlier. Do it same method with the left side. Press both ends firmly so that the marks are clearly visible here as well.
- Start from lower part e make a fold of a couple of centimeters on both sides, right and left.
- Fold the paper on himself taking the bottom of the sheet until it arrives at the base of the triangle at the top which would then be the closing part of your letter. Smooth the sheet well to give it shape.
- Seal left and right with duct tape and your envelope is ready.
- Number your letters from 1 to 24 is glue them one by one on the base that you will have chosen for your calendar between the frame and the slate.
- Now insert a note inside the envelopes for a mini treasure hunt, to help children find the gift of the day, or put a small item in the bag and your calendar of letters is ready.
You might be interested in: 14 pillow ideas for your kids

2. Bags for a Nordic style calendar
If your living room is furnished in Scandinavian style, any Christmas calendar could be out of tune with the rest of the environment. Precisely for this you need make a Nordic style calendar, that is right for you and that you become part integral part of the furniture without it being off topic.
You could then create a Christmas calendar made up of many linen bags to hang on an empty wall or a wooden staircase, a piece of furniture that is very often found in Nordic style homes.
To make the bags of your calendar you they will need:
Do you want design advice on how to furnish? Join the group
- linen
- scissors
- hot glue
- colors for fabric
- brushes with the small tip
- a piece of construction paper
- ribbon

For making the bags you will not have to sew them because we will show you a alternative method of not using needle and thread.
- Decide on the size of the bags that you want to create for your calendars. Draw the lines on the fabric and cut. Now that you have a sample bag, cut out some more 47 pieces of the same size.
- Lay one rectangle on top of the other and paste with glue hot the two sides and the bottom edge, leaving however free the upper part a couple of centimeters.
- Make sure that the lanyard is twice the size of the top of the bag and you will have to have two lanyards for each bag to realize. Place on the inside and above of the bag one cord that goes to the right and one that goes to the left. Fold back the top of the bag on itself to cover the cords and glue with hot glue.
- Now turn the bag upside down, take the lanyards coming out from the opposite side e arrange them as you did previously. At this point, the cords coming out of the bag will form a U from the sides. Fold back like before cloth to cover the lines and paste with hot glue. Make two knots tight at the ends of the lanyards and tighten so as to close the bag.
At this point your work is done because just hang the bags wherever you like, but if you want to customize them it will be enough for you decorate them with fabric colors. you can write their number on the bags and draw silhouettes of trees and gift packages, but remember that before coloring the fabric you will have to place between one fabric and another a cardboard to prevent the color from penetrating on both sides.

3. A calendar with boxes: simple but original
If you don’t have much time but still want to make a Christmas calendar yourself you can create it in minutes and with few needed.
You they will need:
- 24 mini boxes
- markers
- mini trees or other Christmas decorations
- hot glue
- small magnets

This calendar that we have defined as minimal, you can hang it on any metal surface or on a magnetic board so as to make it more original.
There realization of this calendar it is very simple and ends with sun 3 simple steps:
- Number every little box with the marker
- With hot glue decorate the top of the box (the one that won’t open) with mini Christmas trees or any other Christmas decoration you prefer.
- In the back of the box apply the magnet with hot glue and place them numbered boxes on the suitable surface.

DIY Christmas Calendar: Pictures and Photos
This year your little ones will have a special Christmas calendar because you will have created it with your own hands, but above all it will be original and different from all the others. Here is our gallery from which you can draw inspiration.

