Repair a leaking faucet. How to intervene with a simple do-it-yourself. What tools are needed. The types of taps and the relative intervention guides: compression tap, ceramic disc tap, tap with ball valves, cartridge tap.

Find yourself with the dripping faucet in the house it is not a rarity.
Indeed, it often happens to find yourself a repair a leaking faucet using the do-it-yourself, so as not to have to wait for theintervention of a plumber.
For those unfamiliar with DIY, intervene on a tap that is leaking water it may seem like a titanic undertaking, in fact, in most cases, it is an operation that simply requires you to change the worn gaskets.
Repairing a leaking faucet: tools required
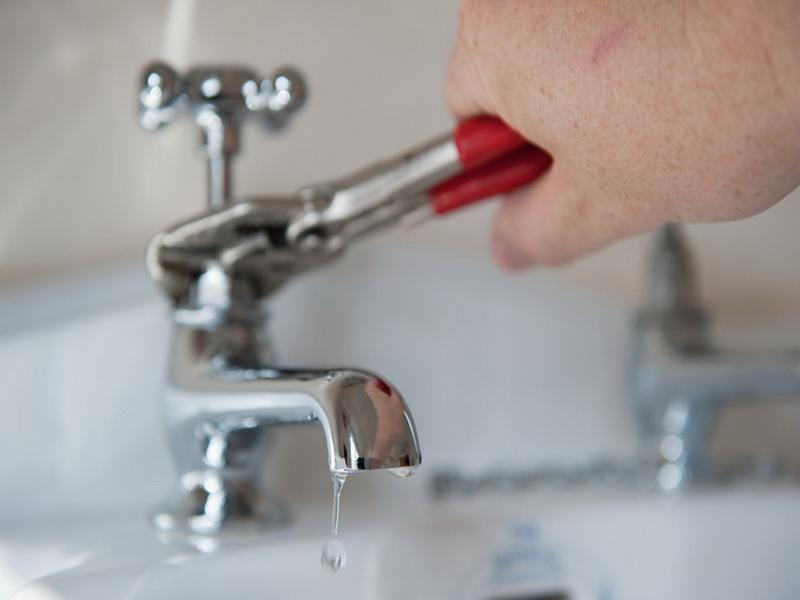
Before intervening, it is necessary to equip yourself with some elementary ones DIY tools, to always keep on hand for the small operations often necessary at home:
- one or more screwdrivers,
- a pipe wrench (also called a parrot),
- a wrench,
- the spare gasket,
- a piece of tow or hemp for plumbing and some grease.
Read also: Tool shed
Types of taps: how to repair them
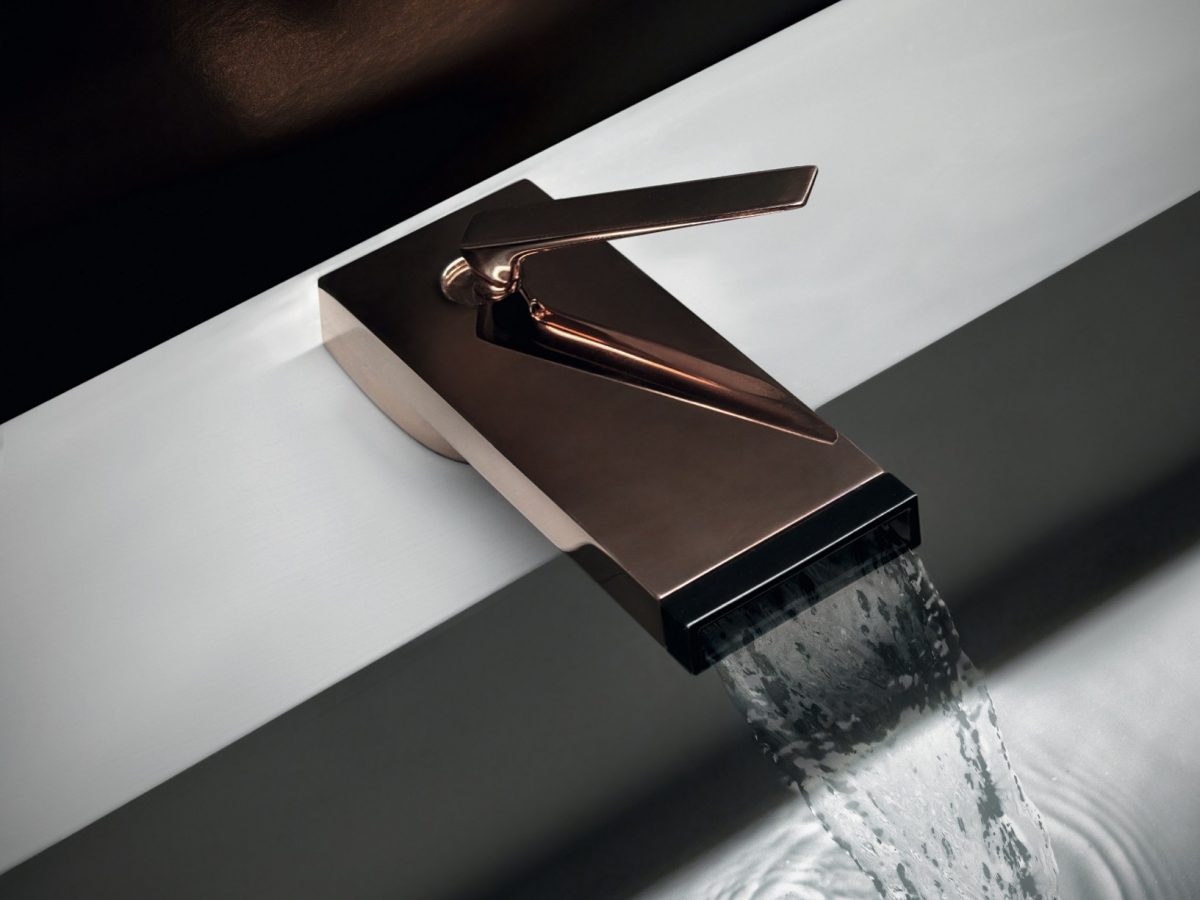
The models on the market are different, in terms of operating mechanism, and each requires a different intervention.

Currently i models I’m:
- compression tap
- ceramic disc faucet
- tap with ball valves
- cartridge tap
Repair a leaking compression faucet
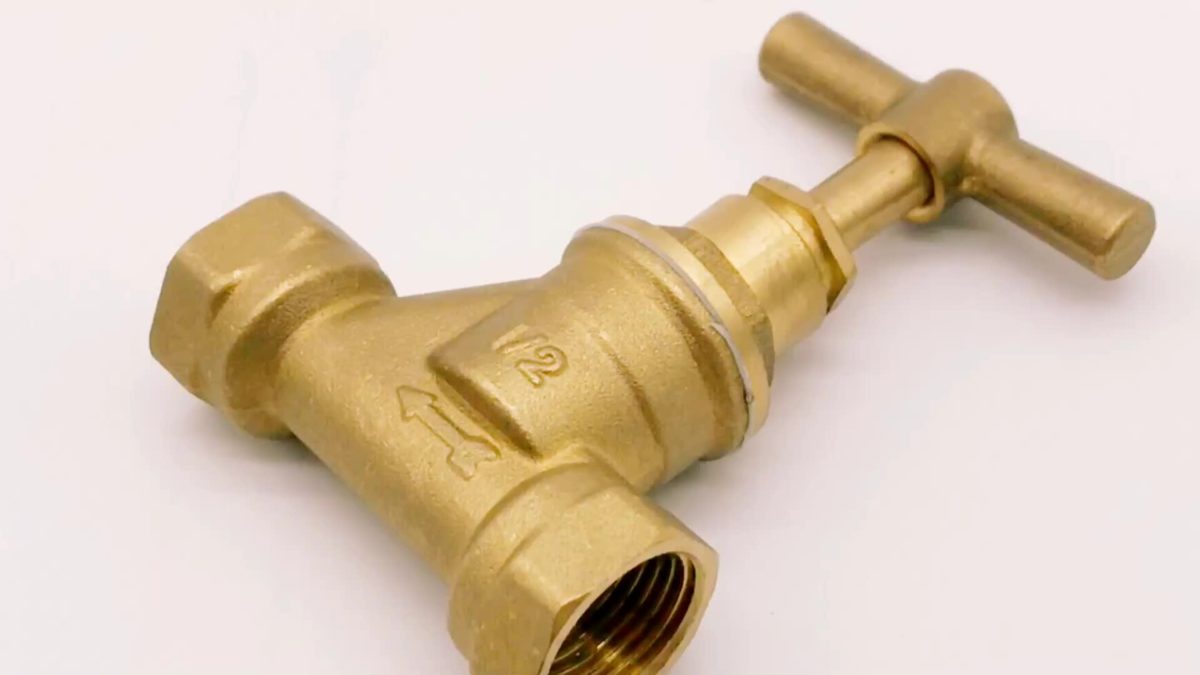
Proceed as follows:
- close the water stop key of the upstream system (the check will be easy, by opening the tap on which you have to intervene),
- close the sink drain to avoid losing small components,
- disassemble the hot / cold tap water knobs,
- unscrew the nut that is visible with a wrench,
- extract the stem, where you will find a plastic circle (called O-ring),
- replace it with a new one of the same size,
- remove the rubber gasket to replace it,
- apply a light layer of grease to make the mechanism more fluid
- refit the hot / cold water knobs,
- reopen the water system.
You may be interested in: How to repair a load-bearing wall: guide, permits, ideas
Repairing a leaking ceramic disc faucet
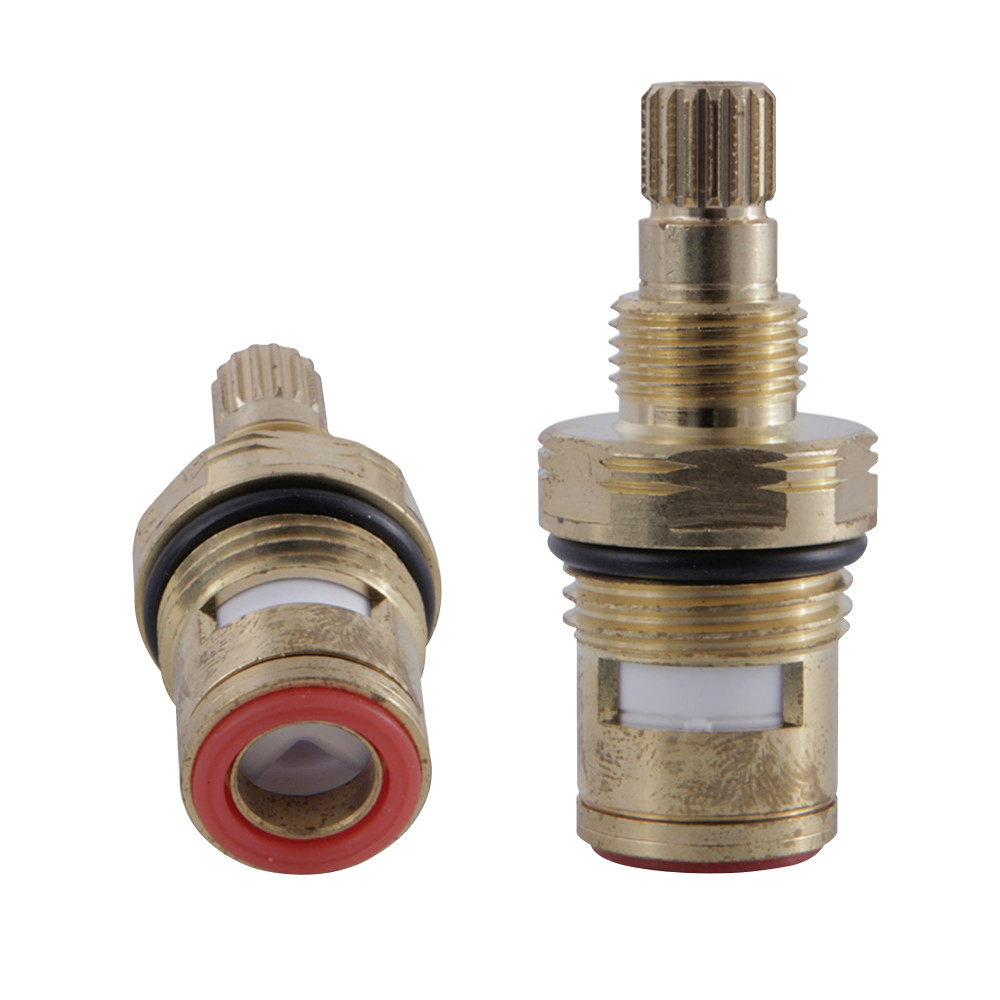
They are the simplest models to operate on, let’s see how:
- close the water stop key of the upstream system (the check will be easy, by opening the tap on which you have to intervene),
- close the sink drain to avoid losing small components,
- remove the bolt from the faucet body with a wrench,
- remove the mixer cartridge
- check that it is not damaged or broken, in this case replace it with a new one of the same size,
- also check the gasket at the base of the cartridge, and also in this case if damaged, replace it,
- refit the body of the tap,
- reopen the water system.
Repairing a leaky ball valve faucet
Do you want design advice on how to furnish? Join the group
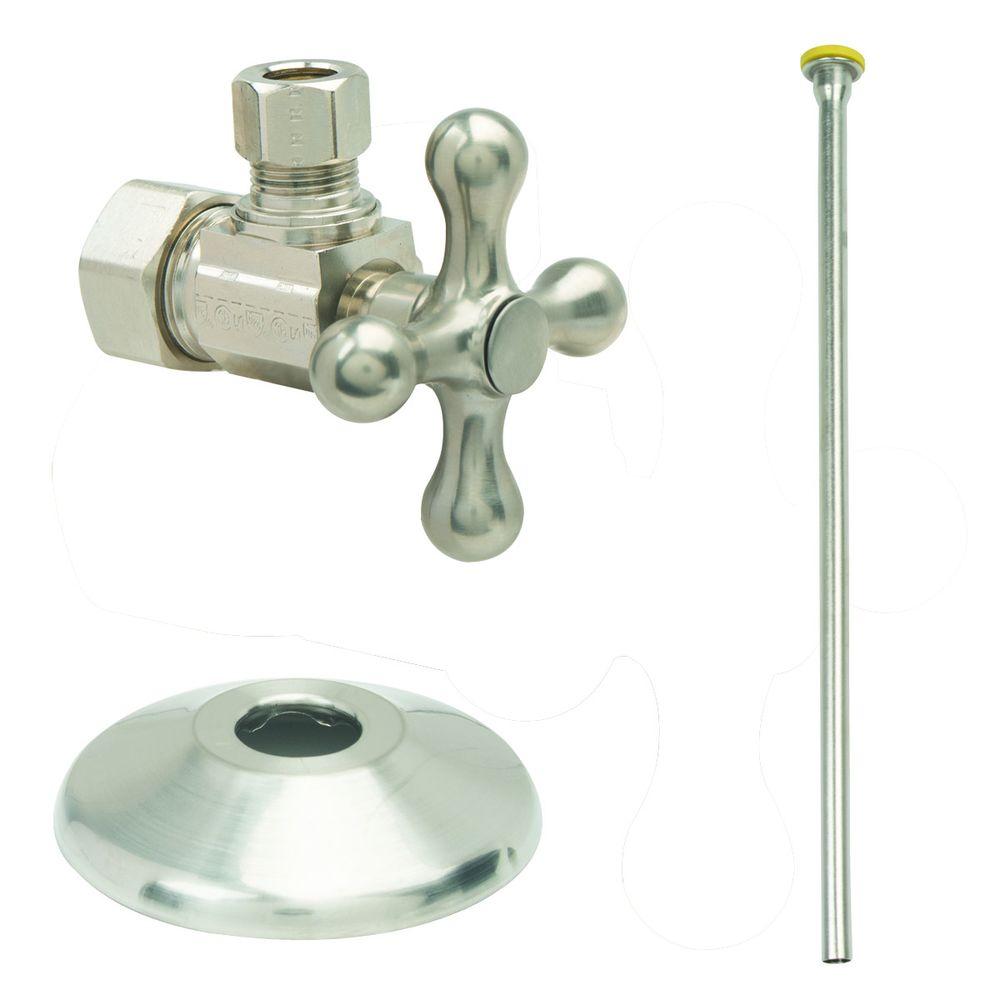
They make up the slightly more complex specimens, so much so that before intervening, it will be necessary to go to a hardware store or plumbing shop to buy the repair kit specifically for sale.
- close the water stop key of the upstream system (the check will be easy, by opening the tap on which you have to intervene),
- close the sink drain to avoid losing small components,
- unscrew the mixer,
- remove the cap and the stud located underneath with pliers
- loosen the cam of the tap to remove it together with the washer and the ball,
- remove the suction seals and the relative springs with tweezers,
- replace the O-ring, applying a light layer of grease,
- replace springs, gaskets and washers of the cam using the new ones present in the kit purchased
- refit the cap,
- reopen the water system.
Repair a leaking cartridge faucet
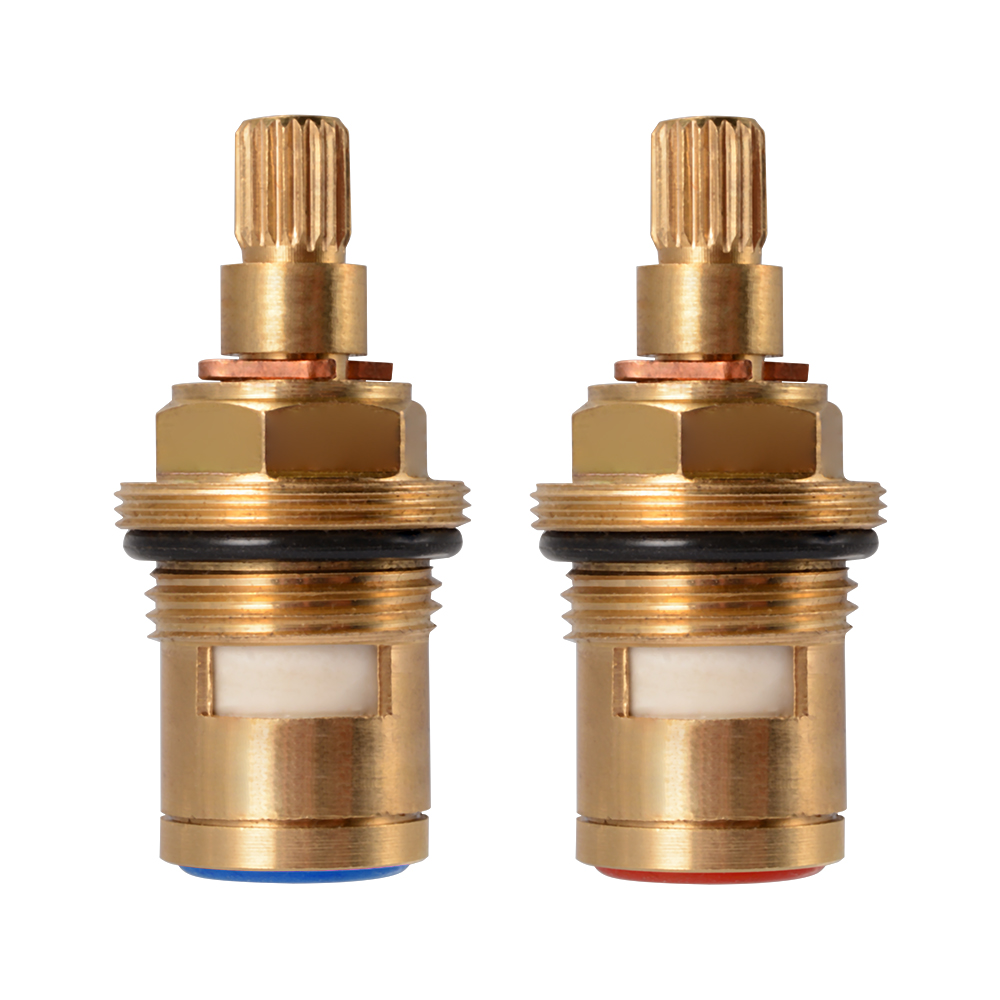
- close the water stop key of the upstream system (the check will be easy, by opening the tap on which you have to intervene),
- close the sink drain to avoid losing small components,
- unscrew the mixer, tilting it backwards
- remove the fixing clip, identifiable in a circular piece of plastic,
- take out the cartridge, keeping it vertical,
- remove the spout and carefully set it aside for reassembly,
- replace the damaged O-ring, applying a light layer of grease,
- reassemble the mixer,
- reopen the water system.

- Degree in Economics and Commerce, international address
- Author specialized in interior design and furnishing
Repair a leaking faucet. How to intervene with a simple do-it-yourself. What tools are needed. The types of taps and the relative intervention guides: compression tap, ceramic disc tap, tap with ball valves, cartridge tap.

Find yourself with the dripping faucet in the house it is not a rarity.
Indeed, it often happens to find yourself a repair a leaking faucet using the do-it-yourself, so as not to have to wait for theintervention of a plumber.
For those unfamiliar with DIY, intervene on a tap that is leaking water it may seem like a titanic undertaking, in fact, in most cases, it is an operation that simply requires you to change the worn gaskets.
Repairing a leaking faucet: tools required

Before intervening, it is necessary to equip yourself with some elementary ones DIY tools, to always keep on hand for the small operations often necessary at home:
- one or more screwdrivers,
- a pipe wrench (also called a parrot),
- a wrench,
- the spare gasket,
- a piece of tow or hemp for plumbing and some grease.
Read also: Tool shed
Types of taps: how to repair them

The models on the market are different, in terms of operating mechanism, and each requires a different intervention.

Currently i models I’m:
- compression tap
- ceramic disc faucet
- tap with ball valves
- cartridge tap
Repair a leaking compression faucet

Proceed as follows:
- close the water stop key of the upstream system (the check will be easy, by opening the tap on which you have to intervene),
- close the sink drain to avoid losing small components,
- disassemble the hot / cold tap water knobs,
- unscrew the nut that is visible with a wrench,
- extract the stem, where you will find a plastic circle (called O-ring),
- replace it with a new one of the same size,
- remove the rubber gasket to replace it,
- apply a light layer of grease to make the mechanism more fluid
- refit the hot / cold water knobs,
- reopen the water system.
You may be interested in: How to repair a load-bearing wall: guide, permits, ideas
Repairing a leaking ceramic disc faucet

They are the simplest models to operate on, let’s see how:
- close the water stop key of the upstream system (the check will be easy, by opening the tap on which you have to intervene),
- close the sink drain to avoid losing small components,
- remove the bolt from the faucet body with a wrench,
- remove the mixer cartridge
- check that it is not damaged or broken, in this case replace it with a new one of the same size,
- also check the gasket at the base of the cartridge, and also in this case if damaged, replace it,
- refit the body of the tap,
- reopen the water system.
Repairing a leaky ball valve faucet
Do you want design advice on how to furnish? Join the group

They make up the slightly more complex specimens, so much so that before intervening, it will be necessary to go to a hardware store or plumbing shop to buy the repair kit specifically for sale.
- close the water stop key of the upstream system (the check will be easy, by opening the tap on which you have to intervene),
- close the sink drain to avoid losing small components,
- unscrew the mixer,
- remove the cap and the stud located underneath with pliers
- loosen the cam of the tap to remove it together with the washer and the ball,
- remove the suction seals and the relative springs with tweezers,
- replace the O-ring, applying a light layer of grease,
- replace springs, gaskets and washers of the cam using the new ones present in the kit purchased
- refit the cap,
- reopen the water system.
Repair a leaking cartridge faucet

- close the water stop key of the upstream system (the check will be easy, by opening the tap on which you have to intervene),
- close the sink drain to avoid losing small components,
- unscrew the mixer, tilting it backwards
- remove the fixing clip, identifiable in a circular piece of plastic,
- take out the cartridge, keeping it vertical,
- remove the spout and carefully set it aside for reassembly,
- replace the damaged O-ring, applying a light layer of grease,
- reassemble the mixer,
- reopen the water system.

- Degree in Economics and Commerce, international address
- Author specialized in interior design and furnishing

