 Shutterstock Photo | Anna Chavdar
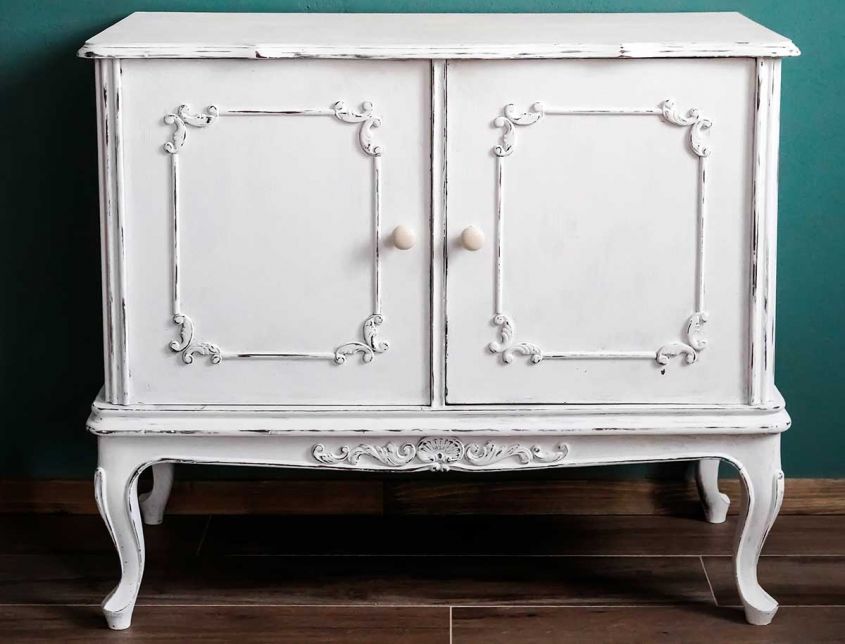
How to pickle a piece of furniture? Pickling is a decorative technique, used above all for shabby chic style furniture, which gives the wood a deliberately worn look. This technique can also be a valid solution to give new life to a ruined or dated piece of furniture, allowing it to be reused without having to buy a new one. What does it mean to pickle a piece of furniture? Basically create, through a particular painting and after having leveled any paint from the furniture in question, a piece of furniture with an antique flavor. The fundamental step is to use the transparent bleached wax to make the furniture smooth but at the same time without a perfect varnish. There are steps that cannot be missed, such as preparing for the application of the paint with a sanding job, there must be no holes or strange ripples, they must be filled previously. Let’s go in order though: here then is the 10 steps to follow for a perfect result.
Necessary material
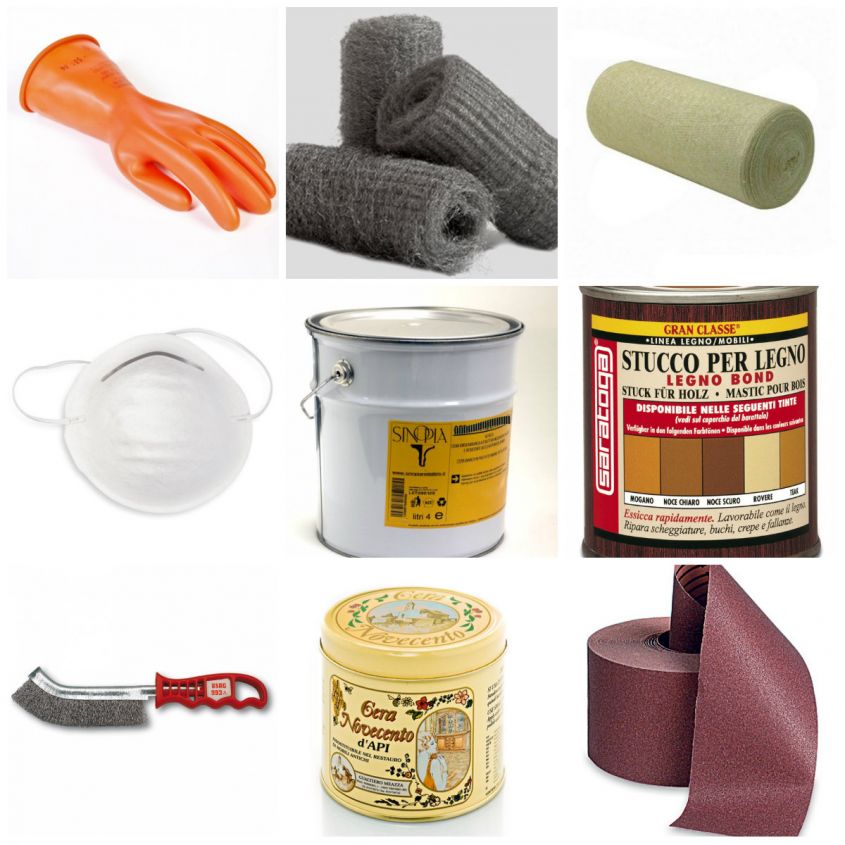 Before you start pickling a piece of furniture you will need to make sure you have all the necessary material available. Get sturdy gloves, face masks, wire brush, steel wool, bleached wax paste, light furniture polish, wool polishing cloth, putty and sandpaper. Also make sure of the type of result you want based on the starting point: ask yourself how to paint an antique white furniture or how to pickle a lacquered furniture, to understand how to proceed. In fact, not all furniture starts from the same starting point and cannot have the same result or the same procedure.
Workplace preparation
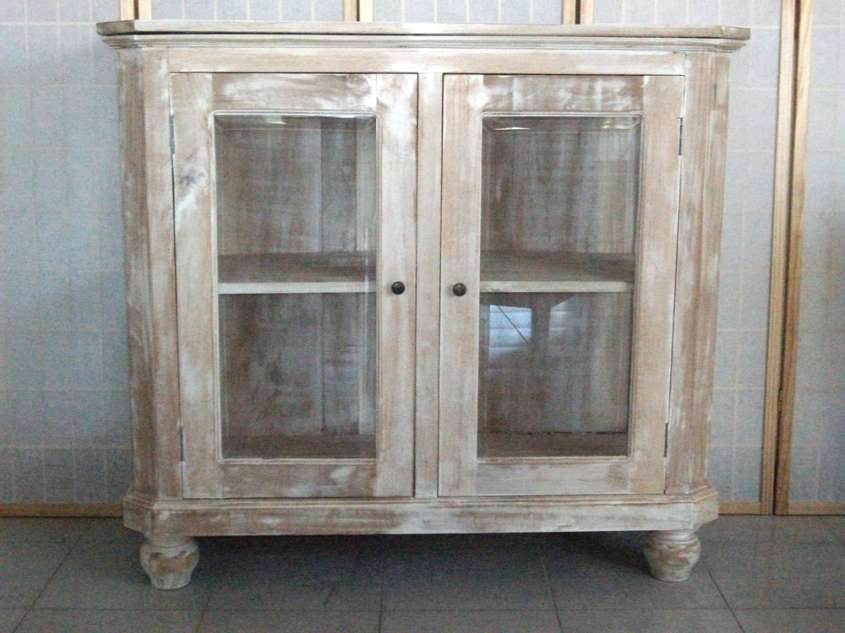
For example, if you have established that you want to pickle a dark wood cabinet, be prepared to take an extra step in terms of the coat of paint with which to finish the job. Is preferable pickling a piece of furniture in outdoor spaces, to avoid too strong odors in the home. If this is not possible, we advise you to use gloves and masks during all the work and to ventilate the room you are in well once the work is finished and also during, to avoid breathing too much paints and waxes, which could have a strong smell.
Sand
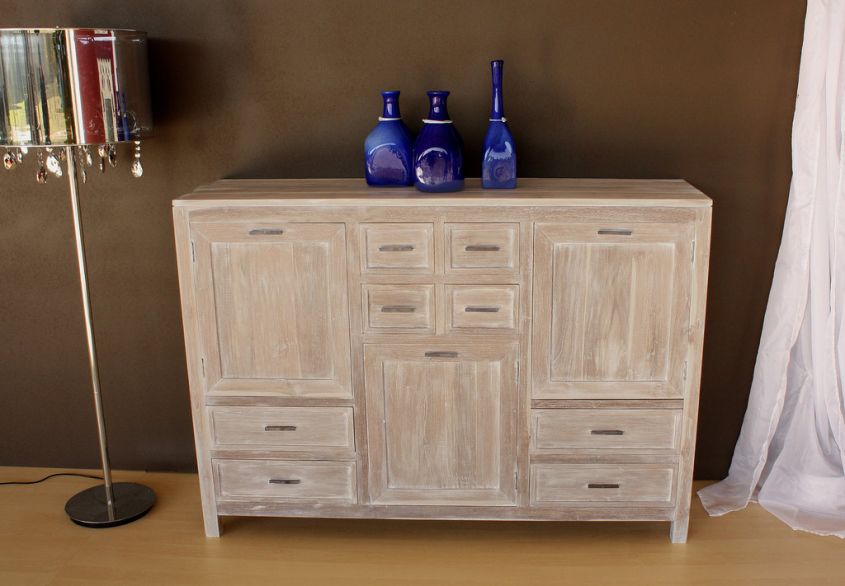
Start by sanding the piece of furniture to be pickled to remove the old layers of paint and wax, which would prevent a good result. Do not rush, even if this step is rather boring, it will guarantee you an optimal result. All imperfections such as holes or ripples must be leveled with putty to have a linear and perfect result later on. There are also those who voluntarily skip this step because they prefer to see the imperfections to make a piece of furniture even more lived-in.
Putty
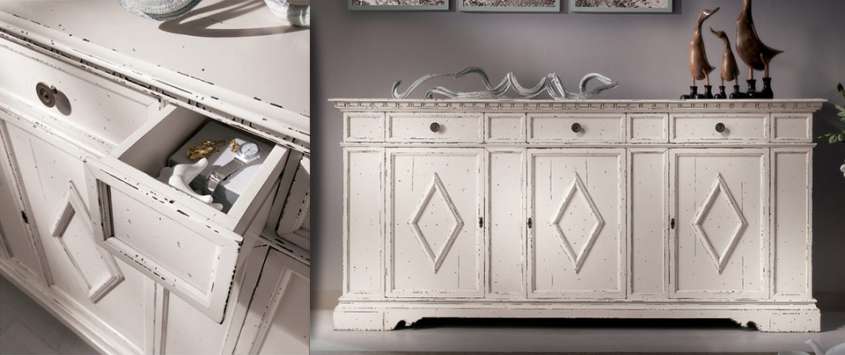
Putty all the damaged parts of the decapè furniture. Let the grout dry and proceed by sandblasting the excess. In this way the surface will appear smooth and homogeneous allowing a subsequent drafting without defects except the antiqued result which is what we want to obtain. On the type of grout to use, you will have to understand which type you prefer for other jobs too, know that the quick-setting one if you need to level it is more difficult to modify once applied.
Brush the entire surface
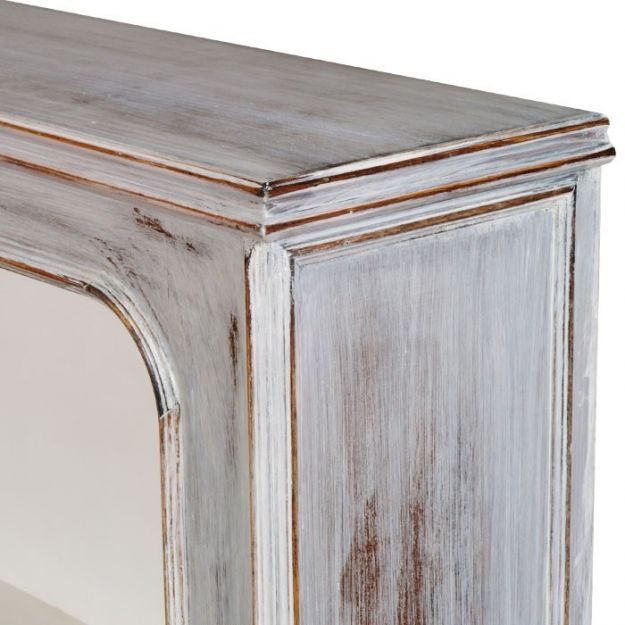
Now brush the entire surface with the wire brush in the direction of the wood ribs, thus creating small grooves. In this way the wax will be absorbed better and will not come off. This step is very important in order to create a perfect pickled piece of furniture, even if it is dark in color. However, the shabby chic style usually prefers soft tones, from white to pastel colors. But if you are a fan of the darkest color of all it doesn’t matter: maybe the antiqued effect will be even more evident thanks to the gaps between the color on the surface and the one that will be visible.
Roll out the white wax paste
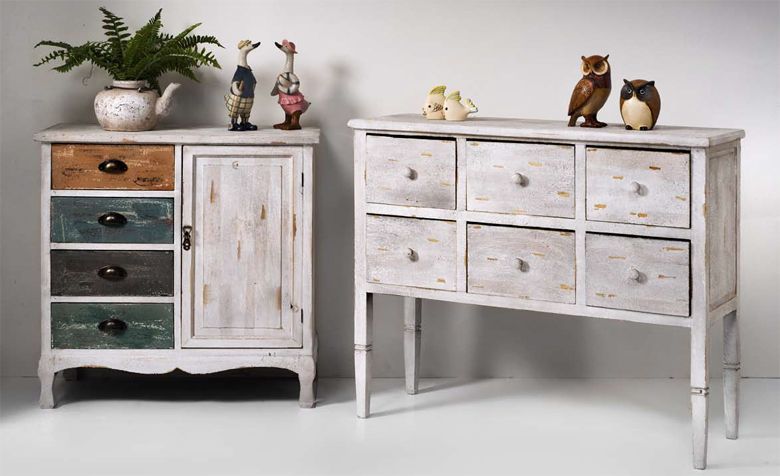
Take the steel wool, soak it in the white wax paste and spread it in both directions, being careful to get it into the grooves and pores. Then let it dry for half an hour. Not everyone knows steel wool: what is it? On the market it can be extra-fine, coarse, or very fine-grained. The extra-fine-grained steel wool is made from superior quality steel and intertwined threads, perfect for our intent to pickle a piece of furniture.
Rub with furniture wax
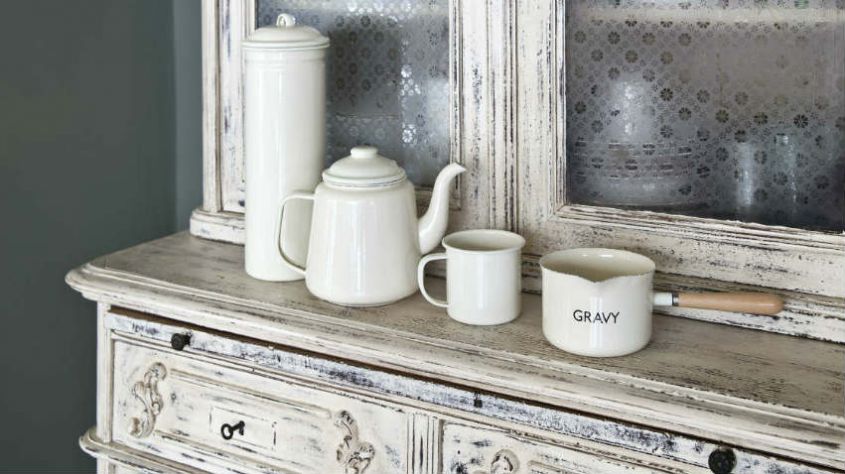
After this time, take another piece of steel wool and dip it in the furniture wax paste. Then rub the piece of furniture, removing the previously smeared white wax: obviously you will have to remove the amount that seems right for your final result. So don’t overdo the scrubbing, otherwise the different color levels won’t be far enough apart. Usually to obtain a result that lasts over time, trying to remove all the previous wax it will then be necessary to use a decarent (also easily available in paint shops around the house). This operation may take several repetitions.
Polish
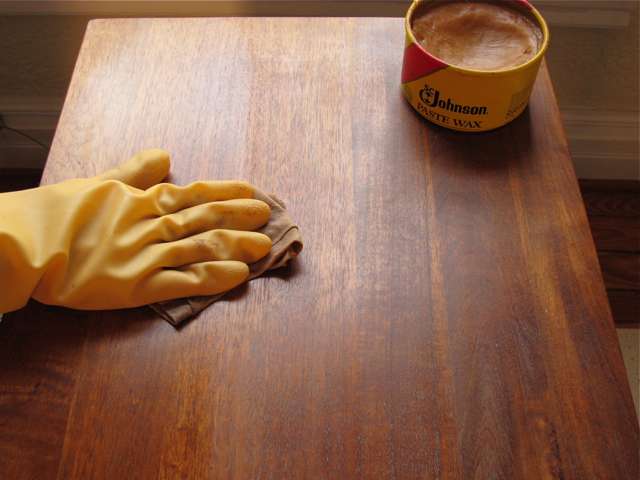
To finish the pickling of your furniture accurately, do not forget to pass a coat of polish over the entire surface. This will ensure greater yield and a better aesthetic result. What is the best polish to apply? It depends on the result you want to achieve. If you are thinking of a shabby chic piece of furniture, it is better to avoid a too shiny closing varnish and focus everything on something more matte in vintage style.
Maintenance
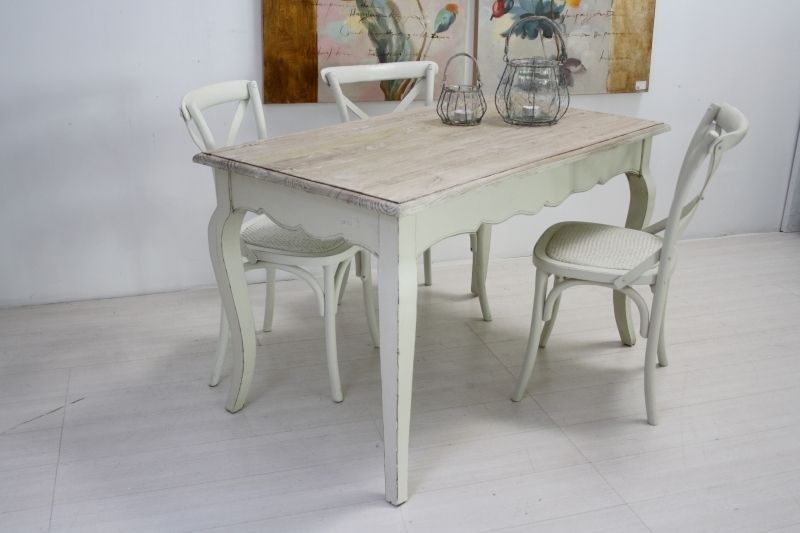
The long work is over and your furniture is ready to be admired! For the maintenance of a pickled piece of furniture, you just need to pass a coat of light furniture wax on the surface from time to time. Remember that a pickled piece of furniture has already passed several quite stressful stages so thinking of picking the same bedside table or wardrobe or bed again is a bit bold idea. Better to immediately aim for the result you want to achieve without changing your mind during construction.
Decorations for a vintage style piece of furniture
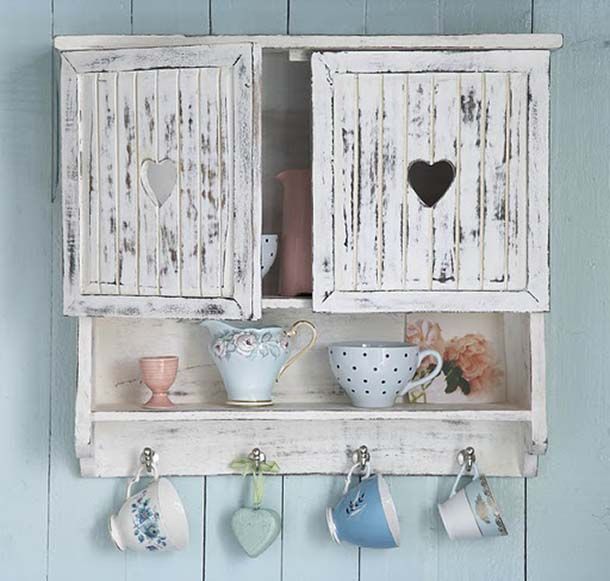
Shabby chic style lovers know well how to enhance a pickled piece of furniture: old objects, grandmother’s tea sets, embroidered doilies, everything that is part of the past will be well appreciated to enhance and personalize this splendid piece of furniture. If you are really a purist, you can think of inserting wallpaper inside a living room furniture to contain your dishes for the dining room to cover the different layers, for example between a shelf and another. Do it with a color in stark contrast or a shade darker than the one covering the piece of furniture just made.

