Refine sewing techniques and build a pillow with your own hands. Square, rectangular cushion: here’s how to design the perfect one that fits well inside your home.
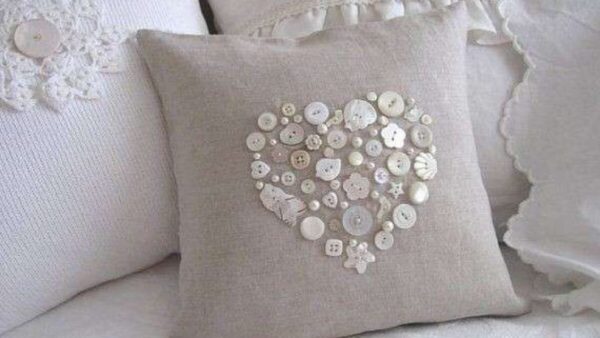
THE pillows they are fundamental furnishing elements for a home: not only in the living area on a sofa, they can furnish any environment with style. We bet that everyone has at least one decorative pillow in the house and we are equally certain that at least once in your life, if only to try, you have tried your hand at the incredible art of do-it-yourself!
As you will see, thanks to ours guide easy-peasy, create a pillow it is very simple and above all it costs very little: do you want to put the price of a shop cushion – according to the seller – of incredible Italian manufacture with inserts in precious stones hand-picked by little dwarfs in a cave in Timbuktu? Come on. With a little sewing machine practice and a lot of imagination you can say goodbye to unnecessary chatter about expensive pillows and make your own pillows. Even if you don’t have incredible sewing skills, it doesn’t matter: a small base is really enough and you can improvise always different and new creations.
Read also: Building and living in a wooden house
Here’s how to make a do-it-your-self pillow
What is needed
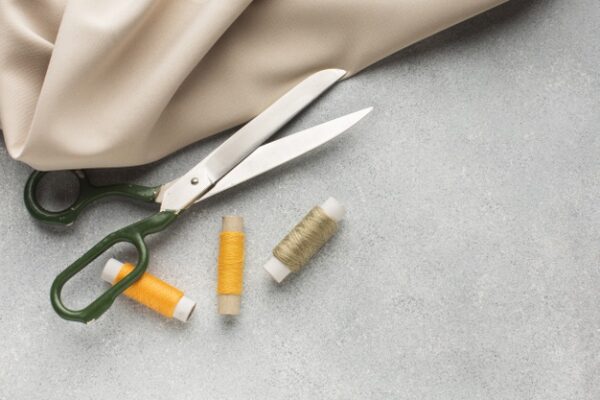
Before we see step by step how to make a pillow, here is everything you will need in tools and equipment:
- Sewing machine
- Cloth
- Scissors
- Ago
- Cotton thread
- Padding
- Iron
Find the fabric
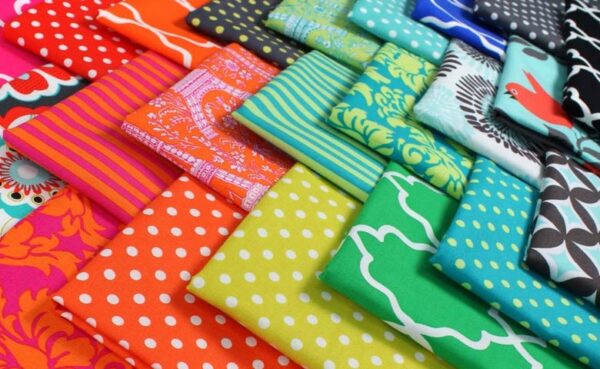
In choosing the cloth there is no limit to the imagination, consider the purpose to be given to the pillow. Obviously, if you are thinking of creating a pillow that you will use for sleeping, opt for a fabric that is comfortable if placed in contact with the skin. If, on the other hand, the cushion will be a decorative piece for your sofa, choose fabrics a solid color, with geometric patterns, floral depending on the furniture and style of your home.
Street of scissors

Once you have chosen the perfect fabric, cut it into 2 squares or 2 rectangles (depending on the shape you want to give to your pillow). A pillow, to put it simply, is made up of two pieces of cloth upholstered and sewn among them. Obviously, since you will have to sew the edges of the fabric together, remember to keep “wide” and that is to leave at least 4 cm for the side seams.
You might be interested in: Rectangular living room with open kitchen: 6 ideas for furnishing it
Foot on the pedal
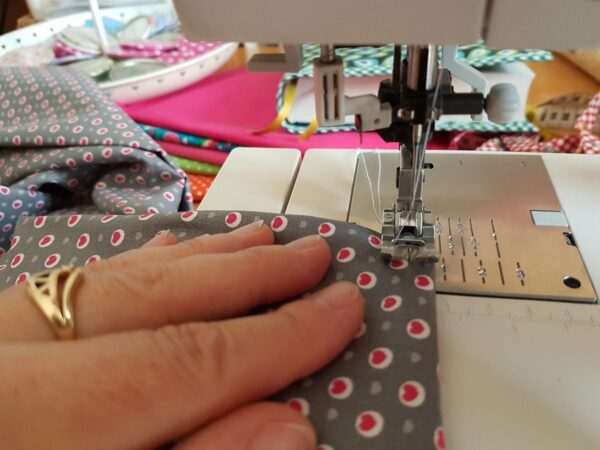
The next step can be made both by hand that using a machine from to sew. If you decide to sew “the old way”, after measuring the sides of the pieces of cloth, try to figure out how much thread you are going to use so you don’t run out in the middle of the seam. At this point, backwards, join the pieces of fabric: turn the pillow, which is taking shape. At this point, you should have some sort of pocket to fill with the padding. Quite right?
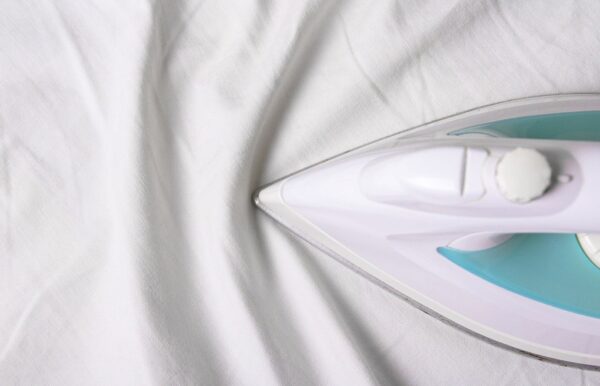
Tip: iron the pillow
Do you want design advice on how to furnish? Join the group
If you have noticed creases in the fabric while sewing, ironed the pillow before stuffing it because once done it will be impossible to remove the creases.
The mouth of the pillow
Let’s continue with the steps. Prepare the opening by folding roughly 1.5 cm of fabric under the edges of the pillow mouth. If you want, to keep this point firmly, you could put the iron on it.
Stuff and close the pillow
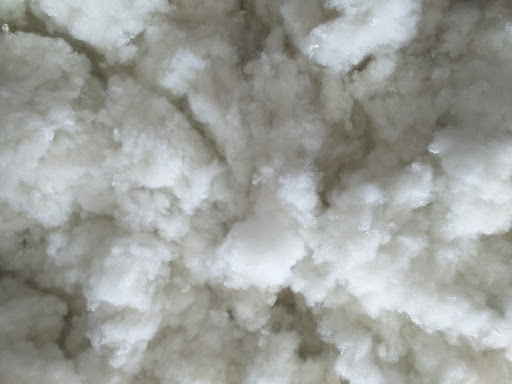
Ready to stuff and close? On the market there are many types of padding, those of cotton are, in our opinion, the best; but goose feathers or scraps of fabric are also good. Those of cotton and synthetichand are readily available in fabric and DIY stores. Free will! Take the padding and insert it into the draft pocket you created trying to evenly distribute the material inside. Fill it all, without leaving empty areas: they would show! Be careful, however, not to stuff the pillow too much: it would become too dense, you will not be able to close it and it could explode if someone sat on it with all their strength.
Sew the open mouth of the pocket. You can also do this by hand or by machine. If you have opted for the sewing machine because you are very familiar, you can use the overedge technique (a tight stitch that sews from right to left after overlapping the edges of the fabric). To get a cleaner result you could also use the blind stitch technique (particular stitches visible only on one side of the fabric, i.e. the inner one).
I can’t get more creativity

This simple tutorial and the base to build any type of pillow. You will just have to practice with the sewing machine and go fancy. Eventually, you will be able to create cushions of different shapes and sizes, for any room of your thing. In felt, in cotton, personalized for your little girl, with the addition of colored inserts or buttons: the result of the “make it by yourself” will be priceless.
DIY pillow: pictures and photos
Browse the gallery for many creative ideas on DIY pillows and get inspired.

