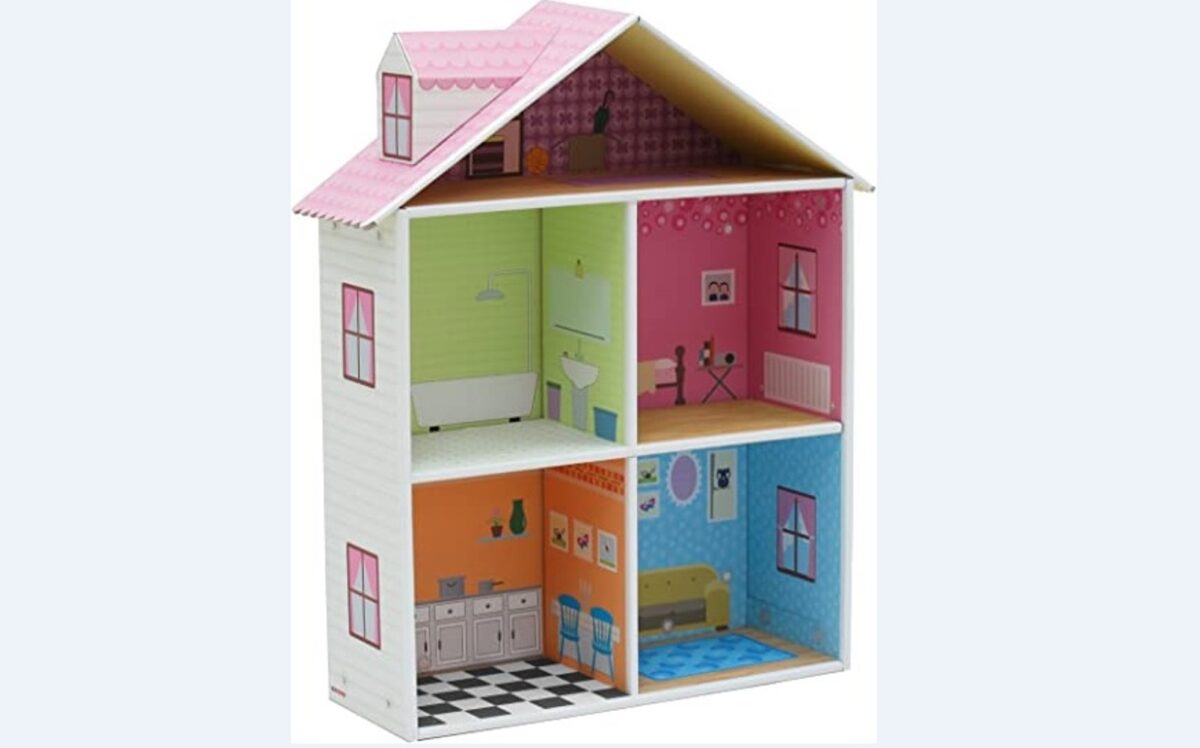
Now that there are many dads and moms on vacation, what better idea than to build a dollhouse with the kids? It can be a perfect opportunity to spend time and do something together.
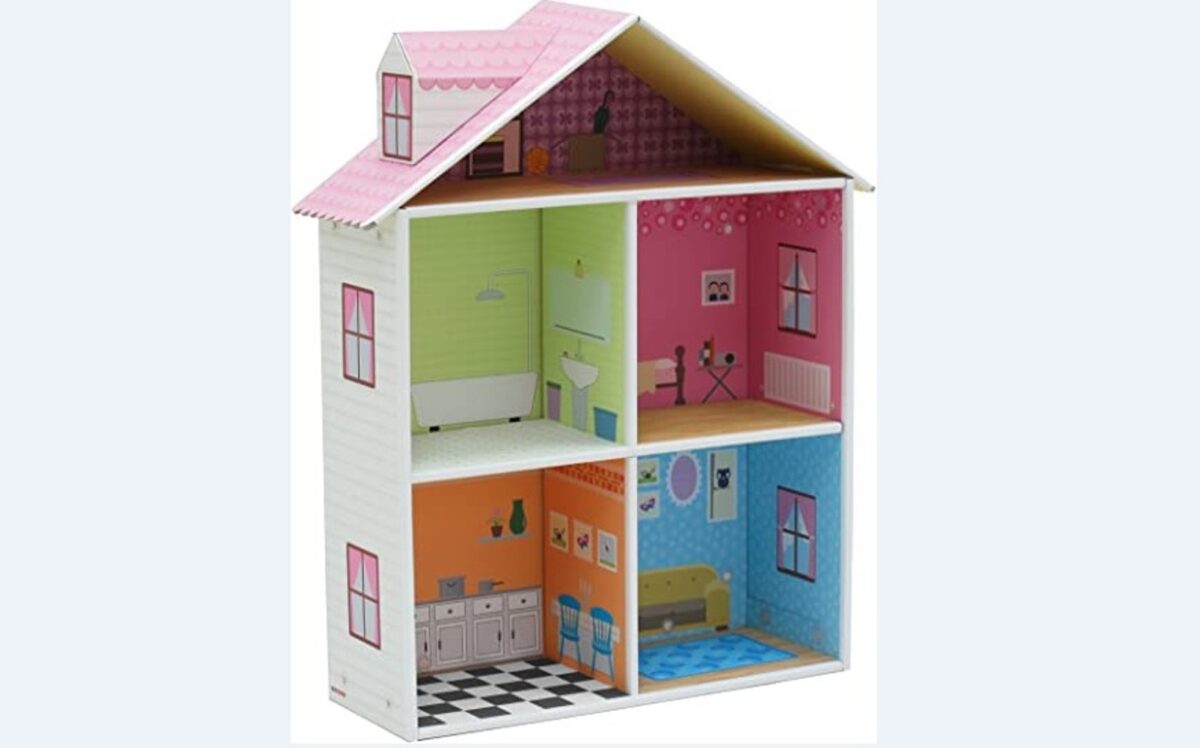
Building a dollhouse it is a project that will be very entertaining big and small. But that’s not all: it is the perfect activity to put the concept of into practice ludendo docere, teach by playing. To build a dollhouse, in fact, you work on creativity, on spatial vision, on the different spaces of the house and on what it usually contains, on the psychomotricity “Broadly” in the initial phase and on psychomotor skills “on detail” in the final phase of the realization.
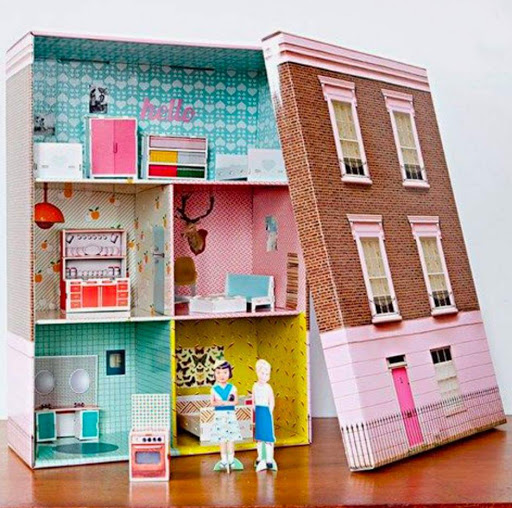
Here then is a example dollhouse to be inspired by. The advice is, in fact, to take theinspiration. It is the fantasy that must be unleashed, without panicking when things to do seem too elaborate. Another advice is not to imitate (and obviously not to be discouraged if it seems like a difficult project), but to develop ideas, do something very basic at first and gradually cover more details. The result will be fantastic!
Read also: Lamps for the children’s room
Required material
- Corrugated cardboard boxes (calculate the size according to the desired size)
- Scissors
- Glue
- Wood strips
- Non-toxic paint
- Scraps of fabric and / or paper
Instructions: how to proceed
A few simple steps are all it takes to build a perfect dollhouse.
Preparation
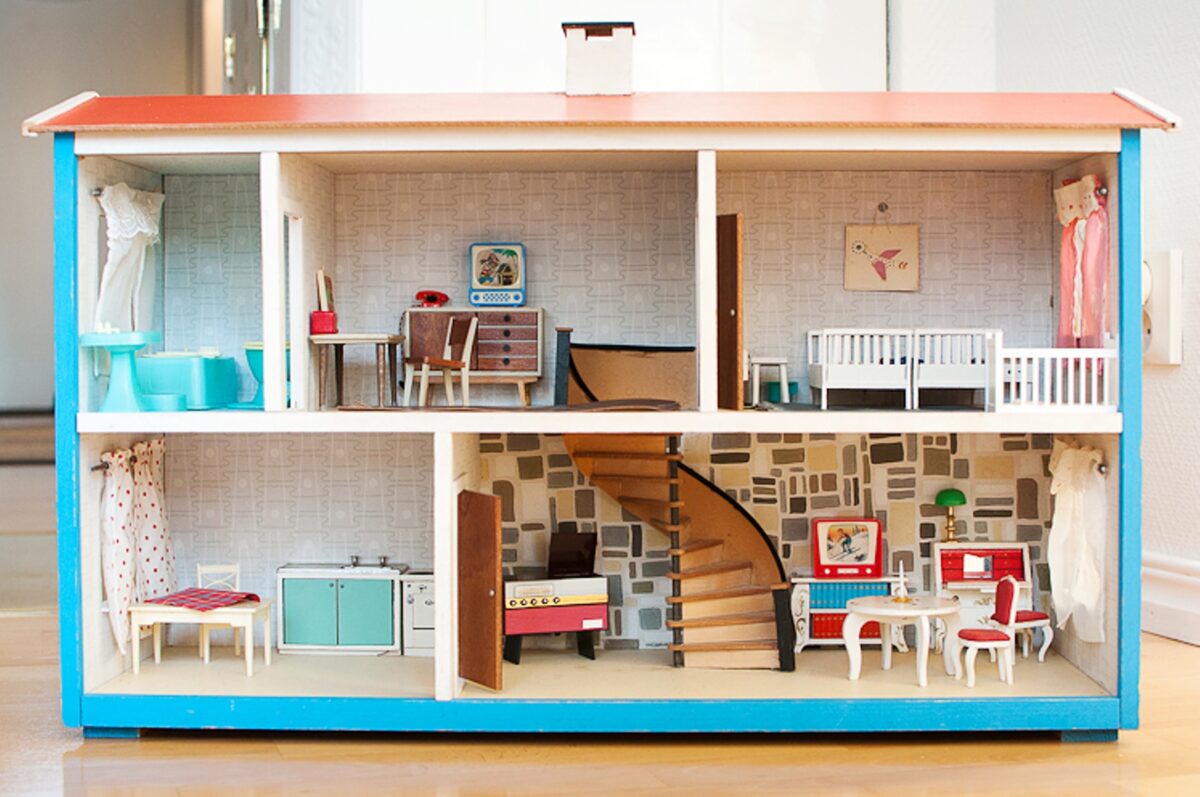
- Decide the typology of desired dollhouse. Although the finished piece may not have a place of honor in some specialized museum, it is still worthwhile think about style of the dollhouse that will be built. If you make the Doll’s House as a surprise for your children, think about their tastes. If, on the other hand, the construction of the house will be “a team game”, have some time with the family discussing together the different possibilities of realization. Deciding for example how many rooms there should be in the Dollhouse and how big it should be. Don’t forget to take the size of dolls and accessories that will be used.
- Collect a few boxes of corrugated cardboard or any corrugated board the size ofheight and the width ideal of the Doll’s House. This is because the wavy structure provides the support and the stability necessary. Make sure the dimensions of three panels are the same – these three pieces will be used for three walls.
Realization
- To fold the cardboard on the side of the length of about 3 centimeters; these folds will act as long ones right angle tabs for fix the cartons to rear wall.
- Cover with glue these tabs and place them behind the third carton, which will act as rear wall. This will form corners without the tabs being visible.
- Place the fourth piece of corrugated paper under the three walls leaving a margin of 3 cm per side to use as tabs like above.
- Paste the tabs and place them on the outside of the wall panels. This way you will get the floor.
- To insert the fifth piece of corrugated cardboard, which will serve as a floor for the first floor of the Doll’s House. Make sure the depth of the carton either 3 cm longer of the depth of the house and that the width be 6 cm more of the width of the house.
- To fold of 3 cm on the side of the length cardboard; this will serve to attach the back of the floor to the back wall.
- Fold both sides 3 cm of this floor and use these tabs for fix the floor to the side walls. There are now three walls, a floor and a first floor for the dollhouse.
- Connect little ones pieces of wood under this carton to provide support for the first floor. The wood will come glued and stuck diagonally between the floor and the side wall panels.
- Place uniformly each of the four pieces wooden under every corner of the floor. This not only strengthens the floor but serves to give the dollhouse a cottage feel.
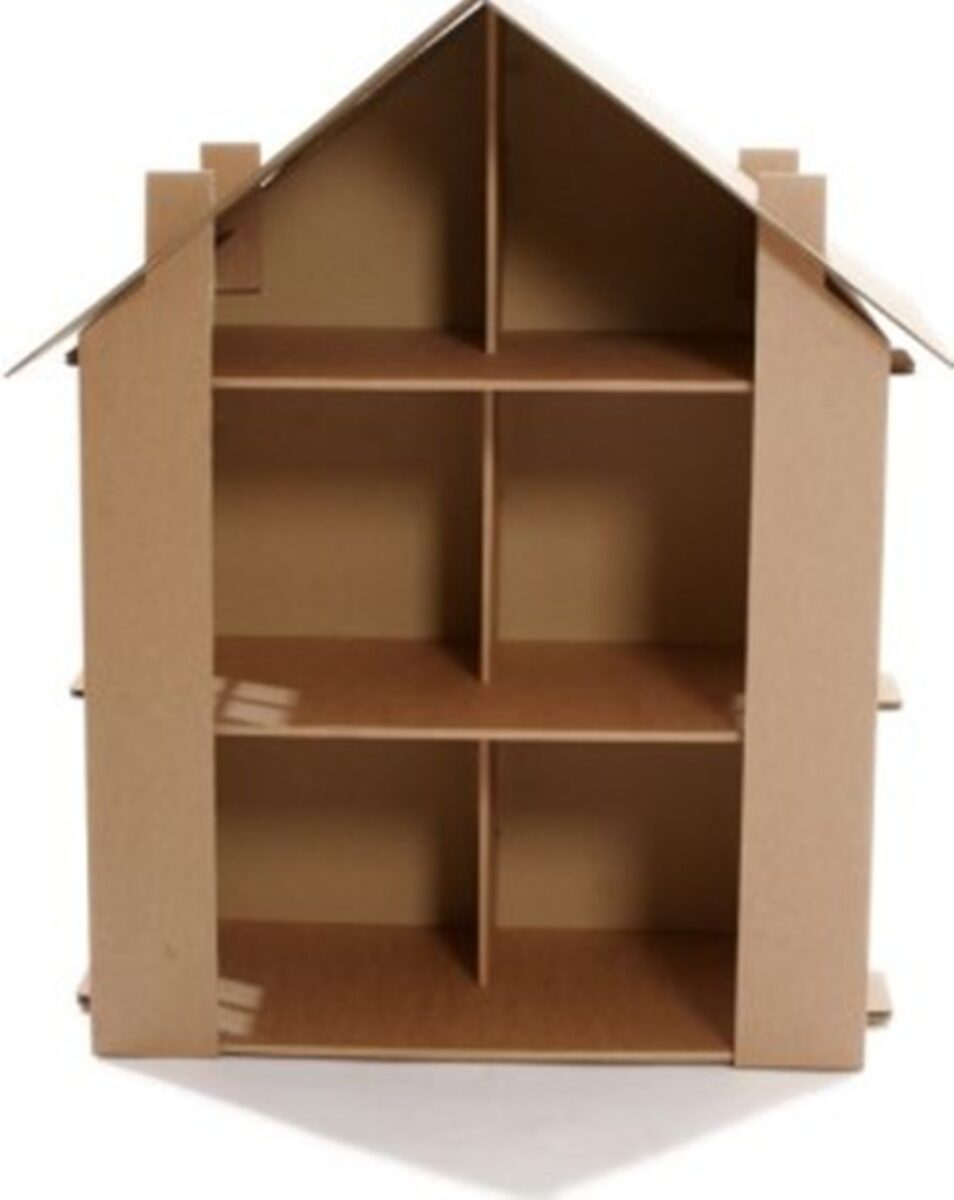
- Subsequently, they can to do small divisions on each floor for create separate rooms inside the Doll’s House. Using the same tabbing principle with the thinnest corrugated paper, decide where to insert the divisions.
- Before to stick it inside the house, cut out doors of the rooms. The use of a thinner corrugated paper it means it space inside the house will be the as much as possible.
It may interest you: How to water plants when on vacation
Decoration
The most exciting part for the little ones is the next: the decoration! The choice of which ones themes and styles following is practically infinity, as well as that of which color use: okay any paint provided non-toxic! Polka dots, stripes and pastel colors they work well, as well as any fabric scraps, which can be glued on the walls of the house like wallpaper.
The important thing is to choose something that rejoice the dollhouse and in case you use paint apply a few layers to avoid scratches and discoloration.
- A feature that can also be added is one ladder. Create a accordion motif with a small piece of corrugated cardboard, e connect a piece of corrugated cardboard support underneath. Then paste it on the ground floor or first floor or the following ones, depending on how many floors have been created. Lastly, do a little hole in the floor above the stairs to let the dolls pass.
- Can you design a roof, although children often prefer to have a roof completely Open in order to move from above the dolls during the game. In alternative, the open side can be one of the facades, in order to have a structure “with a view” on the inside of the house and on its floors.
- Finally, decide which dolls to place in the new house! The little ones will have so much fun inventing stories and games with their dolls!
Do you want design advice on how to furnish? Join the group
The best thing about creating your own dollhouse is that you can customize it at will and to add all the accessories and furnishings of the desired dollhouse.
The value added at each Dollhouse will be given by each child: the little ones, simply using theirs fantastic imagination, turn these toys into a magical world of domestic life in miniature.
Building a dollhouse: picture gallery
Now that there are many dads and moms on vacation, what better idea than to build a dollhouse with the kids? It can be a perfect opportunity to spend time and do something together.

Building a dollhouse it is a project that will be very entertaining big and small. But that’s not all: it is the perfect activity to put the concept of into practice ludendo docere, teach by playing. To build a dollhouse, in fact, you work on creativity, on spatial vision, on the different spaces of the house and on what it usually contains, on the psychomotricity “Broadly” in the initial phase and on psychomotor skills “on detail” in the final phase of the realization.
Here then is a example dollhouse to be inspired by. The advice is, in fact, to take theinspiration. It is the fantasy that must be unleashed, without panicking when things to do seem too elaborate. Another advice is not to imitate (and obviously not to be discouraged if it seems like a difficult project), but to develop ideas, do something very basic at first and gradually cover more details. The result will be fantastic!
Read also: Lamps for the children’s room
Required material
- Corrugated cardboard boxes (calculate the size according to the desired size)
- Scissors
- Glue
- Wood strips
- Non-toxic paint
- Scraps of fabric and / or paper

Instructions: how to proceed
A few simple steps are all it takes to build a perfect dollhouse.
Preparation
- Decide the typology of desired dollhouse. Although the finished piece may not have a place of honor in some specialized museum, it is still worthwhile think about style of the dollhouse that will be built. If you make the Doll’s House as a surprise for your children, think about their tastes. If, on the other hand, the construction of the house will be “a team game”, have some time with the family discussing together the different possibilities of realization. Deciding for example how many rooms there should be in the Dollhouse and how big it should be. Don’t forget to take the size of dolls and accessories that will be used.
- Collect a few boxes of corrugated cardboard or any corrugated board the size ofheight and the width ideal of the Doll’s House. This is because the wavy structure provides the support and the stability necessary. Make sure the dimensions of three panels are the same – these three pieces will be used for three walls.

Realization
- To fold the cardboard on the side of the length of about 3 centimeters; these folds will act as long ones right angle tabs for fix the cartons to rear wall.
- Cover with glue these tabs and place them behind the third carton, which will act as rear wall. This will form corners without the tabs being visible.
- Place the fourth piece of corrugated paper under the three walls leaving a margin of 3 cm per side to use as tabs like above.
- Paste the tabs and place them on the outside of the wall panels. This way you will get the floor.
- To insert the fifth piece of corrugated cardboard, which will serve as a floor for the first floor of the Doll’s House. Make sure the depth of the carton either 3 cm longer of the depth of the house and that the width be 6 cm more of the width of the house.
- To fold of 3 cm on the side of the length cardboard; this will serve to attach the back of the floor to the back wall.
- Fold both sides 3 cm of this floor and use these tabs for fix the floor to the side walls. There are now three walls, a floor and a first floor for the dollhouse.
- Connect little ones pieces of wood under this carton to provide support for the first floor. The wood will come glued and stuck diagonally between the floor and the side wall panels.
- Place uniformly each of the four pieces wooden under every corner of the floor. This not only strengthens the floor but serves to give the dollhouse a cottage feel.
- Subsequently, they can to do small divisions on each floor for create separate rooms inside the Doll’s House. Using the same tabbing principle with the thinnest corrugated paper, decide where to insert the divisions.
- Before to stick it inside the house, cut out doors of the rooms. The use of a thinner corrugated paper it means it space inside the house will be the as much as possible.
It may interest you: How to water plants when on vacation

Decoration
The most exciting part for the little ones is the next: the decoration! The choice of which ones themes and styles following is practically infinity, as well as that of which color use: okay any paint provided non-toxic! Polka dots, stripes and pastel colors they work well, as well as any fabric scraps, which can be glued on the walls of the house like wallpaper.
The important thing is to choose something that rejoice the dollhouse and in case you use paint apply a few layers to avoid scratches and discoloration.
- A feature that can also be added is one ladder. Create a accordion motif with a small piece of corrugated cardboard, e connect a piece of corrugated cardboard support underneath. Then paste it on the ground floor or first floor or the following ones, depending on how many floors have been created. Lastly, do a little hole in the floor above the stairs to let the dolls pass.
- Can you design a roof, although children often prefer to have a roof completely Open in order to move from above the dolls during the game. In alternative, the open side can be one of the facades, in order to have a structure “with a view” on the inside of the house and on its floors.
- Finally, decide which dolls to place in the new house! The little ones will have so much fun inventing stories and games with their dolls!
Do you want design advice on how to furnish? Join the group
The best thing about creating your own dollhouse is that you can customize it at will and to add all the accessories and furnishings of the desired dollhouse.
The value added at each Dollhouse will be given by each child: the little ones, simply using theirs fantastic imagination, turn these toys into a magical world of domestic life in miniature.

