The perfect finishing touch for any room is given by the curtains. A functional choice but not only: they are able to give that extra touch of elegance. What if we made it ourselves with a little DIY? It would certainly be an original choice. Let’s see together how.
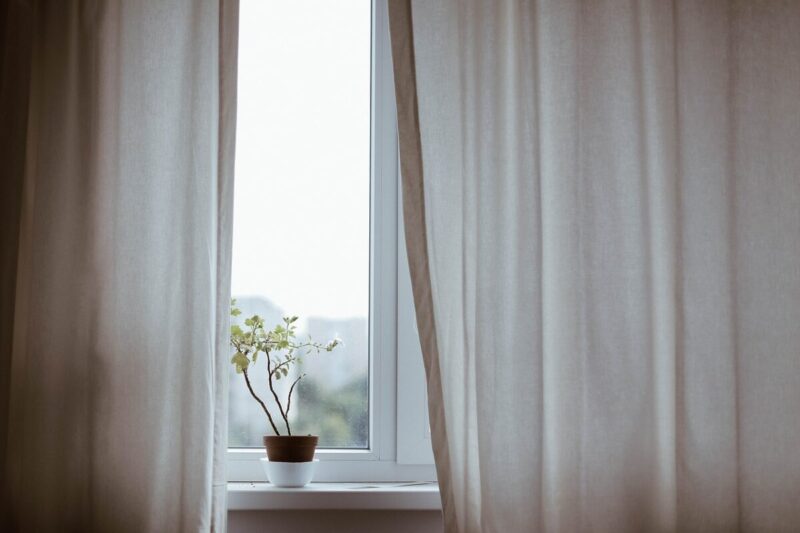
Just go to a furniture store or type on the web the word “curtain rod” and you will have a ‘wide range of products for all tastes and budgets. But if you like to design and you have in mind for your living room or bedroom a stick that is an accomplice of the chosen furniture, what could be better than a do it yourself stick?
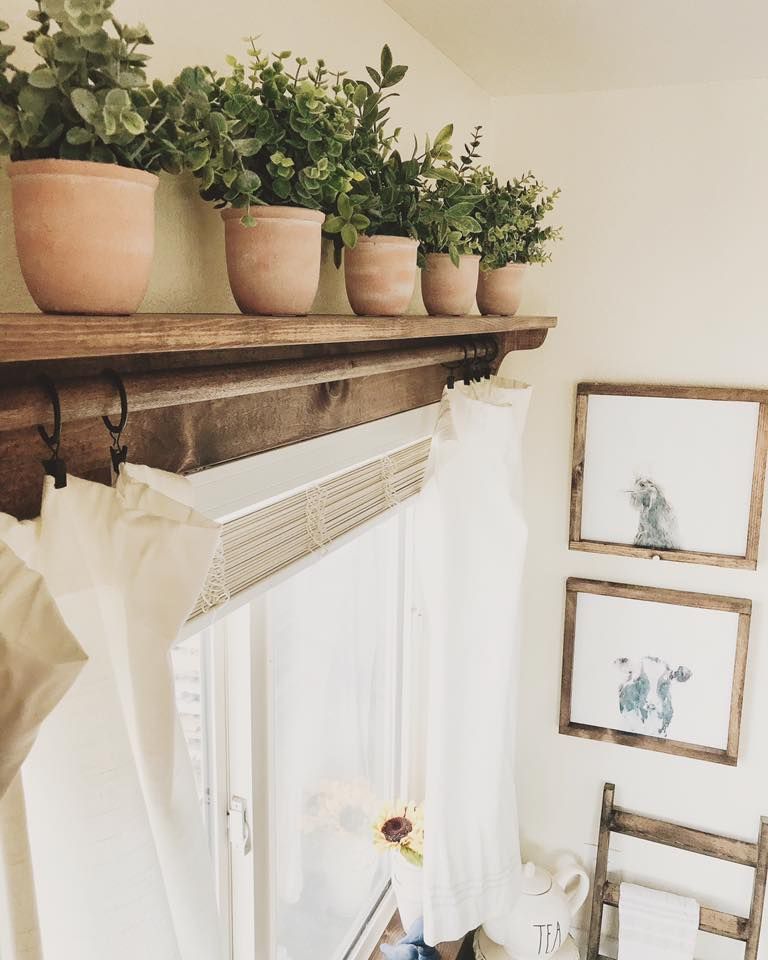
Whether it is a rope or a shelf to support your curtains: in few moves you will give a clear and very personal imprint to the environment and style of your home. To find out more and try your hand at the enterprise, keep reading: we will surprise you with some proposals.
Buying or making a curtain rod?
Read also: IKEA office catalog 2021: ideas for smart working
Before choosing your DIY cane project, let’s take a step back. Why choose to make it and not buy it directly?
- We have already anticipated the reason fororiginality (but it’s not the only one)
- There passion that binds us irremediably to do-it-yourself
- Savings.
But, as in all things, we always try to balance the pros and cons. Savings in terms of costs, for example, may not always equate to savings in terms of energy and time. These are personal choices to be decided upstream. Having evaluated everything well, we can leave but not before having prepared our toolbox. What really can’t miss?
How to make a DIY curtain rod: what you need
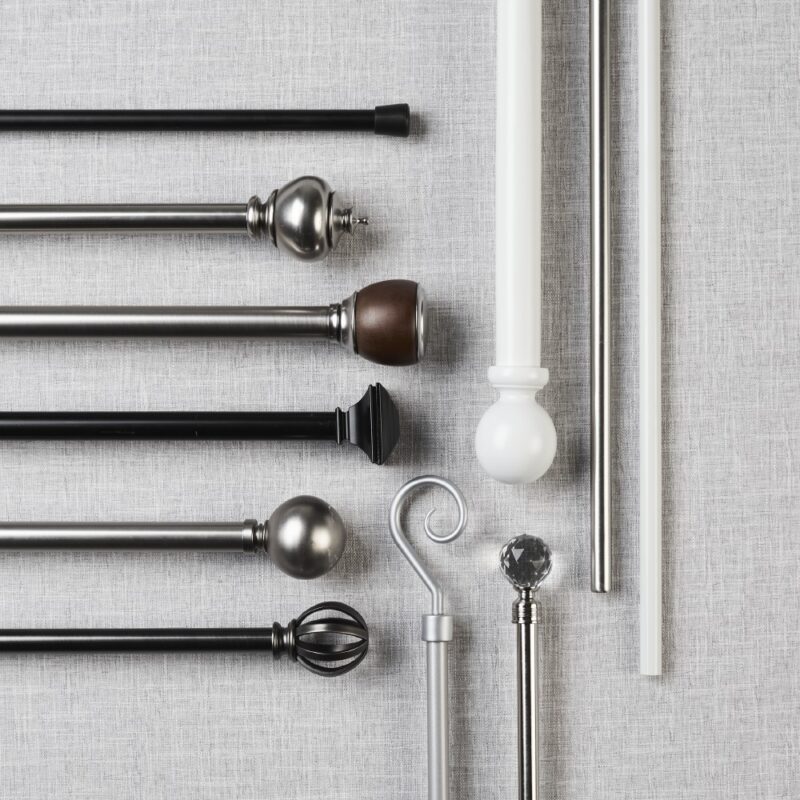
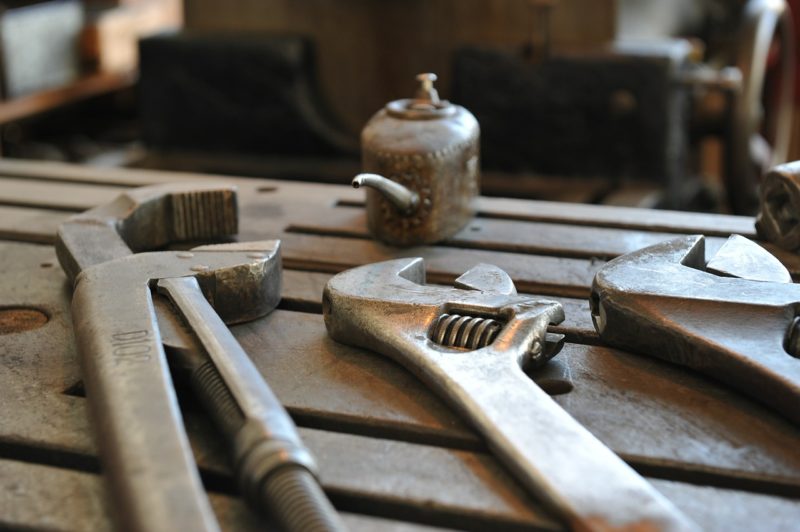
For the success of the project, once the material has been chosen, we must choose the right tools to work them. It is not always and only a question of manual skills but also of one good equipment. Cutting, sawing, sanding are all gods steps needing tools ad hoc different depending on whether you decide to work with wood rather than iron, brass, and so on.
The same goes for the assembly should not be missing dowels, screws or nails and still rings, hooks, brackets, etc. At this point we are ready to go: let’s see specifically the various stages of implementation.
Method
Getting to the final result of a DIY stick requires some precise steps to be taken in order.
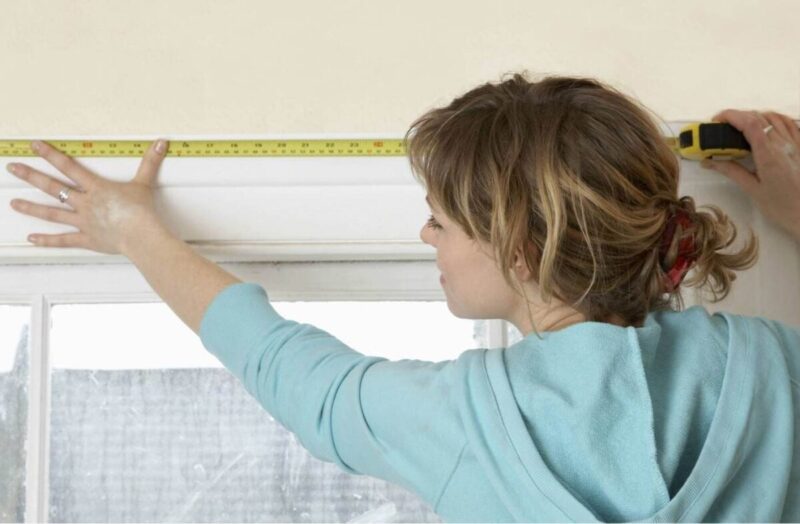
- First of all it is necessary to take well the measures of the space where our stick will be placed and, consequently, we will obtain the ideal length of the stick.
It might interest you: 10 mistakes not to make when setting up your smart working corner
2. Second step will be the choice of material stick with an eye on furniture: classic, shabby chic or modern?
3. Proceed to cut and the actual realization of the stick.
4. Finally we proceed to assembly, including any finishing touches. This last phase deserves some more explanation. First fix the supports: brackets and screws to the walls, with a drill it will be better !. Another valuable tip is to use a ruler and level that will help you to proceed with precision in the assembly. Consider distances well to be respected and the margins to be left for the fabric.
Do you want design advice on how to furnish? Join the group
Ideas
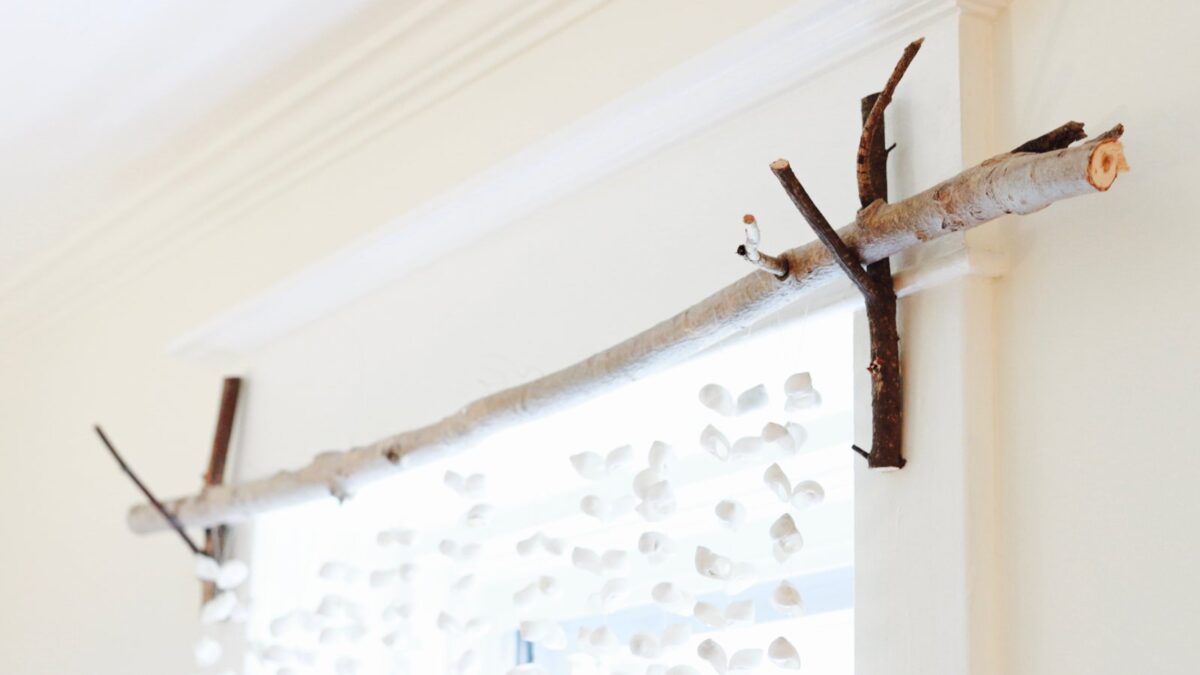
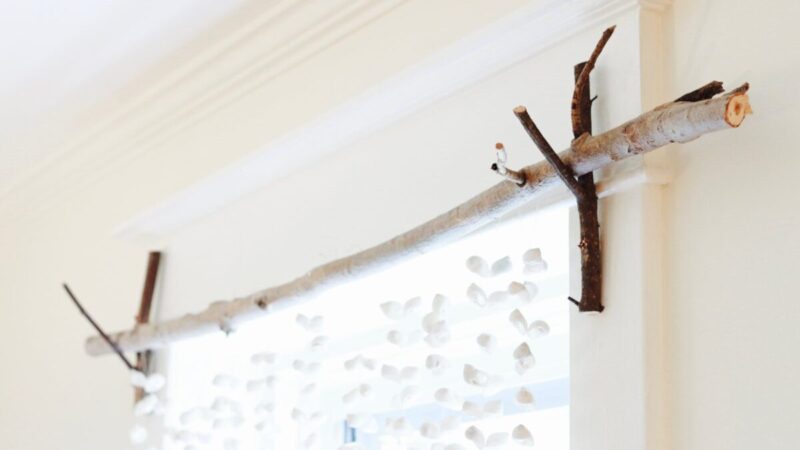
Now comes the fun: let’s take a look at some projects. Let’s start with the warm and versatile wood. Able to make the environment immediately welcoming, it is a very popular proposal in various forms. Whether it’s a stick, a real branch or even an oar to support your tent, these are really practical and easy to implement solutions.
You can also decide to combine nice wooden supports and completely abolish the cold metal! Indicated for a home obviously glam, classic or minimal. You choose!
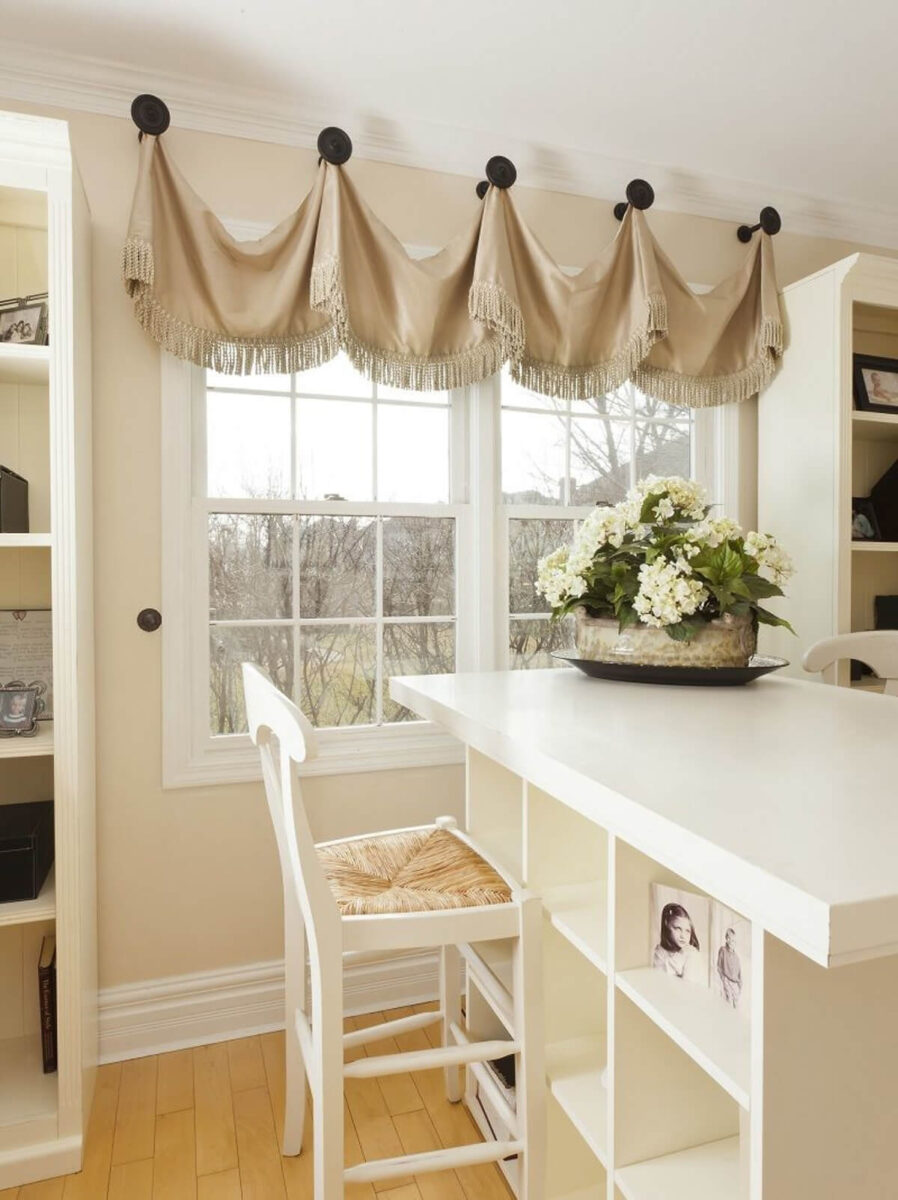
A very ingenious solution is to put one in a row to the other gods hooks black, white, transparent or colored you do. Very simple to make but very impressive, as well as functional, the result. The environment in which it will fit is also playing a role.
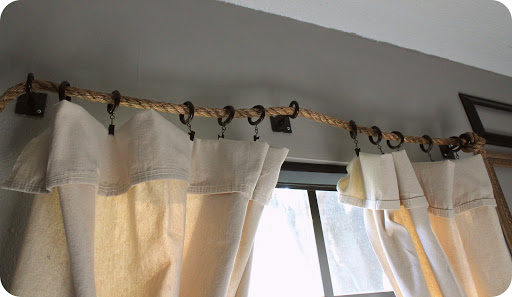
We conclude with one rope or a string in which to run hooks to support the curtains. Unusual use of this material mostly used to simply tie your curtains and certainly not to support them. Create a Shabby chic atmosphere in just a few steps!
How to make a DIY curtain rod: photos and pictures
These are just some of the proposals that can be put into practice but there is much more. If designing with do-it-yourself is child’s play for you, try one of the proposals with which we at Pianeta design wanted to whet your imagination. If you are looking for other ideas take a look at the images that follow, they can be there for you of inspiration!
The perfect finishing touch for any room is given by the curtains. A functional choice but not only: they are able to give that extra touch of elegance. What if we made it ourselves with a little DIY? It would certainly be an original choice. Let’s see together how.

Just go to a furniture store or type on the web the word “curtain rod” and you will have a ‘wide range of products for all tastes and budgets. But if you like to design and you have in mind for your living room or bedroom a stick that is an accomplice of the chosen furniture, what could be better than a do it yourself stick?
Whether it is a rope or a shelf to support your curtains: in few moves you will give a clear and very personal imprint to the environment and style of your home. To find out more and try your hand at the enterprise, keep reading: we will surprise you with some proposals.

Buying or making a curtain rod?
Read also: IKEA office catalog 2021: ideas for smart working
Before choosing your DIY cane project, let’s take a step back. Why choose to make it and not buy it directly?
- We have already anticipated the reason fororiginality (but it’s not the only one)
- There passion that binds us irremediably to do-it-yourself
- Savings.
But, as in all things, we always try to balance the pros and cons. Savings in terms of costs, for example, may not always equate to savings in terms of energy and time. These are personal choices to be decided upstream. Having evaluated everything well, we can leave but not before having prepared our toolbox. What really can’t miss?

How to make a DIY curtain rod: what you need
For the success of the project, once the material has been chosen, we must choose the right tools to work them. It is not always and only a question of manual skills but also of one good equipment. Cutting, sawing, sanding are all gods steps needing tools ad hoc different depending on whether you decide to work with wood rather than iron, brass, and so on.
The same goes for the assembly should not be missing dowels, screws or nails and still rings, hooks, brackets, etc. At this point we are ready to go: let’s see specifically the various stages of implementation.

Method
Getting to the final result of a DIY stick requires some precise steps to be taken in order.
- First of all it is necessary to take well the measures of the space where our stick will be placed and, consequently, we will obtain the ideal length of the stick.
It might interest you: 10 mistakes not to make when setting up your smart working corner

2. Second step will be the choice of material stick with an eye on furniture: classic, shabby chic or modern?
3. Proceed to cut and the actual realization of the stick.
4. Finally we proceed to assembly, including any finishing touches. This last phase deserves some more explanation. First fix the supports: brackets and screws to the walls, with a drill it will be better !. Another valuable tip is to use a ruler and level that will help you to proceed with precision in the assembly. Consider distances well to be respected and the margins to be left for the fabric.

Do you want design advice on how to furnish? Join the group
Ideas
Now comes the fun: let’s take a look at some projects. Let’s start with the warm and versatile wood. Able to make the environment immediately welcoming, it is a very popular proposal in various forms. Whether it’s a stick, a real branch or even an oar to support your tent, these are really practical and easy to implement solutions.
You can also decide to combine nice wooden supports and completely abolish the cold metal! Indicated for a home obviously glam, classic or minimal. You choose!

A very ingenious solution is to put one in a row to the other gods hooks black, white, transparent or colored you do. Very simple to make but very impressive, as well as functional, the result. The environment in which it will fit is also playing a role.

We conclude with one rope or a string in which to run hooks to support the curtains. Unusual use of this material mostly used to simply tie your curtains and certainly not to support them. Create a Shabby chic atmosphere in just a few steps!

How to make a DIY curtain rod: photos and pictures
These are just some of the proposals that can be put into practice but there is much more. If designing with do-it-yourself is child’s play for you, try one of the proposals with which we at Pianeta design wanted to whet your imagination. If you are looking for other ideas take a look at the images that follow, they can be there for you of inspiration!

