If you are tired of the usual decorations, this year you can experiment with something new and create Christmas decorations with your own hands. With creative recycling, simple nuts will be transformed, thanks to our advice, into original garlands, centerpieces and decorations for your Christmas tree.
When Christmas comes you feel like it of novelty within the walls of the house e to bring also in their own home that’Christmas atmosphere which can be seen in the shop windows.
Once the tree has been set up, however, it’s up to the decorations of the tree itself and those with which to decorate the house to make it more festive. Self However you want something original with which to embellish your home this year you might realize with simple but original DIY Christmas decorations with nuts. With our article you will find out 3 different ideas that you can make in a short time.
Read also: Original Christmas trees: 20 amazing ideas
1. A particular garland
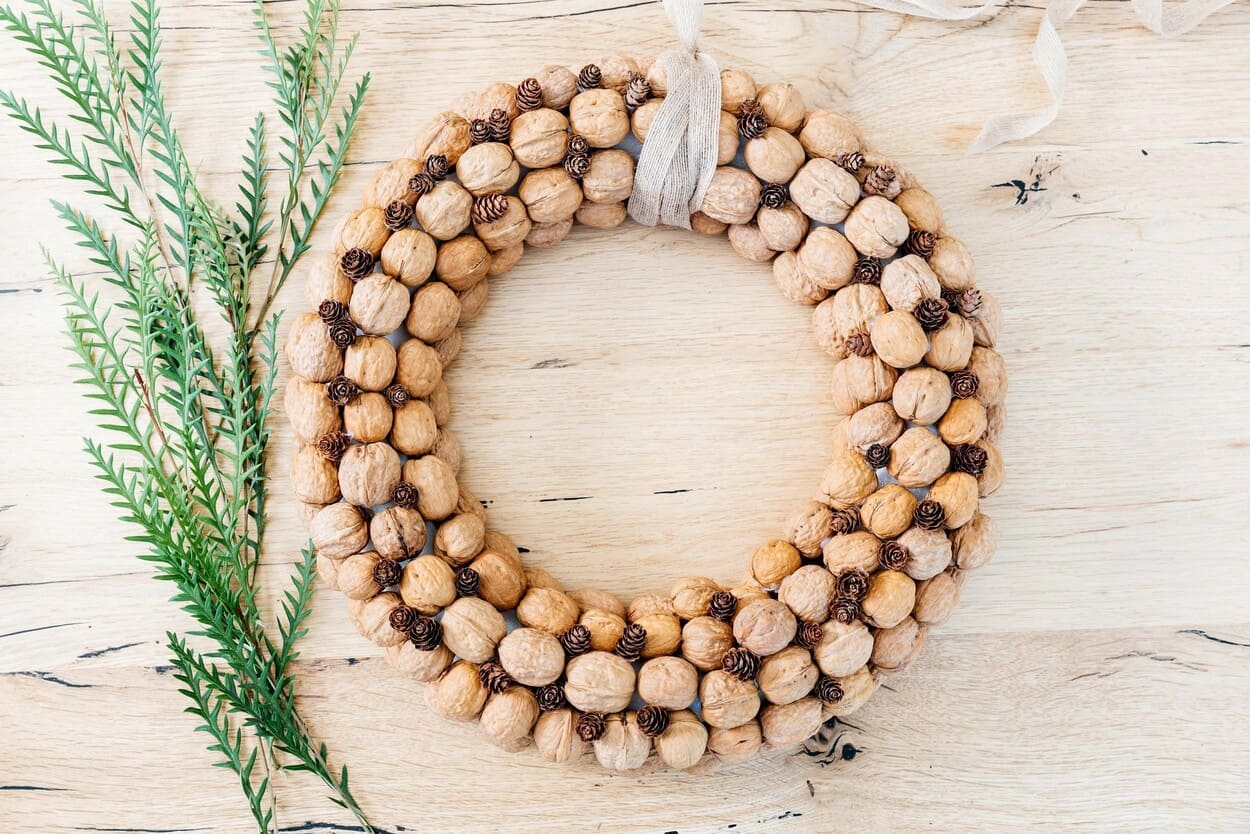
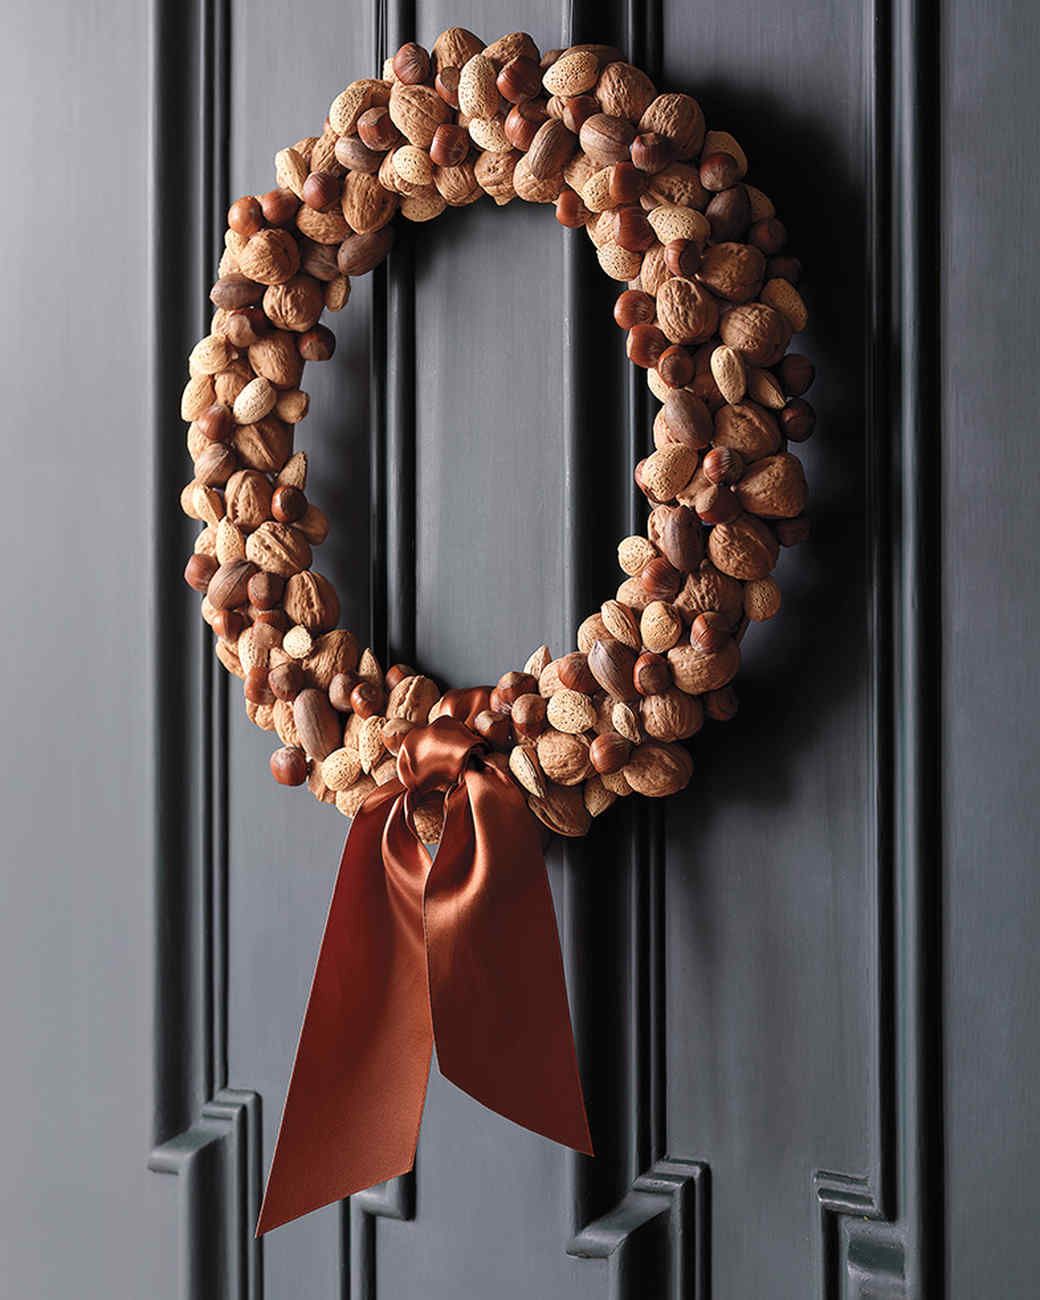
The garland, together with the Christmas tree, is definitely one of the decorations that are not lacking almost never in a house. But if you are tired of the usual pine needle garlands, this year you can create one alone using the shells of the walnuts, which will then be recycled to create a completely original decoration.
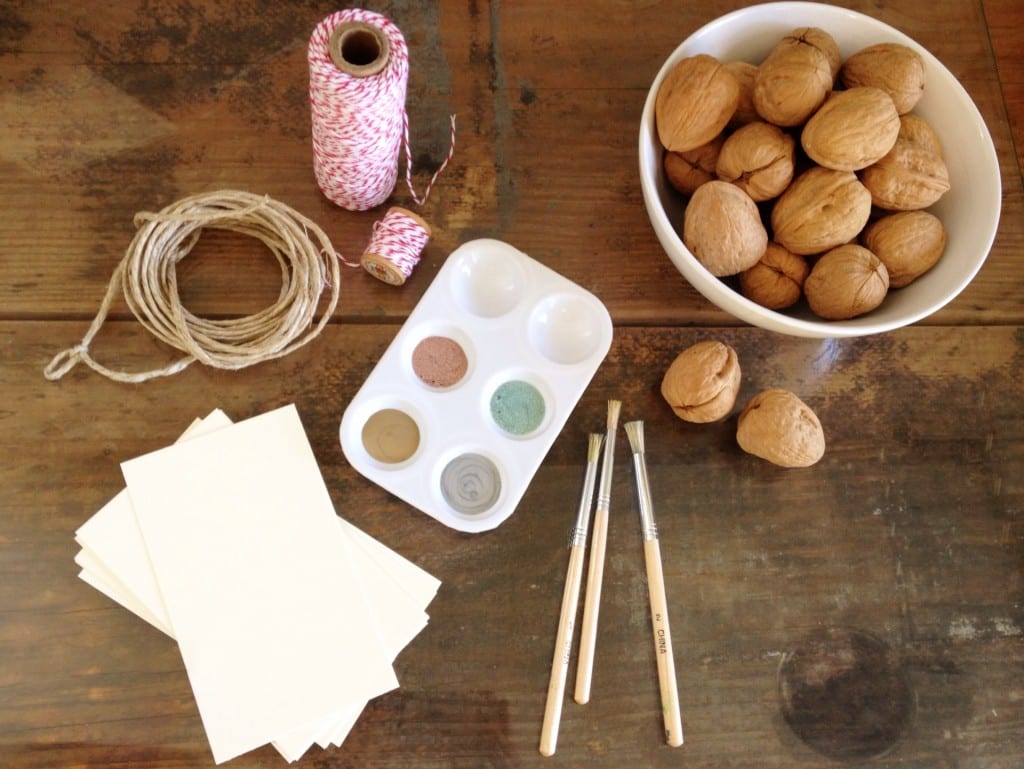
To make it happen you will need it:
- walnut shells
- cardboard
- pencil
- scissors
- hot glue
- tape red or the fantasy you prefer.
Then you could also add a silver or golden spray paint can to the list, if you prefer to color your wreath, along with other necessities such as acorns, almonds and pine cones, if you want to make a garland that is richer than just walnuts. .
- Take the cardboard and draw the shape of a circle of the size you want for your wreath, calculate the centimeters of the thickness you want to give it and draw then a smaller circle inside it. Now cut the larger circle and then the one inside and you will get a kind of donut.
- Now comes the most challenging part, that is you will need to hot glue every single nut at the base of the wreath and then to cardboard. You have However three different alternatives, or paste directly the whole walnut, paste only half of the shells, or yet glue each half to the other and thus have whole nuts without leaving the kernel inside.
- Your wreath at this point it’s ready, you’ll just need it wrap the tape around the hole center of the cardboard, make a bow and hang it at the front door or on the fireplace in the living room. You can also use the wreath as a centerpiece to add candles in the center.
You may be interested in: Traditional and innovative Christmas decorations
2. A centerpiece in minutes
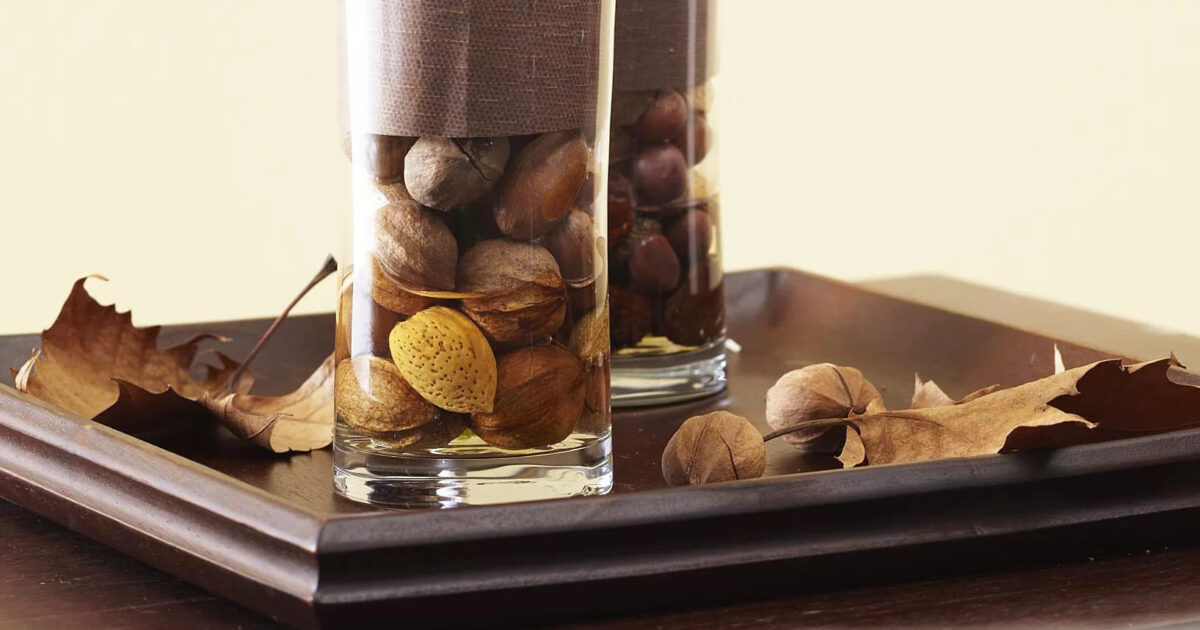
Imagine that you have unexpected guests for dinner, but you care that the table is set impeccably and that nothing is missing, but you do not have a centerpiece. The centerpiece that we offer you today, in fact, not only it is perfect as a Christmas decoration, but comes also to the rescue when you need a centerpiece to make a good impression but you don’t have time to make it happen or to go to the florist.
You will serve:
- a transparent vase
- whole walnuts
- red berries
- ribbon red or golden.
The process of this centerpiece is really simple and we promise it won’t take you more than 5 minutes!
Do you want design advice on how to furnish? Join the group
- Fill the jar transparent with nuts, red berries and if you prefer add other dried fruit such as almonds.
- you can add then a Christmas touch with a ribbon to go around the base of the vase.
3. Nuts to hang on the Christmas tree
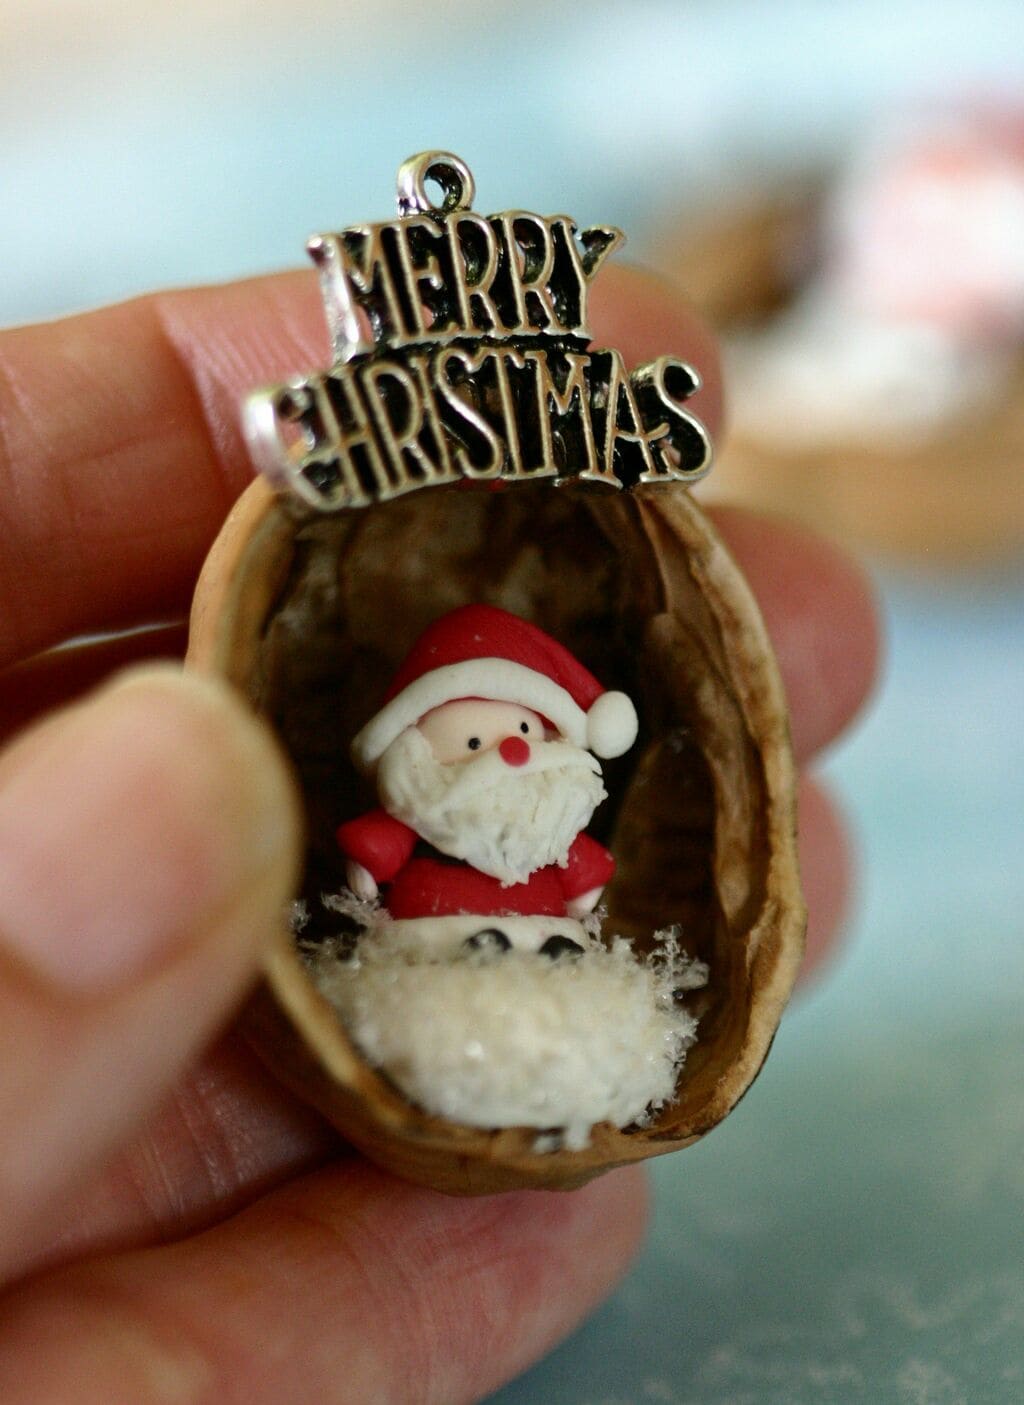
If you want of the original decorations for your Christmas tree, you can use some nuts and make something easy with your own hands. Those who we offer you I’m a shells opened with a character inside of to be made with polymer clay, which in this case will be Santa Claus.
You will need:
- polymer clay in light pink, white, red and black colors
- hot glue
- one half of a walnut shell
- wadding
- pendant with “Merry Christmas” writing (optional)
- ribbon
- Fimo liquid (optional).
Making this type of decoration you will see that it will be fun, because it will seem to have gone back in time, to when we played with plasticine. In fact, it won’t be very far from what you will do with this tutorial, because the only thing that changes, is the paste to use.
- Work on a clean floor for the making of Santa Claus, otherwise any residual dust will be noticed on your creation. With the pink paste make one small ball which will be the face of Santa Claus, to which you will then draw the eyes, once cooked, with the black marker.
- The white paste will be used to make the pompom of the hat, mustache and beard. For give a more real beard effect, draw strips with a toothpick without marking too much so as not to damage the base. Make the beard and mustache adhere to the face of Santa Claus.
- With the red paste, make a ball for the nose that you are going to flatten, e a hollow cone inside (otherwise it would be too heavy) for the hat to which you are going to slightly bend the pointed part. Put it down gently on the head of Santa, is smooth the red paste for make it adhere well. Now do a kind of rectangle for the body and two small cylinders to be flattened at the base, which will become arms.
- With black paste instead make the boots. At this point you have all the pieces is must be assembled before cooking, but if you’re afraid they won’t hold up, proceed with cooking as described on the package of polymer clay and then glue with fimo liquid, piece by piece and let it dry.
- Your character is now ready, so you just have to finish your creation. Place the walnut shell vertically, on the base of the shell adhere with hot glue, the wadding. Then pour more hot glue and make Santa adhere, as if sitting in the snow.
If you have a Christmas pendant with which to decorate your walnut, you can adhere it to the top with hot glue and insert the ribbon in its hole to hang it on the tree. Alternatively, you can simply place the ribbon in the back of the nut, paste with hot glue is then you can hang it on your tree and will look good among other Christmas decorations.
Christmas decorations with nuts: pictures and photos
It’s time to create Christmas decorations with your own hands by recovering the walnut shells to make original creations with which to make your Christmas at home more magical.
If you are tired of the usual decorations, this year you can experiment with something new and create Christmas decorations with your own hands. With creative recycling, simple nuts will be transformed, thanks to our advice, into original garlands, centerpieces and decorations for your Christmas tree.

When Christmas comes you feel like it of novelty within the walls of the house e to bring also in their own home that’Christmas atmosphere which can be seen in the shop windows.
Once the tree has been set up, however, it’s up to the decorations of the tree itself and those with which to decorate the house to make it more festive. Self However you want something original with which to embellish your home this year you might realize with simple but original DIY Christmas decorations with nuts. With our article you will find out 3 different ideas that you can make in a short time.
Read also: Original Christmas trees: 20 amazing ideas

1. A particular garland
The garland, together with the Christmas tree, is definitely one of the decorations that are not lacking almost never in a house. But if you are tired of the usual pine needle garlands, this year you can create one alone using the shells of the walnuts, which will then be recycled to create a completely original decoration.
To make it happen you will need it:
- walnut shells
- cardboard
- pencil
- scissors
- hot glue
- tape red or the fantasy you prefer.
Then you could also add a silver or golden spray paint can to the list, if you prefer to color your wreath, along with other necessities such as acorns, almonds and pine cones, if you want to make a garland that is richer than just walnuts. .
- Take the cardboard and draw the shape of a circle of the size you want for your wreath, calculate the centimeters of the thickness you want to give it and draw then a smaller circle inside it. Now cut the larger circle and then the one inside and you will get a kind of donut.
- Now comes the most challenging part, that is you will need to hot glue every single nut at the base of the wreath and then to cardboard. You have However three different alternatives, or paste directly the whole walnut, paste only half of the shells, or yet glue each half to the other and thus have whole nuts without leaving the kernel inside.
- Your wreath at this point it’s ready, you’ll just need it wrap the tape around the hole center of the cardboard, make a bow and hang it at the front door or on the fireplace in the living room. You can also use the wreath as a centerpiece to add candles in the center.

You may be interested in: Traditional and innovative Christmas decorations
2. A centerpiece in minutes
Imagine that you have unexpected guests for dinner, but you care that the table is set impeccably and that nothing is missing, but you do not have a centerpiece. The centerpiece that we offer you today, in fact, not only it is perfect as a Christmas decoration, but comes also to the rescue when you need a centerpiece to make a good impression but you don’t have time to make it happen or to go to the florist.
You will serve:
- a transparent vase
- whole walnuts
- red berries
- ribbon red or golden.
The process of this centerpiece is really simple and we promise it won’t take you more than 5 minutes!
Do you want design advice on how to furnish? Join the group
- Fill the jar transparent with nuts, red berries and if you prefer add other dried fruit such as almonds.
- you can add then a Christmas touch with a ribbon to go around the base of the vase.

3. Nuts to hang on the Christmas tree
If you want of the original decorations for your Christmas tree, you can use some nuts and make something easy with your own hands. Those who we offer you I’m a shells opened with a character inside of to be made with polymer clay, which in this case will be Santa Claus.
You will need:
- polymer clay in light pink, white, red and black colors
- hot glue
- one half of a walnut shell
- wadding
- pendant with “Merry Christmas” writing (optional)
- ribbon
- Fimo liquid (optional).
Making this type of decoration you will see that it will be fun, because it will seem to have gone back in time, to when we played with plasticine. In fact, it won’t be very far from what you will do with this tutorial, because the only thing that changes, is the paste to use.
- Work on a clean floor for the making of Santa Claus, otherwise any residual dust will be noticed on your creation. With the pink paste make one small ball which will be the face of Santa Claus, to which you will then draw the eyes, once cooked, with the black marker.
- The white paste will be used to make the pompom of the hat, mustache and beard. For give a more real beard effect, draw strips with a toothpick without marking too much so as not to damage the base. Make the beard and mustache adhere to the face of Santa Claus.
- With the red paste, make a ball for the nose that you are going to flatten, e a hollow cone inside (otherwise it would be too heavy) for the hat to which you are going to slightly bend the pointed part. Put it down gently on the head of Santa, is smooth the red paste for make it adhere well. Now do a kind of rectangle for the body and two small cylinders to be flattened at the base, which will become arms.
- With black paste instead make the boots. At this point you have all the pieces is must be assembled before cooking, but if you’re afraid they won’t hold up, proceed with cooking as described on the package of polymer clay and then glue with fimo liquid, piece by piece and let it dry.
- Your character is now ready, so you just have to finish your creation. Place the walnut shell vertically, on the base of the shell adhere with hot glue, the wadding. Then pour more hot glue and make Santa adhere, as if sitting in the snow.
If you have a Christmas pendant with which to decorate your walnut, you can adhere it to the top with hot glue and insert the ribbon in its hole to hang it on the tree. Alternatively, you can simply place the ribbon in the back of the nut, paste with hot glue is then you can hang it on your tree and will look good among other Christmas decorations.

Christmas decorations with nuts: pictures and photos
It’s time to create Christmas decorations with your own hands by recovering the walnut shells to make original creations with which to make your Christmas at home more magical.

