How to make a DIY pillow case: practical tips to make your idea take shape in just a few steps. If you are planning to throw yourself into a cutting and sewing project but have never done it before: fear not, we have the right project for you. Are you ready to go? All you need is needle, thread and a lot of imagination.
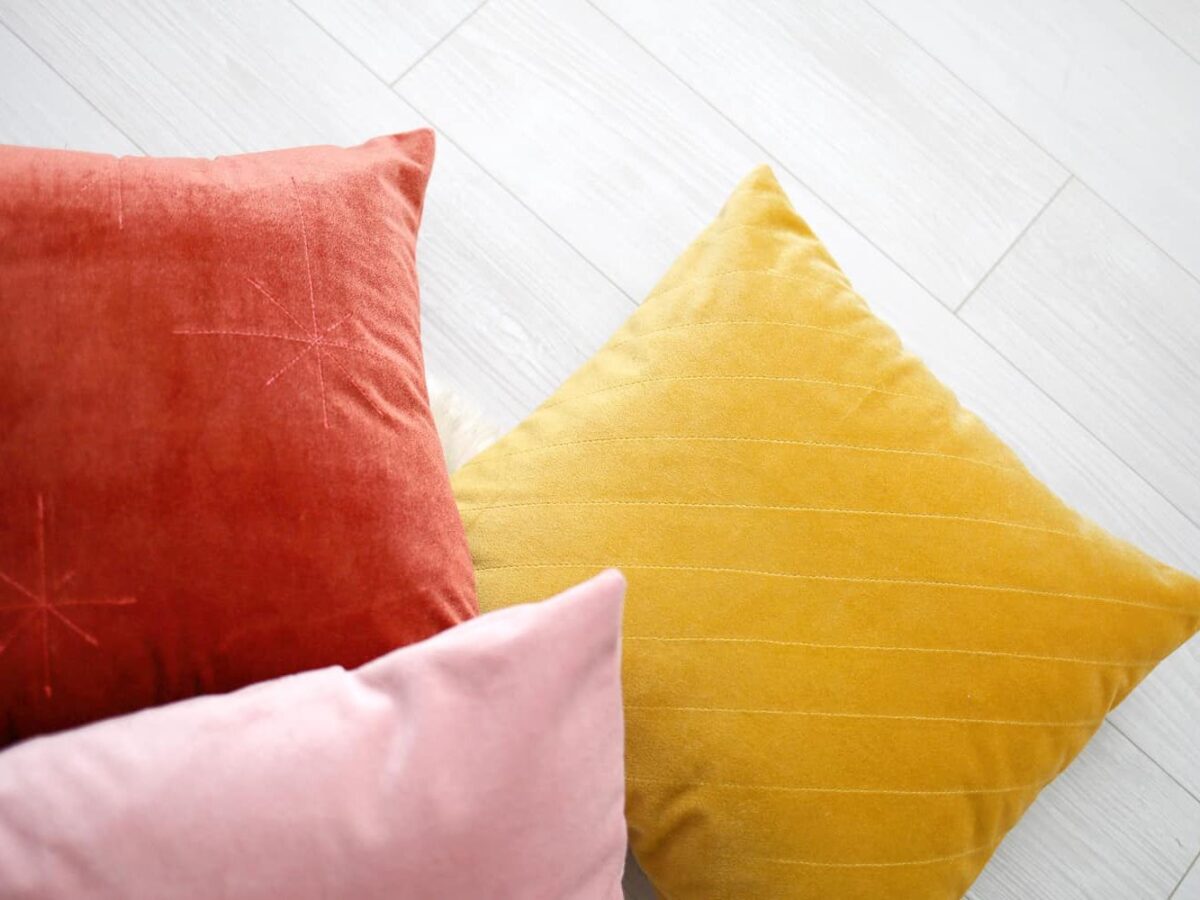
If you have the patience to get to the bottom of our article, in the end you will be the master of a lot of news that will allow you to create a beautiful pillowcase with DIY.
Whether you’re going to change the face of your bedroom, whether you are fed up with the usual pillows on the sofa in the living room starting from making a pillowcase is what you need to get comfortable with needle and thread: nothing simpler. How about starting?
Read also: Dark wallpaper: why choose it?
1. Choice of fabric
First let’s go to haberdashery and proceed to the choice of better fabric for our project. Here several variables come into play:
- where will it go positioned ours pillowcase?
- what am I waiting for we want to give to the room?
- that functionality will have to have?
And it is precisely the answer we will give to each of the questions that will guide us towards the best choice. A pillowcase that will accompany our dreams will have to be characterized by a soft and washable fabric: cotton, linen, silk or flannel. If it comes to beautifying the sofas, on the other hand, it may be a stiffer fabric than focuses on aesthetics rather than on functionality.
We come to the choice of colors which will be chosen according to your personal taste but which must be consistent with the rest of the furniture. A subtle nuance when inserted into a romantic context so perfect for one classic or Shabby chic style, bright colors for a energy boost in a context modern or bohemian. But how much cloth we have to buy? Let’s see together.
2. Measures to be followed
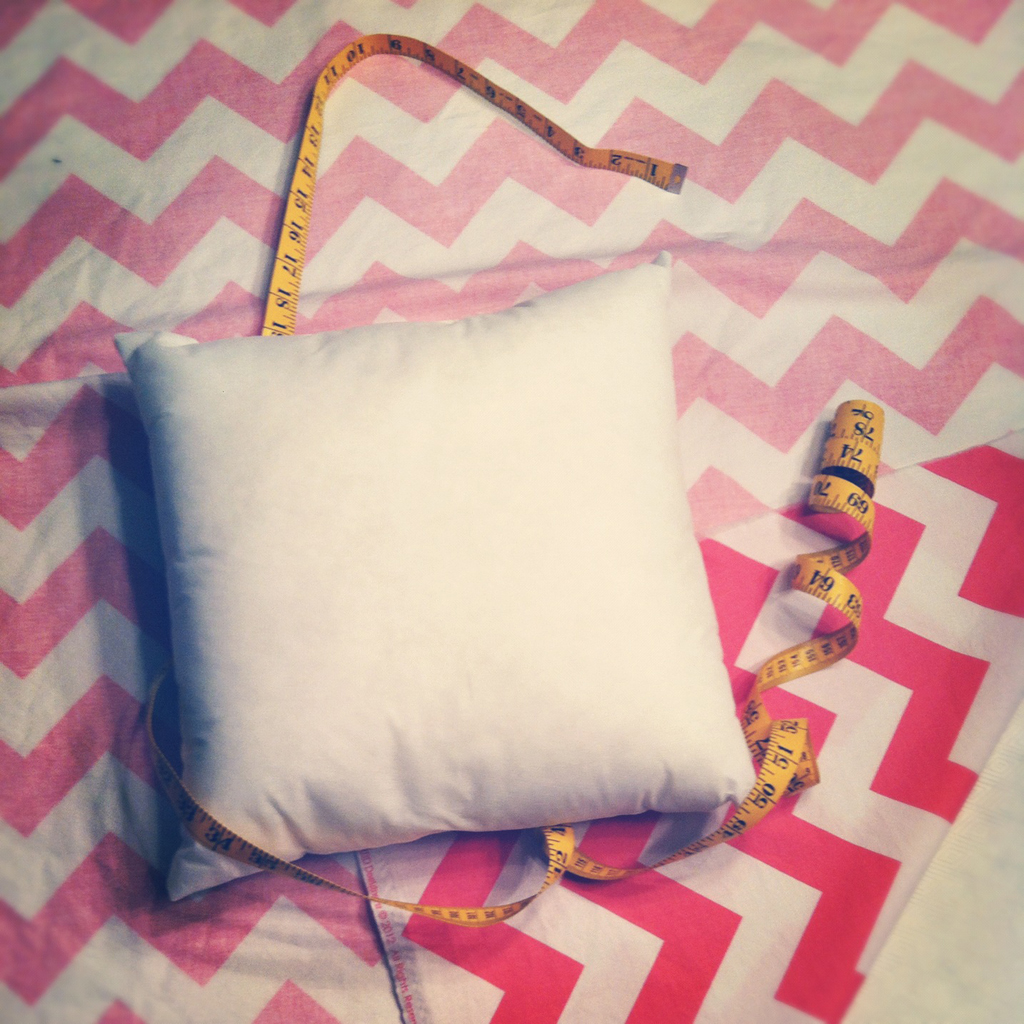
There pillowcase will be formed by two rectangles of cloth, part below and part above, obtained from a single piece of fabric of about 100 x 50 cm not considering the seam allowances. This will then be folded lengthwise and clearly respecting the motifs that represent it, with the reverse on the outside.
You may be interested in: DIY pillow: find out how to make a wonderful one
To understand how to cut and not make unnecessary messes is good follow a reference scheme: search for a tutorial, some image in magazines sewing or faster on the net. Now we can start.
3. Procedure to be followed: 3 steps
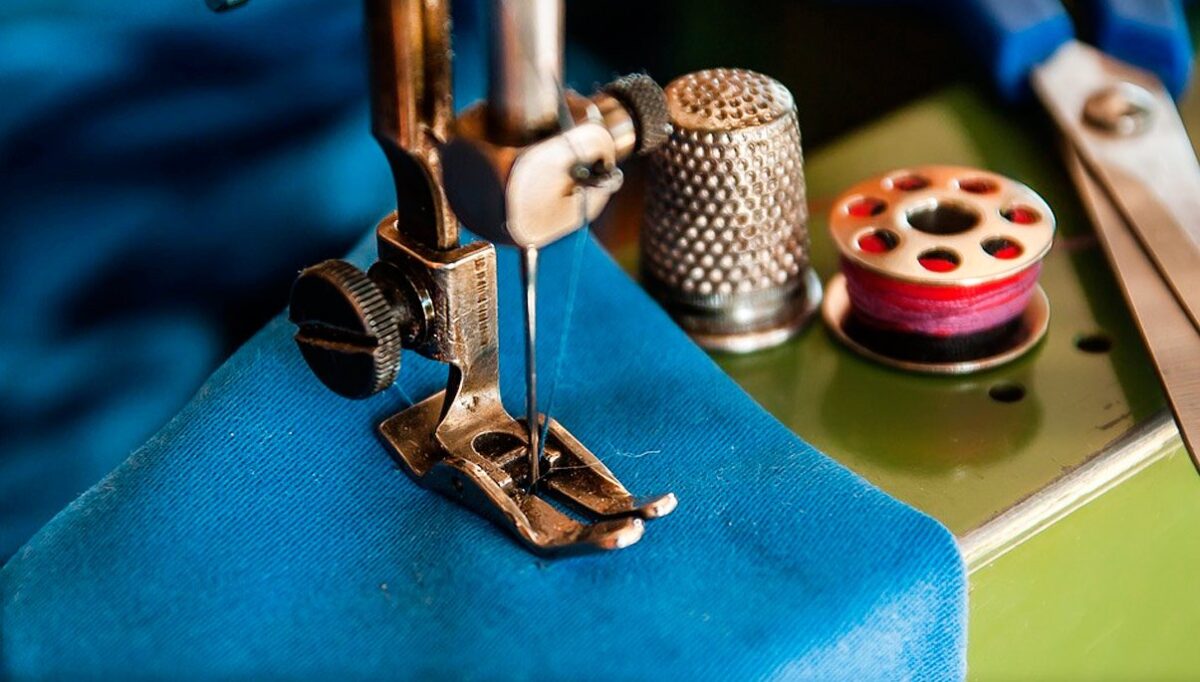
We prepare what we need: needle, wire is scissors or even better a beautiful and practical one sewing machine. Choose a thread that matches the fabric though.
- Let’s start with the fold the fabric in half: unfold yours cloth rectangle on a work surface clear of everything and then fold overlapping the two halves taking care to make them fit together perfectly. With the help of some pins fix your fabric in several places so as not to lose your mark and proceed shipped. The base from which to start is now ready but the best is yet to come.
- We carry on armed with needle and thread. Once you have prepared the necessary start sewing starting from one of the longer sides, then the other finally a shorter one. Be careful to proceed precisely and making points as straight as possible. Remove by hand the pins that will serve as a guide and, when you are finished, cut the thread with the scissors and turn the fabric over, putting the straight side on the outside. Leave the other short side free.
- Now missing thehem: let’s see how to do it and let’s start from the side that we left free. Fold some of the fabric inside, about 1 cm, iron to fix the fold then make a larger one (about 6 cm), iron a second time finally sew under the hem to secure it. Et voilà ours pillowcase is ready to use but not before some small additions: what do you say?
Do you want design advice on how to furnish? Join the group
How to make a DIY pillow case: finishing touch
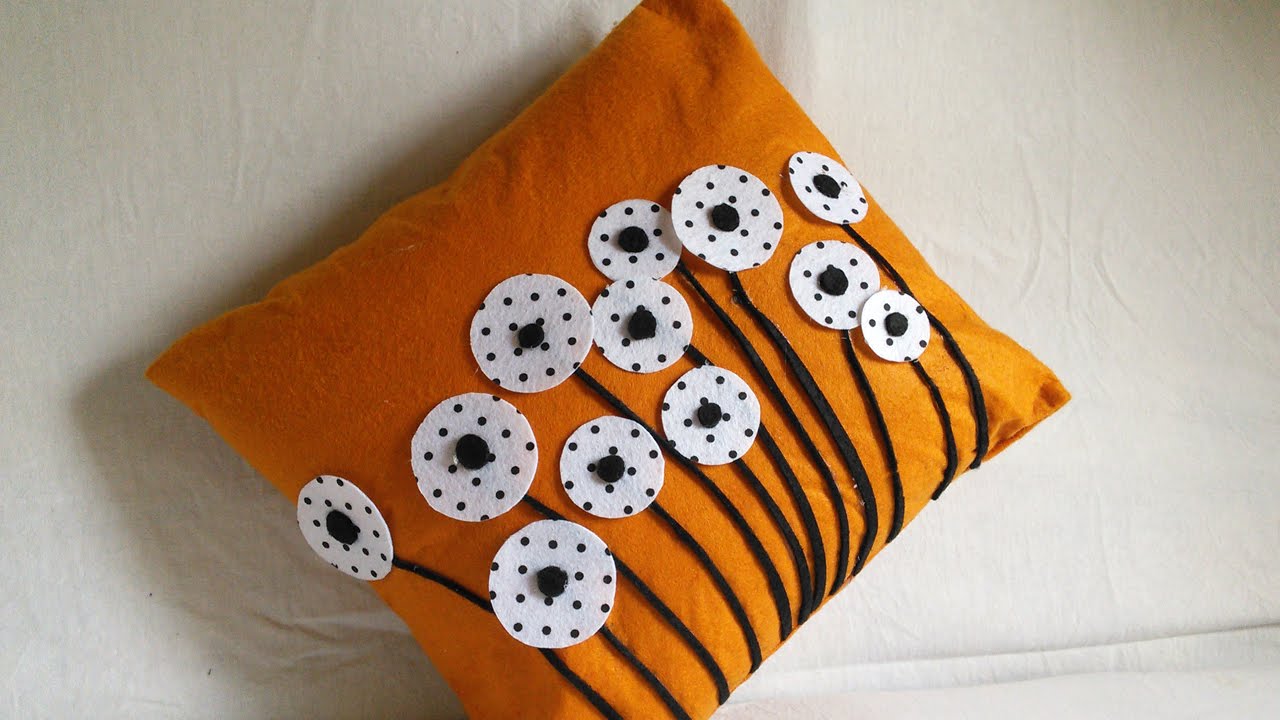
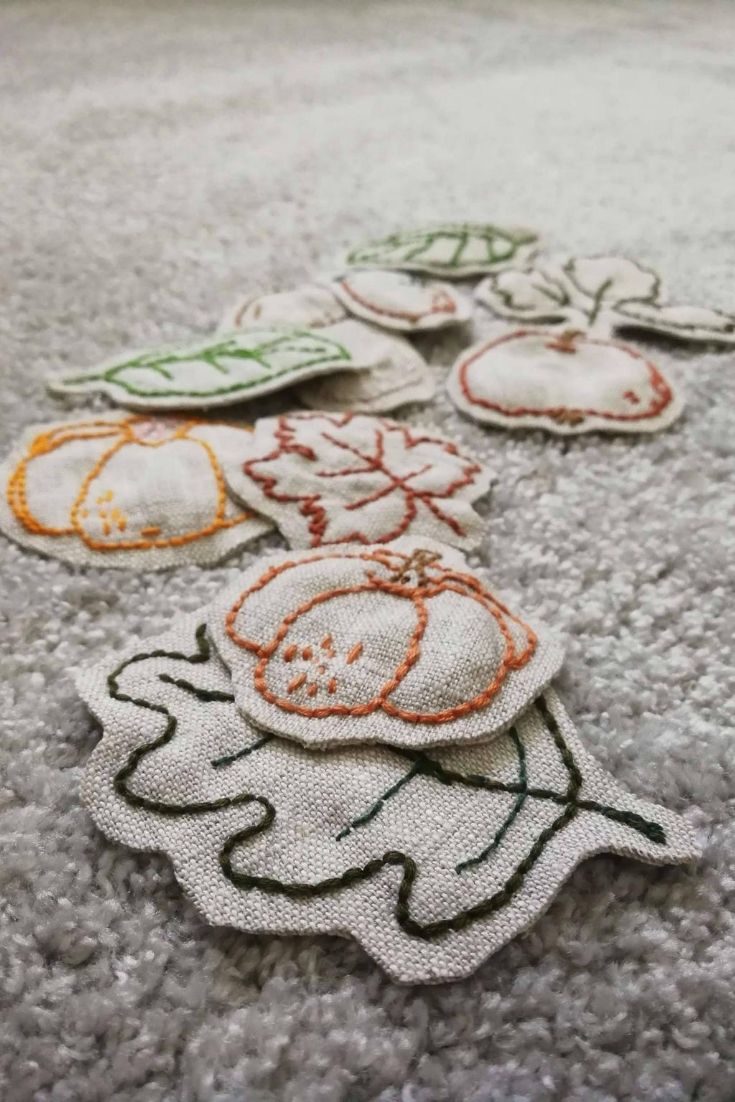
If you want embellish your pillowcase you can play a lot with the imagination and then off to tapes, flakes, applications, rhinestone and much more. Always look at the room as a whole and consider how to intervene.
You won’t need to overdo it but a few small additions will be enough to make your work unique. How about some pretty pom poms?
Helpful hints
We greet you with some small but precious ones indications:
- use good quality fabrics and always wash them before you start sewing
- there pillowcase shape can vary (square, rectangle, circle)
- the measures they are not always the same and always consider seam allowances
- to prevent the seams from fraying use overlock or zig zag stitch
- for a better result fix the fold with the iron.

Making a pillow case do it yourself: pictures and photos
We are sure that by reading our article you will have had a lot of fun finding interesting ideas and are ready to act. What do you say before taking a look at the images in the gallery? We have selected many ideas for you and all to copy: let yourself be inspired.

