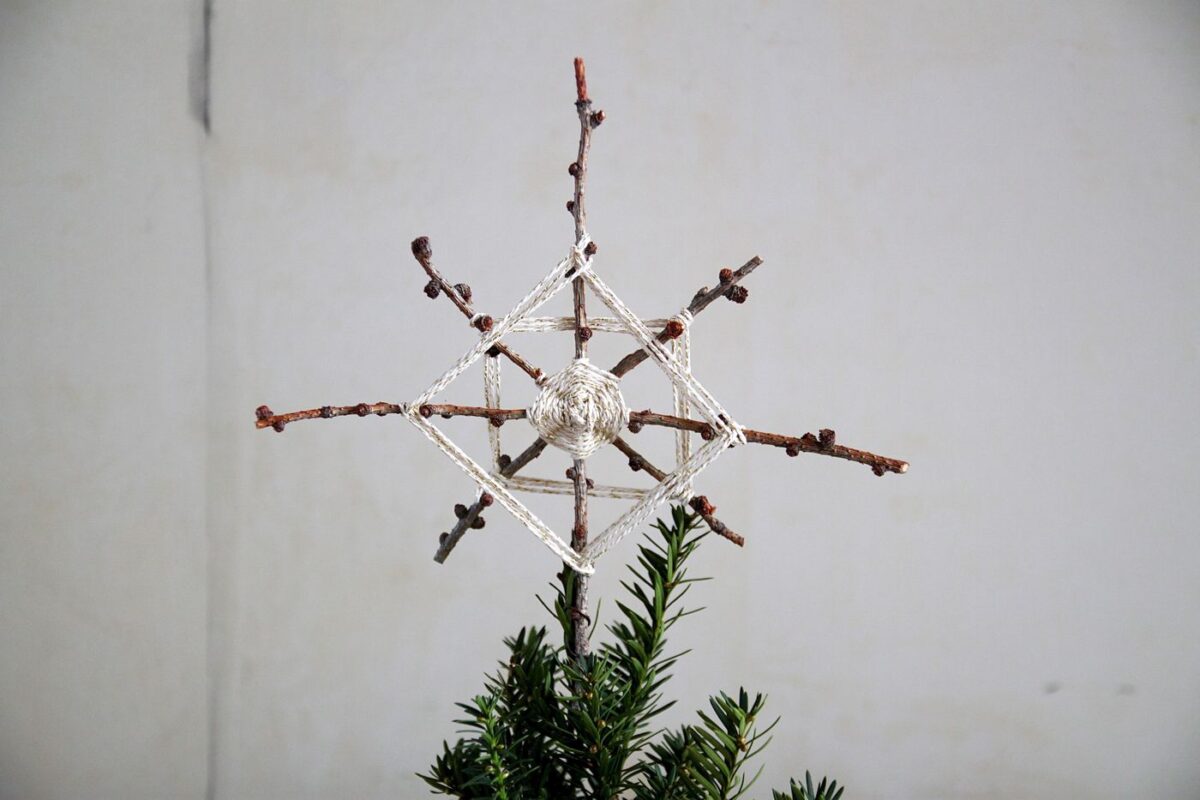
If you want something original for your tree this Christmas, you can create the tip of the tree with your own hands and see your creation on display. In our article we will give you 3 different ideas on how to make a different tip.
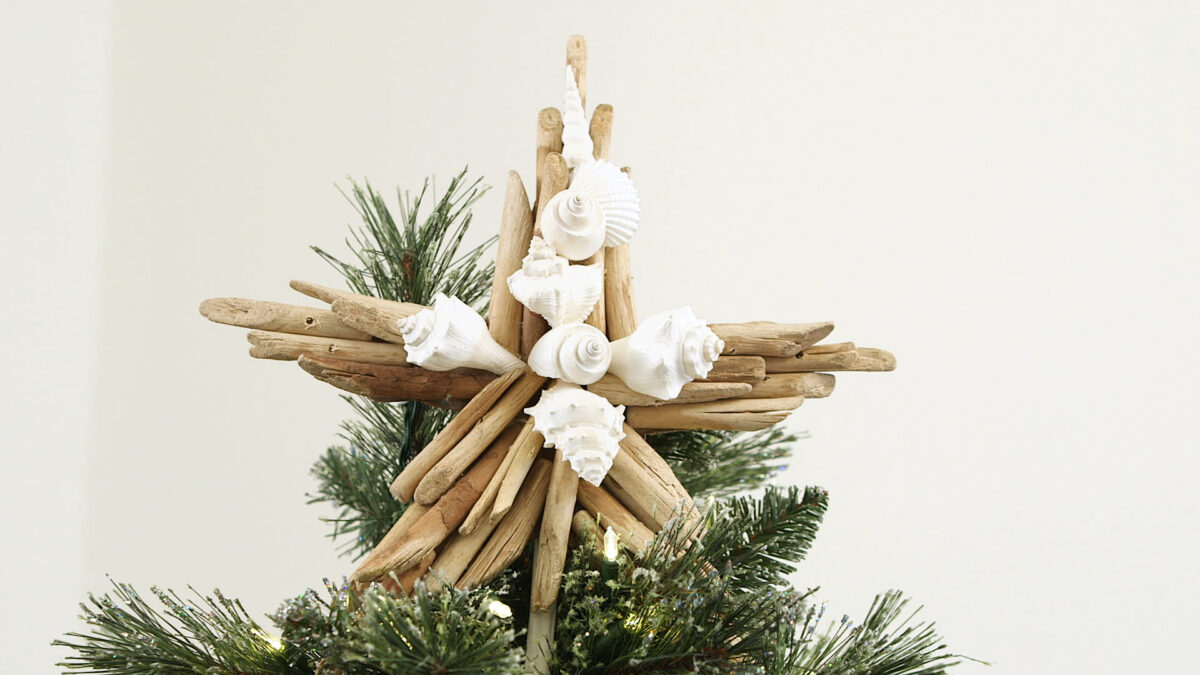
Decorating the tree is one of the most awaited moments since Christmas day is getting closer and closer. There are those who set up the tree as soon as they feel the need to see the Christmas tree in plain sight in the living room, who instead makes the countdown for the first of December and those who still follow their personal tradition and decorate it on a specific day of the year, every year.
However, regardless of the date you choose to decorate your Christmas tree, every year for sure the problem is always the same, that is the different way to decorate it for the current year but above all which tip to choose to make it more beautiful.
Also read: How to Build a Star for a DIY Christmas Tree Tip
The tip of the shaft in fact it is a detail that should not be underestimated because it’s like the icing on the cake. If it’s not there, it’s as if something is missing to give it that extra something. So that your tree doesn’t miss anything this year, we offer you some ideas to make the tip of the Christmas tree.
1. A Harry Potter themed toe cap
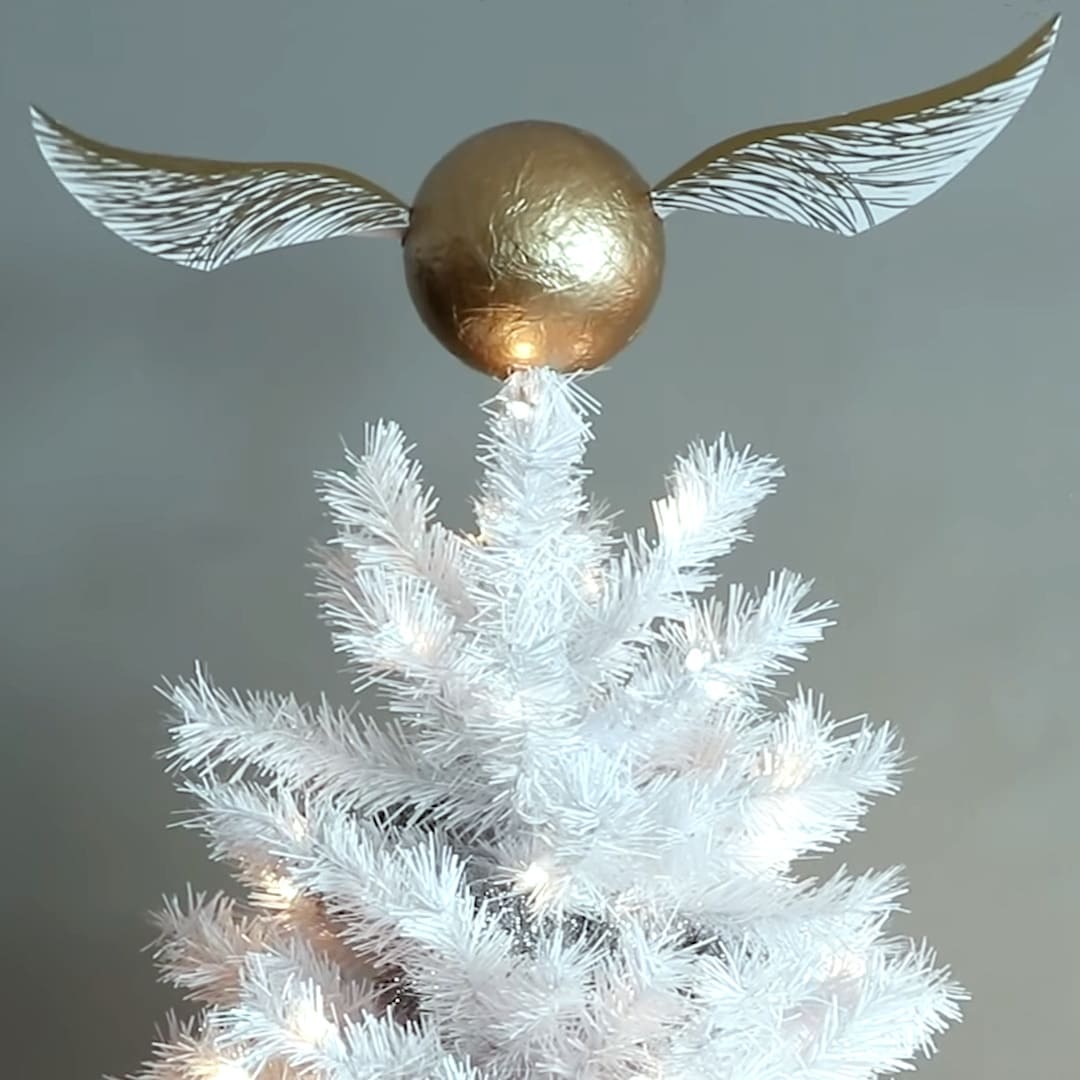
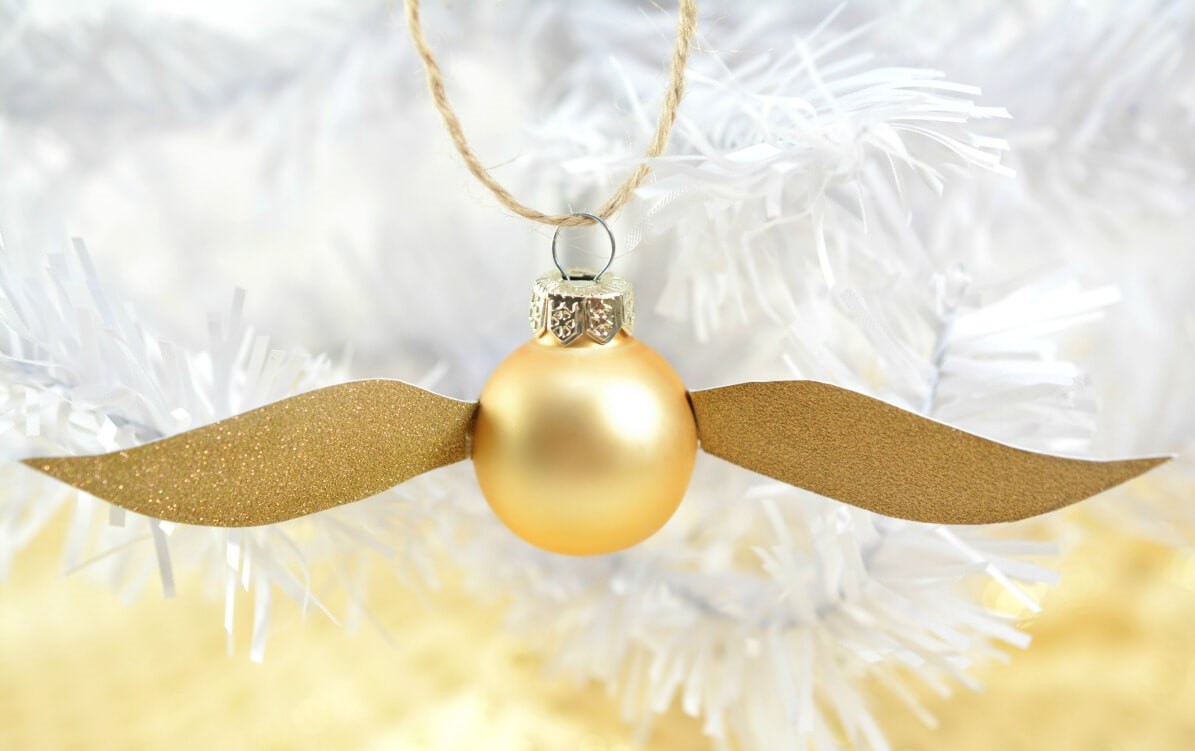
If you are a fan of the saga of the wizard most famous of the globe, and you are thinking of decorate the tree like a real Potterian, we give you a help on how to create the tip just right for a 100% HP themed tree! The tip of the tree that you are going to make with this simple tutorial will be for the creation of the Golden Snitch, the perfect tip and if we want even Christmas, as it is golden.
For the realization of the tip in the shape of a golden snitch you have two alternatives, namely using a golden ball if you want to simply hang it at the tip of the tree, or using a polystyrene ball if you want to completely cover the tip of the tree. The procedure will be very similar for both materials, but we will see in detail the realization of each of them.
Golden snitch with styrofoam
For make this type of tip, the list will seem long but quiet because the process won’t be that complicated.
You will need it:
You may be interested in: Original Christmas trees: 20 amazing ideas
- a polystyrene ball
- vinyl glue
- brush
- golden glitter
- white cardboard
- scissors
- hot glue
- cutter.
- The first step to do is make a hole at the base of the ball with the help of a utility knife, being very careful to avoid hurting yourself. You will need this hole later to be able to insert the ball golden on the tip of the tree.
- Now comes the fun part, which is cover half of the ball of polystyrene with vinyl glue with the help of the brush to spread it out better. Then pour the gold glitter on a sheet (so as not to dirty the worktop) e roll the ball on glitter in order to make them adhere. Place the ball on a glass to dry and then proceed in the same way for the other half.
- While the ball dries, you can take care of your snitch’s wings. To make them happen, draw on a white card the shape of the wings and then cut out. At this point you have two alternatives, that is, you can use the same ball technique and then cover the card with glitter, or draw with a felt tip pen gold the profile of the wings e with a black one draw some Stripes to simulate the movement of the wings.
At this point your golden snitch is ready to make a good impression on top of your Christmas tree!
Do you want design advice on how to furnish? Join the group
The tip with the golden Christmas ball
To accomplish the tip with an already golden ball, the procedure will be more simplified because there will be one less step in coloring the snitch.
You will need:
- cardboard
- scissors
- pencil
- gold spray paint
- hot glue
- scissors.
- On a white cardboard, draw the outline of the wings and then cut out carefully.
- Now wear gloves to avoid coloring your hands and protect the countertop with paper or cardboard. Spray the gold spray paint on the wings of cardboard and let it dry for good.
- You can leave the wings like this or decide to make small cuts in the lower part how to make a kind of fringe.
- Glue the wings to the back of the ball golden with hot glue, thread a golden or transparent thread on the special top of the ball e hang it at the tip of the tree.
2. The tip with pipe cleaners
The pipe cleaners they are versatile materials to which you can give any shape and for this very reason, they are perfect for making the tip for your own tree! In fact, with this type of tutorial you can create a tip with an inscription or the shape of a star or anything else you may like.
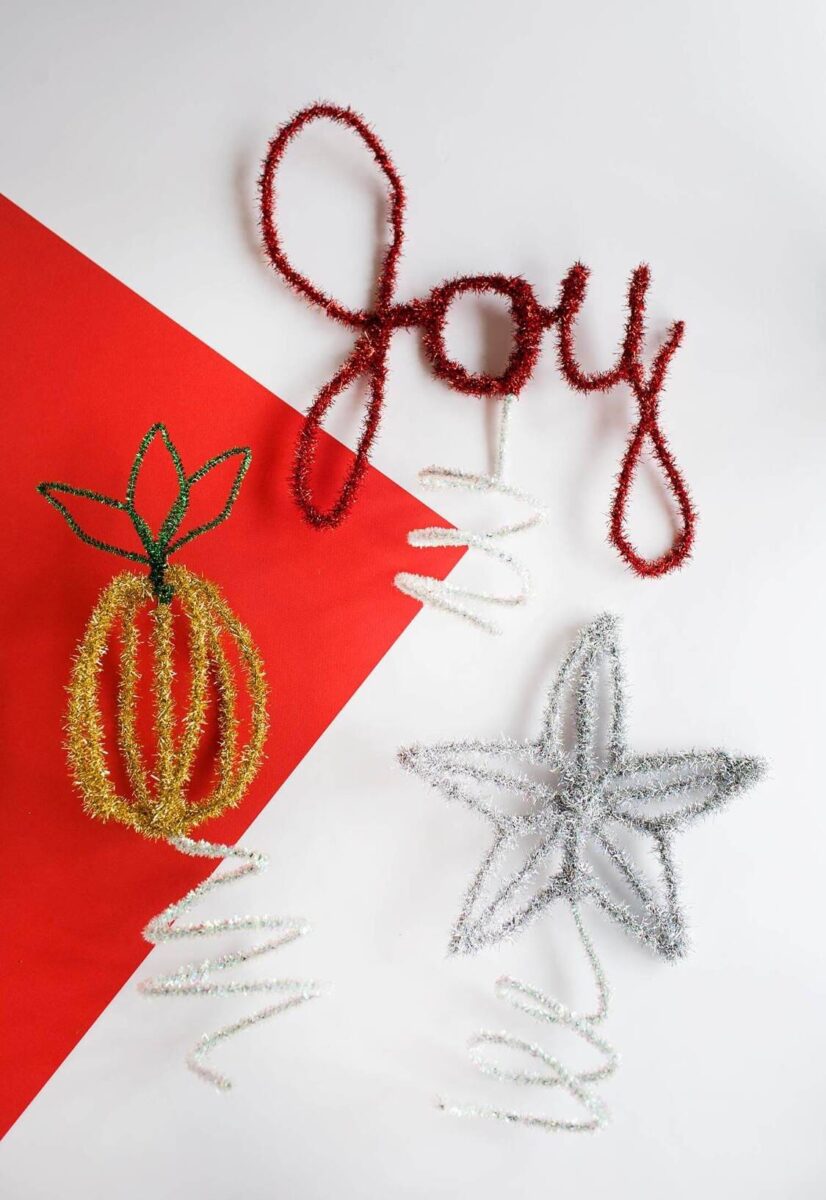
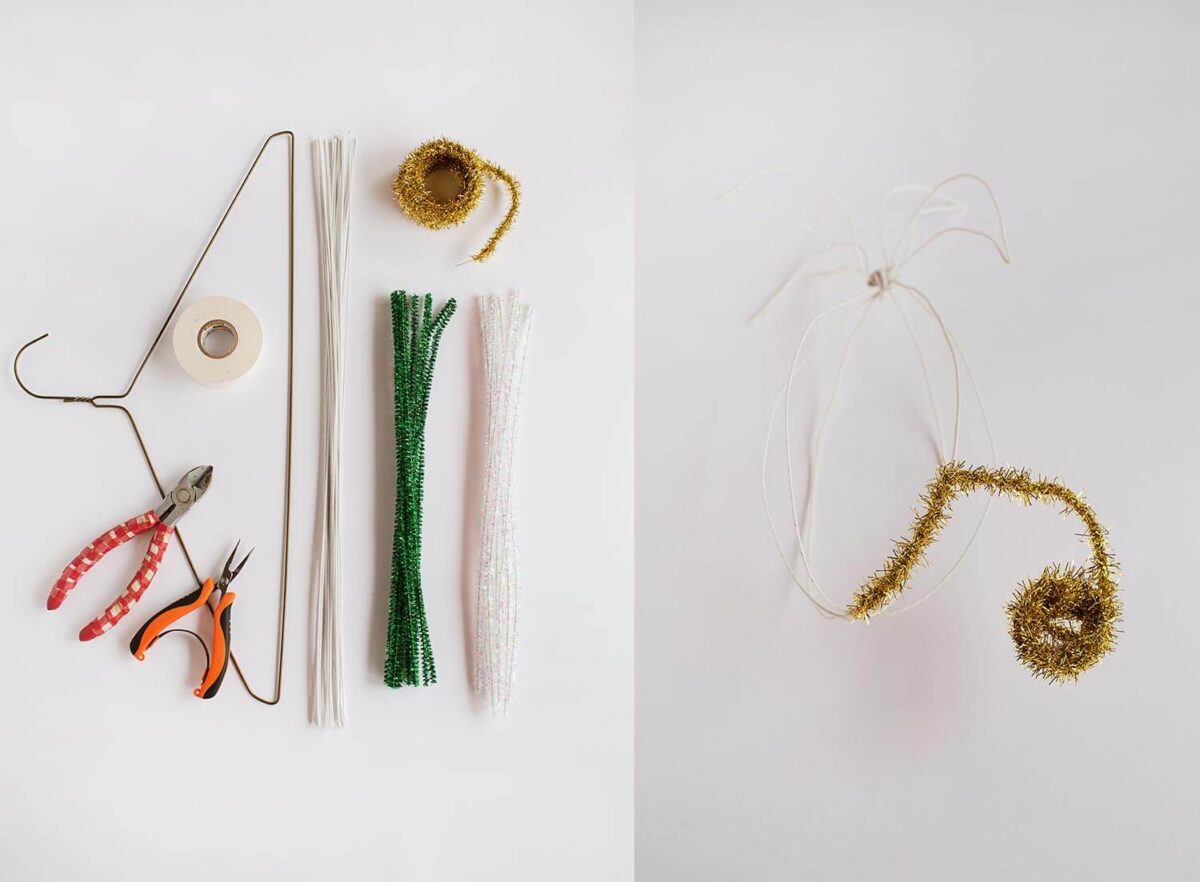
To make this tip you will need it:
- pipe cleaners (of the color you prefer)
- wire easy to fold
- plier.
- Draw the shape of the tip on a sheet of paper that you will then want to realize, so the work will be easier because you will have a very specific line to follow. Then write the sentence you want or draw the subject What do you prefer.
- Make the shape with the wire of the subject or writing you want to create, e twist the pipe cleaner around the wire making sure you cover the entire shape. If you notice that the design created is a bit unstable, then coat it a second time with the pipe cleaner to make it more rigid.
- Now you will have to take care of the base of your tip from which you are going to rest it on the tip of the tree. Then take it again the wire and, with the help of pliers, give it the shape of a spiral. Cover the spiral with more pipe cleaner and continues to wrap until you get to join both pieces of your tip, i.e. the top with the bottom.
At this point your DIY tip is ready to make your Christmas tree original.

Different ideas on how to make the tip of the Christmas tree: pictures and photos
This year give your tree a different and original look with a tip made with your own hands. Nobody will have a tip like this for sure!
If you want something original for your tree this Christmas, you can create the tip of the tree with your own hands and see your creation on display. In our article we will give you 3 different ideas on how to make a different tip.

Decorating the tree is one of the most awaited moments since Christmas day is getting closer and closer. There are those who set up the tree as soon as they feel the need to see the Christmas tree in plain sight in the living room, who instead makes the countdown for the first of December and those who still follow their personal tradition and decorate it on a specific day of the year, every year.
However, regardless of the date you choose to decorate your Christmas tree, every year for sure the problem is always the same, that is the different way to decorate it for the current year but above all which tip to choose to make it more beautiful.
Also read: How to Build a Star for a DIY Christmas Tree Tip
The tip of the shaft in fact it is a detail that should not be underestimated because it’s like the icing on the cake. If it’s not there, it’s as if something is missing to give it that extra something. So that your tree doesn’t miss anything this year, we offer you some ideas to make the tip of the Christmas tree.

1. A Harry Potter themed toe cap
If you are a fan of the saga of the wizard most famous of the globe, and you are thinking of decorate the tree like a real Potterian, we give you a help on how to create the tip just right for a 100% HP themed tree! The tip of the tree that you are going to make with this simple tutorial will be for the creation of the Golden Snitch, the perfect tip and if we want even Christmas, as it is golden.
For the realization of the tip in the shape of a golden snitch you have two alternatives, namely using a golden ball if you want to simply hang it at the tip of the tree, or using a polystyrene ball if you want to completely cover the tip of the tree. The procedure will be very similar for both materials, but we will see in detail the realization of each of them.
Golden snitch with styrofoam
For make this type of tip, the list will seem long but quiet because the process won’t be that complicated.
You will need it:
You may be interested in: Original Christmas trees: 20 amazing ideas
- a polystyrene ball
- vinyl glue
- brush
- golden glitter
- white cardboard
- scissors
- hot glue
- cutter.
- The first step to do is make a hole at the base of the ball with the help of a utility knife, being very careful to avoid hurting yourself. You will need this hole later to be able to insert the ball golden on the tip of the tree.
- Now comes the fun part, which is cover half of the ball of polystyrene with vinyl glue with the help of the brush to spread it out better. Then pour the gold glitter on a sheet (so as not to dirty the worktop) e roll the ball on glitter in order to make them adhere. Place the ball on a glass to dry and then proceed in the same way for the other half.
- While the ball dries, you can take care of your snitch’s wings. To make them happen, draw on a white card the shape of the wings and then cut out. At this point you have two alternatives, that is, you can use the same ball technique and then cover the card with glitter, or draw with a felt tip pen gold the profile of the wings e with a black one draw some Stripes to simulate the movement of the wings.
At this point your golden snitch is ready to make a good impression on top of your Christmas tree!
Do you want design advice on how to furnish? Join the group

The tip with the golden Christmas ball
To accomplish the tip with an already golden ball, the procedure will be more simplified because there will be one less step in coloring the snitch.
You will need:
- cardboard
- scissors
- pencil
- gold spray paint
- hot glue
- scissors.
- On a white cardboard, draw the outline of the wings and then cut out carefully.
- Now wear gloves to avoid coloring your hands and protect the countertop with paper or cardboard. Spray the gold spray paint on the wings of cardboard and let it dry for good.
- You can leave the wings like this or decide to make small cuts in the lower part how to make a kind of fringe.
- Glue the wings to the back of the ball golden with hot glue, thread a golden or transparent thread on the special top of the ball e hang it at the tip of the tree.

2. The tip with pipe cleaners
The pipe cleaners they are versatile materials to which you can give any shape and for this very reason, they are perfect for making the tip for your own tree! In fact, with this type of tutorial you can create a tip with an inscription or the shape of a star or anything else you may like.

To make this tip you will need it:
- pipe cleaners (of the color you prefer)
- wire easy to fold
- plier.
- Draw the shape of the tip on a sheet of paper that you will then want to realize, so the work will be easier because you will have a very specific line to follow. Then write the sentence you want or draw the subject What do you prefer.
- Make the shape with the wire of the subject or writing you want to create, e twist the pipe cleaner around the wire making sure you cover the entire shape. If you notice that the design created is a bit unstable, then coat it a second time with the pipe cleaner to make it more rigid.
- Now you will have to take care of the base of your tip from which you are going to rest it on the tip of the tree. Then take it again the wire and, with the help of pliers, give it the shape of a spiral. Cover the spiral with more pipe cleaner and continues to wrap until you get to join both pieces of your tip, i.e. the top with the bottom.
At this point your DIY tip is ready to make your Christmas tree original.

Different ideas on how to make the tip of the Christmas tree: pictures and photos
This year give your tree a different and original look with a tip made with your own hands. Nobody will have a tip like this for sure!

