Christmas is wonderful, enveloping, creative and full of love. And if shared with children it is even more so. The little souls of the house, which transform everything into party and play, are the main reason for a happy Christmas. For this reason we want to give you some ideas to make fantastic and creative DIY nativity scenes with your children. Let’s find out how.
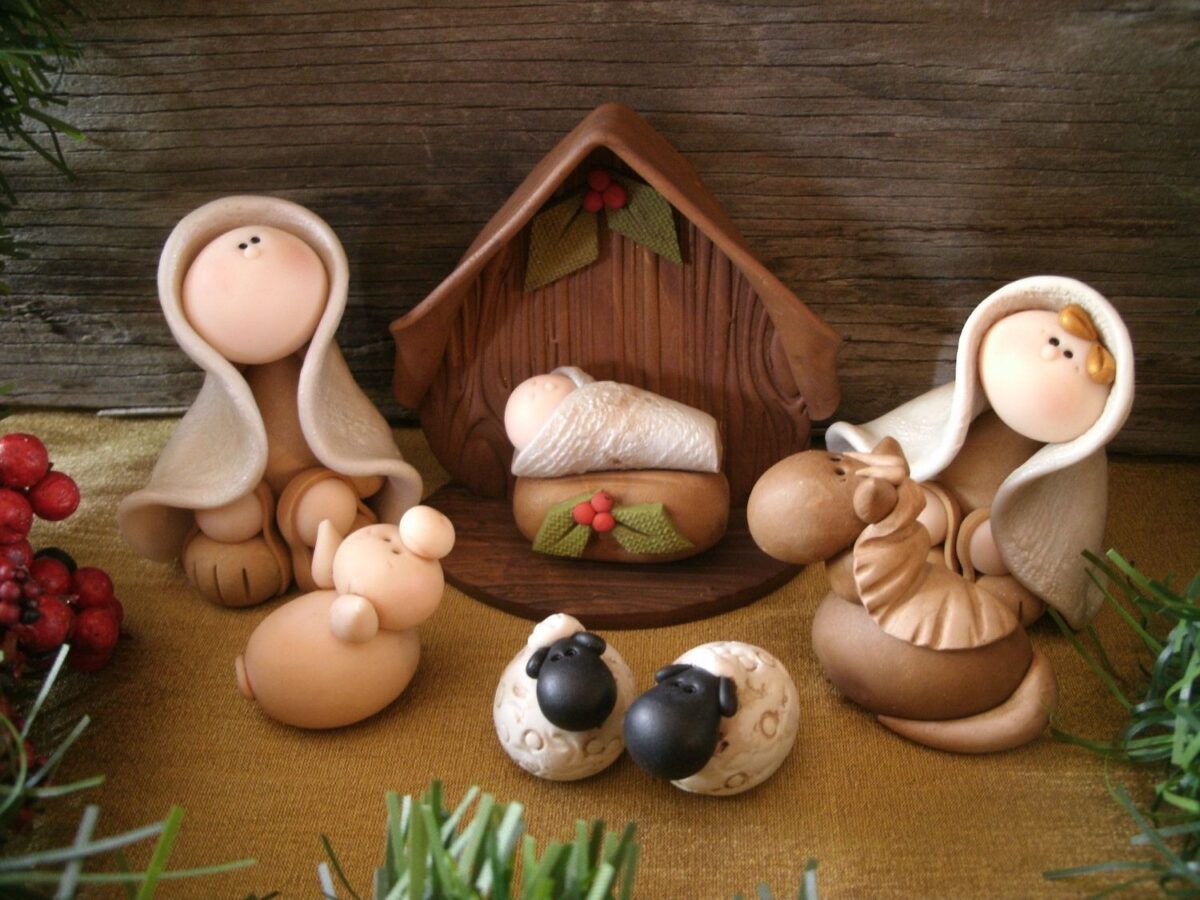
The Nativity it’s a tradition all Italian, which over the centuries has made itself known e appreciate in Worldwide. It is such a deeply rooted local habit that around it real artistic contests were born, with jury and prize, to decree the most whimsical and particular one. At home you may have a small artist, i your children can try their hand in realization some homemade nativity scenes, with very simple techniques. Let’s see some examples together of DIY nativity scenes with the children.
Read also: DIY cardboard nativity scene: how to make it easily
The paper nativity scene
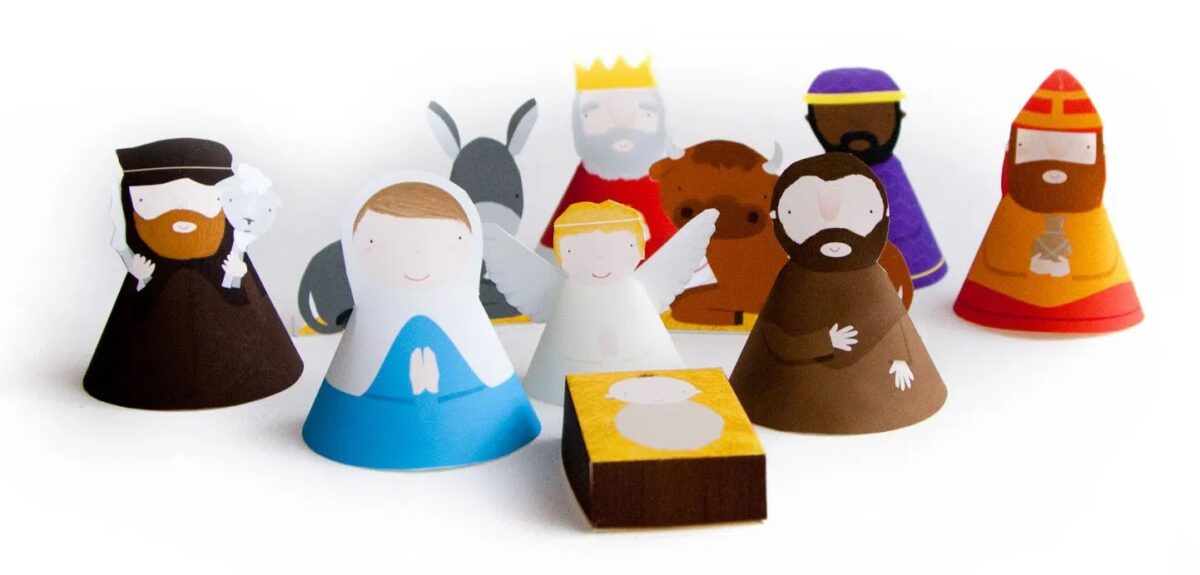
Our first offer concentrate in it imagination, art of recycling and craftsmanship. We want to show you how to make a paper nativity scene, with all its characters.
Necessary
- Cardstock of various colors (white, brown, yellow, pink)
- As an alternative to colored cards, you can opt for white cards and colored markers
- Scissors
- Glue stick.
Method
- From cardboard White cut out triangles with a very wide base, roll the triangle up on itself to form a cone. Repeat the action for the number of characters that you intend to create, making them a smaller one that will represent baby Jesus.
- Once you have yours cones, which will be the body of our characters, let’s go to crop the silhouettes of their faces. Remember not to leave out some details, such as the hats or the crown of the Magi.
- Glue the head that you cut out to the cone.
- Now with the markers color your characters.
- If you have decided to use colored cards instead, create the details with those and glue them to the characters.
- From cardboard also cut out the outline of the ox and the donkey, and color them to your liking.
Nativity scene with small vases
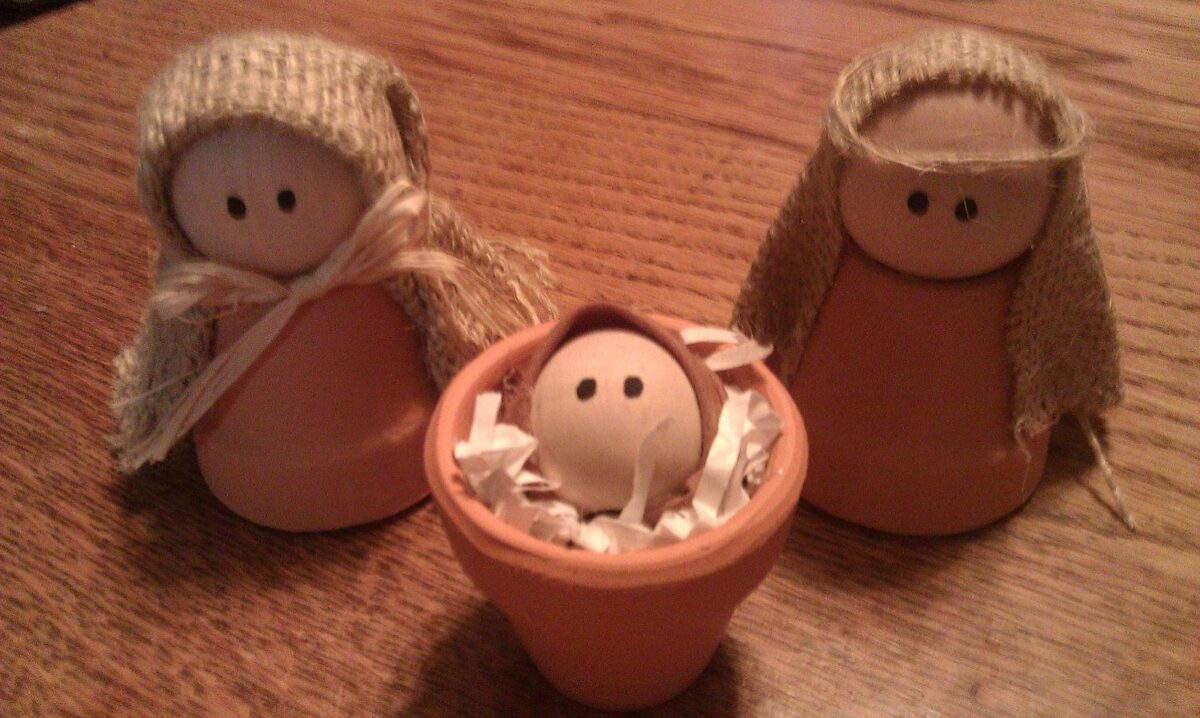
An idea that expresses a lot of imagination but also a lot of tenderness. the nativity comes to life from some small terracotta pots. Let’s see in detail how to do it.
Necessary
You will need to get:
- 3 small pots in terracotta, available both in gardening shops and in those dedicated to DIY;
- wooden balls;
- a piece of cloth or jute;
- a little bit of string;
- a felt tip pen black;
- glue hot.
Method
With hot glue, assemble the wooden balls on the vase upside down, to make Joseph and Mary. With a marker define the eyes, and proceed also gluing the fabric like a headdress. Use the twine to create the details of the cloak and headdress.
It may interest you: How to make a pop-up nativity scene: easy 3-step tutorial
To make the baby Jesus, insert the ball directly into the jar, suitably filled with paper scraps. Done. An original and very easy to make nativity scene.
Wool crib and ice cream sticks
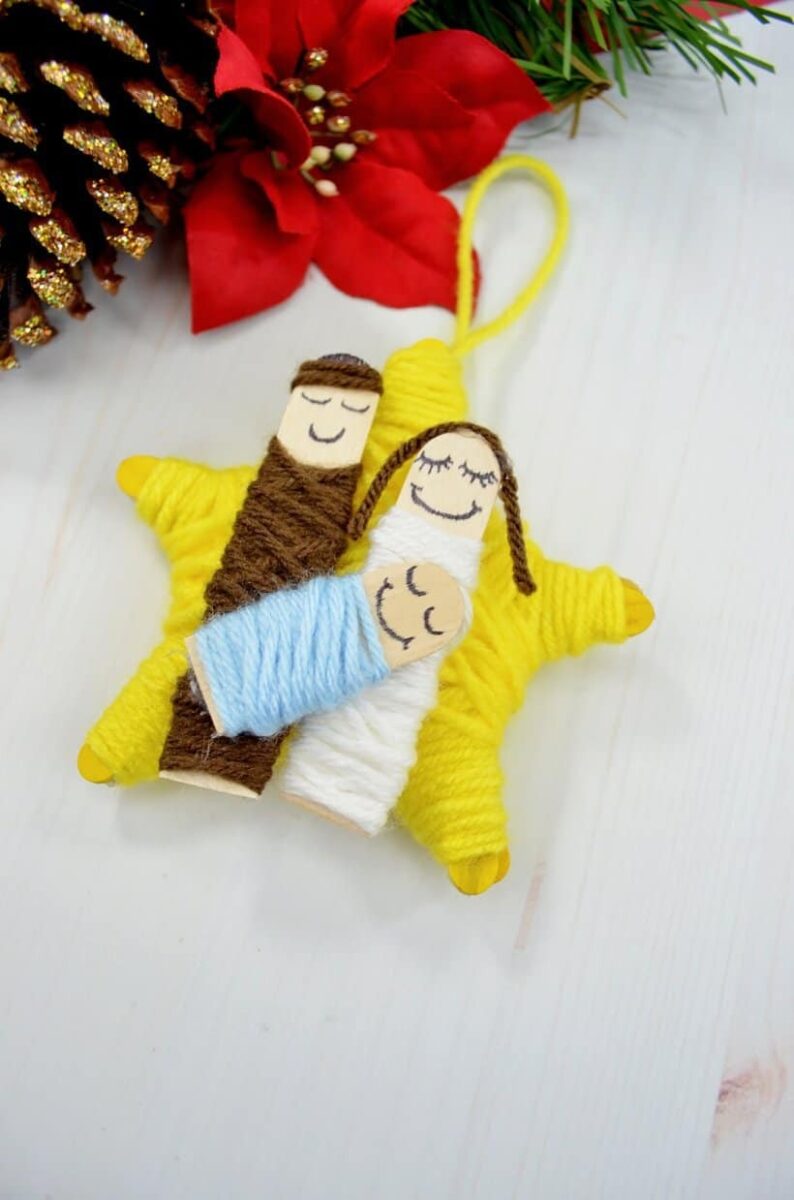
Another small immediate and economical work. To create this crib you will only need some wooden sticks, those used for the preparation of ice cream and wool, in various colors. Have fun with your kids ad wrap the wooden sticks with the wool thread, going to define the clothes of the characters of our crib. With a marker draw the eyes and mouth of each character. Glue the characters next to each other and add a small hook, to hang your nativity scene on the tree. If you want to give an extra touch, you can realize a wooden star e wool, which will form the basis of your cute nativity.
Do you want design advice on how to furnish? Join the group
Finger stamps to make the nativity scene
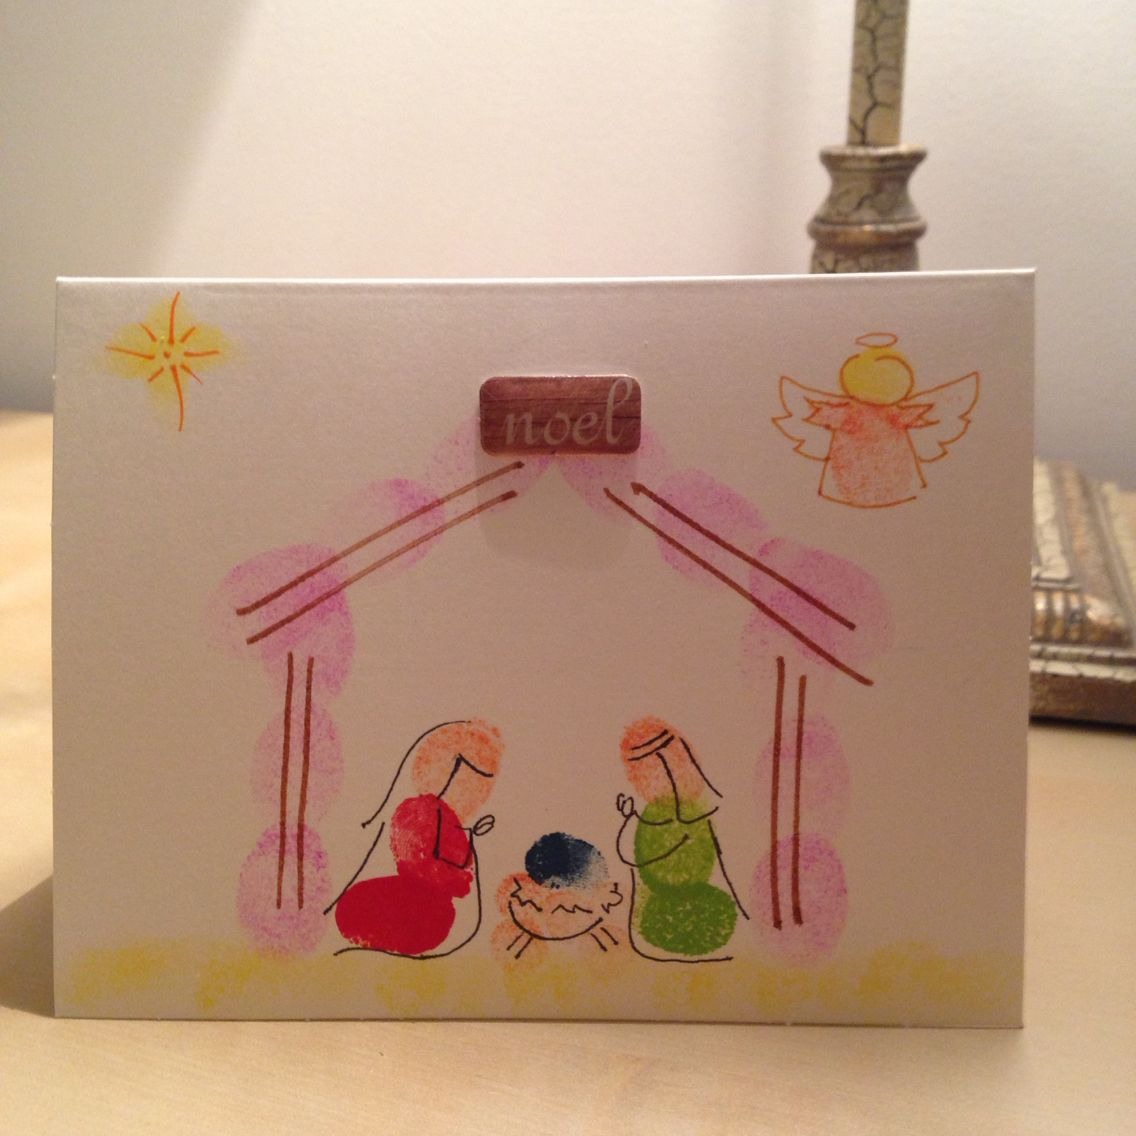
If yours babies are very small and setting up a small DIY business might seem difficult, here’s the idea for you. Get finger paints is use your hands like gods stamps, to design your one-of-a-kind nativity scene. Once your children have sketched the characters, help them define the outlines with a black marker.
Nativity scene in modeling clay
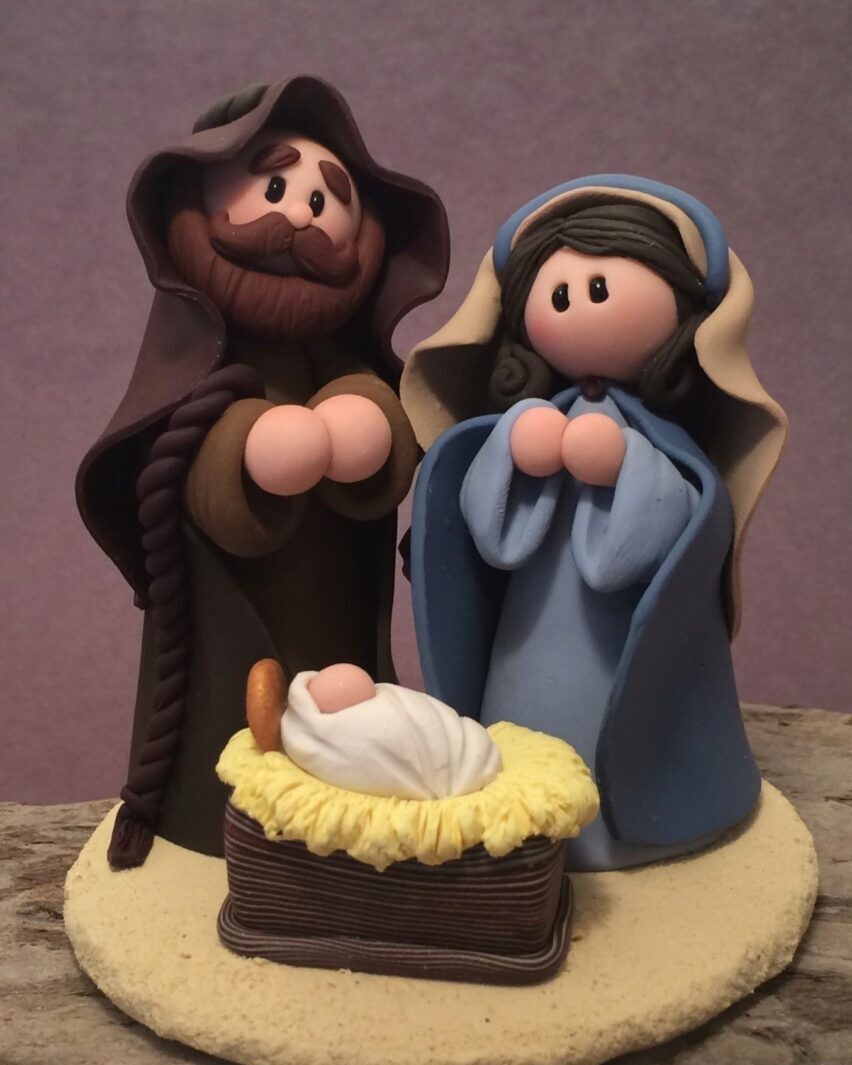
All parents will remember with pleasure the moments of their childhood, spent in the company of colored modeling clay. Today that play dough has evolved, giving life to much more performing materials, such as polymer clay.
Use these materials, including das or clay, to create the nativity scene together with your children. It will be a lot of fun to create the shapes, but also to color it and give it an artistic vein. If you want also make modeling clay at home, follow one of the many tutorials available on the net. You could try making salt dough, for example, which has a nice iridescent effect, or corn dough.
DIY nativity scene for children: photos and pictures
In this photo gallery you will find numerous ideas for the creation of DIY nativity scenes, to propose to your children. Choose the one you prefer and have fun making it.
Christmas is wonderful, enveloping, creative and full of love. And if shared with children it is even more so. The little souls of the house, which transform everything into party and play, are the main reason for a happy Christmas. For this reason we want to give you some ideas to make fantastic and creative DIY nativity scenes with your children. Let’s find out how.

The Nativity it’s a tradition all Italian, which over the centuries has made itself known e appreciate in Worldwide. It is such a deeply rooted local habit that around it real artistic contests were born, with jury and prize, to decree the most whimsical and particular one. At home you may have a small artist, i your children can try their hand in realization some homemade nativity scenes, with very simple techniques. Let’s see some examples together of DIY nativity scenes with the children.

Read also: DIY cardboard nativity scene: how to make it easily
The paper nativity scene
Our first offer concentrate in it imagination, art of recycling and craftsmanship. We want to show you how to make a paper nativity scene, with all its characters.
Necessary
- Cardstock of various colors (white, brown, yellow, pink)
- As an alternative to colored cards, you can opt for white cards and colored markers
- Scissors
- Glue stick.
Method
- From cardboard White cut out triangles with a very wide base, roll the triangle up on itself to form a cone. Repeat the action for the number of characters that you intend to create, making them a smaller one that will represent baby Jesus.
- Once you have yours cones, which will be the body of our characters, let’s go to crop the silhouettes of their faces. Remember not to leave out some details, such as the hats or the crown of the Magi.
- Glue the head that you cut out to the cone.
- Now with the markers color your characters.
- If you have decided to use colored cards instead, create the details with those and glue them to the characters.
- From cardboard also cut out the outline of the ox and the donkey, and color them to your liking.

Nativity scene with small vases
An idea that expresses a lot of imagination but also a lot of tenderness. the nativity comes to life from some small terracotta pots. Let’s see in detail how to do it.
Necessary
You will need to get:
- 3 small pots in terracotta, available both in gardening shops and in those dedicated to DIY;
- wooden balls;
- a piece of cloth or jute;
- a little bit of string;
- a felt tip pen black;
- glue hot.
Method
With hot glue, assemble the wooden balls on the vase upside down, to make Joseph and Mary. With a marker define the eyes, and proceed also gluing the fabric like a headdress. Use the twine to create the details of the cloak and headdress.
It may interest you: How to make a pop-up nativity scene: easy 3-step tutorial
To make the baby Jesus, insert the ball directly into the jar, suitably filled with paper scraps. Done. An original and very easy to make nativity scene.

Wool crib and ice cream sticks
Another small immediate and economical work. To create this crib you will only need some wooden sticks, those used for the preparation of ice cream and wool, in various colors. Have fun with your kids ad wrap the wooden sticks with the wool thread, going to define the clothes of the characters of our crib. With a marker draw the eyes and mouth of each character. Glue the characters next to each other and add a small hook, to hang your nativity scene on the tree. If you want to give an extra touch, you can realize a wooden star e wool, which will form the basis of your cute nativity.
Do you want design advice on how to furnish? Join the group

Finger stamps to make the nativity scene
If yours babies are very small and setting up a small DIY business might seem difficult, here’s the idea for you. Get finger paints is use your hands like gods stamps, to design your one-of-a-kind nativity scene. Once your children have sketched the characters, help them define the outlines with a black marker.

Nativity scene in modeling clay
All parents will remember with pleasure the moments of their childhood, spent in the company of colored modeling clay. Today that play dough has evolved, giving life to much more performing materials, such as polymer clay.
Use these materials, including das or clay, to create the nativity scene together with your children. It will be a lot of fun to create the shapes, but also to color it and give it an artistic vein. If you want also make modeling clay at home, follow one of the many tutorials available on the net. You could try making salt dough, for example, which has a nice iridescent effect, or corn dough.

DIY nativity scene for children: photos and pictures
In this photo gallery you will find numerous ideas for the creation of DIY nativity scenes, to propose to your children. Choose the one you prefer and have fun making it.

