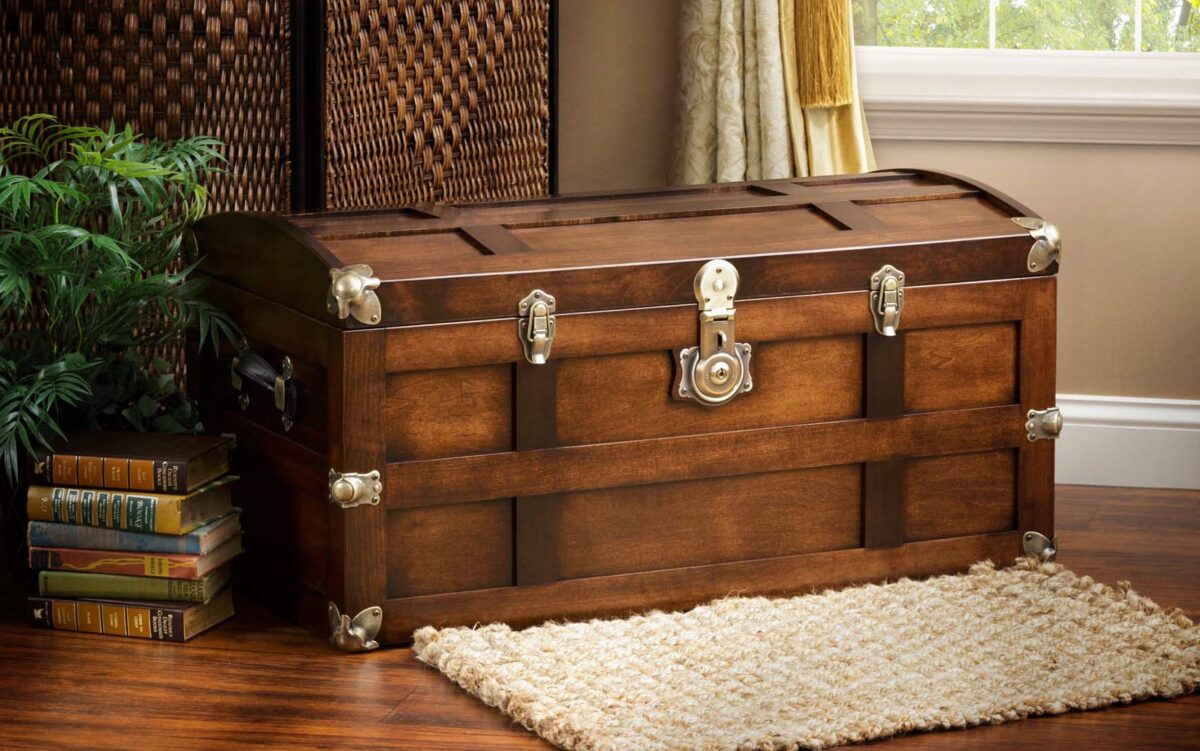
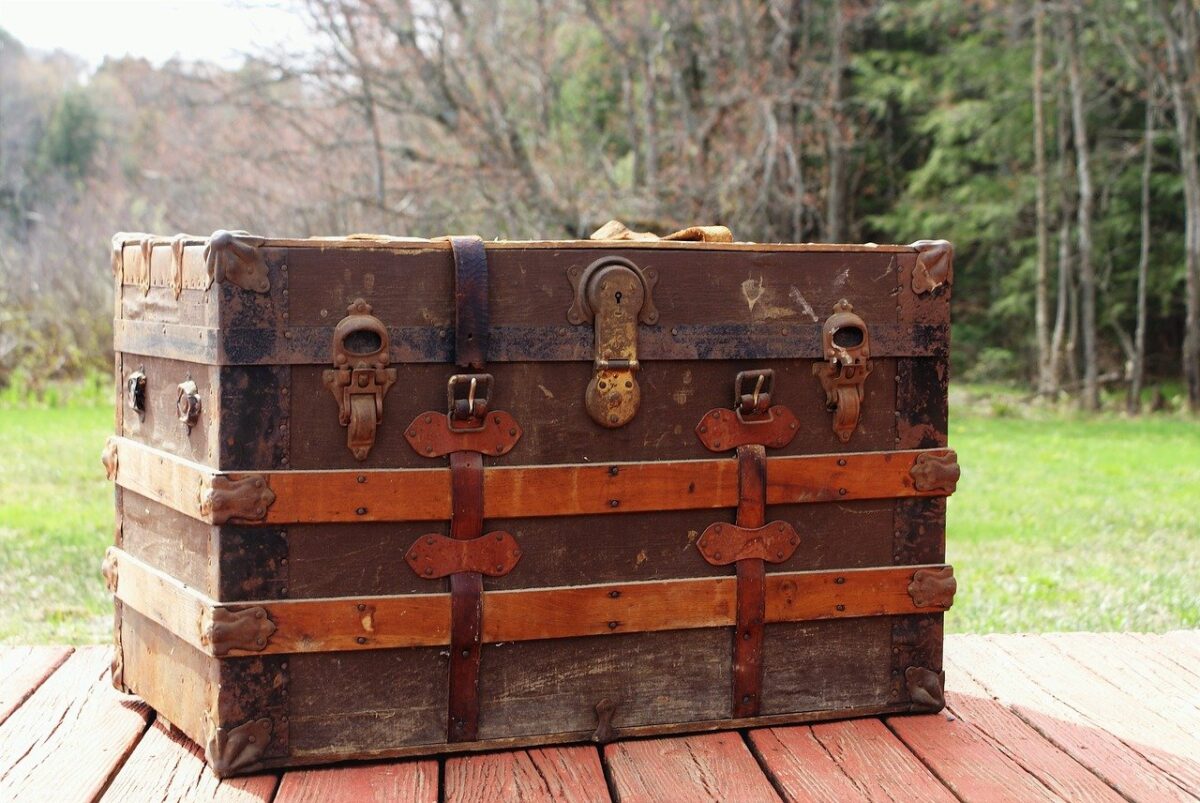
How beautiful are the old trunks, with their perfect finishes and their stories to tell. Each of them contains an old tradition, made up of ancient treasures. Each trunk played a fundamental role in the life of the families of the last century. Let’s find out some ways to restore it.


THE old trunks represented in the homes of families a important element, a way to keep clothes, toys or even the dowry destined for the daughters, in view of their marriage.
If you have inherited from your grandparents or parents an old trunk, we can find out together what they are all the steps to renovate it and bring it back into vogue. You’ll soon find out that it is a pleasant, relaxing practice is easier than you think, which requires little manual skill but a good dose of patience. If you don’t have a trunk instead, but would you like to try to restore one, look for it at one of the many flea markets or thrift shops around Italy.
Read also: Furnishing with an old staircase: 10 ideas + 1
Also online there are many portals dedicated to vintage and restoration lovers. And now let’s venture in the beautiful art of DIY restoration. Ready?

Preparation of the trunk
Before proceeding with the live restoration, it is necessary to make a careful evaluation of the condition of the object. It will be necessary to verify, eg, if there are woodworms inside the wood, or if it will be necessary to make radical interventions, such as the change of the internal fabric or some external components.
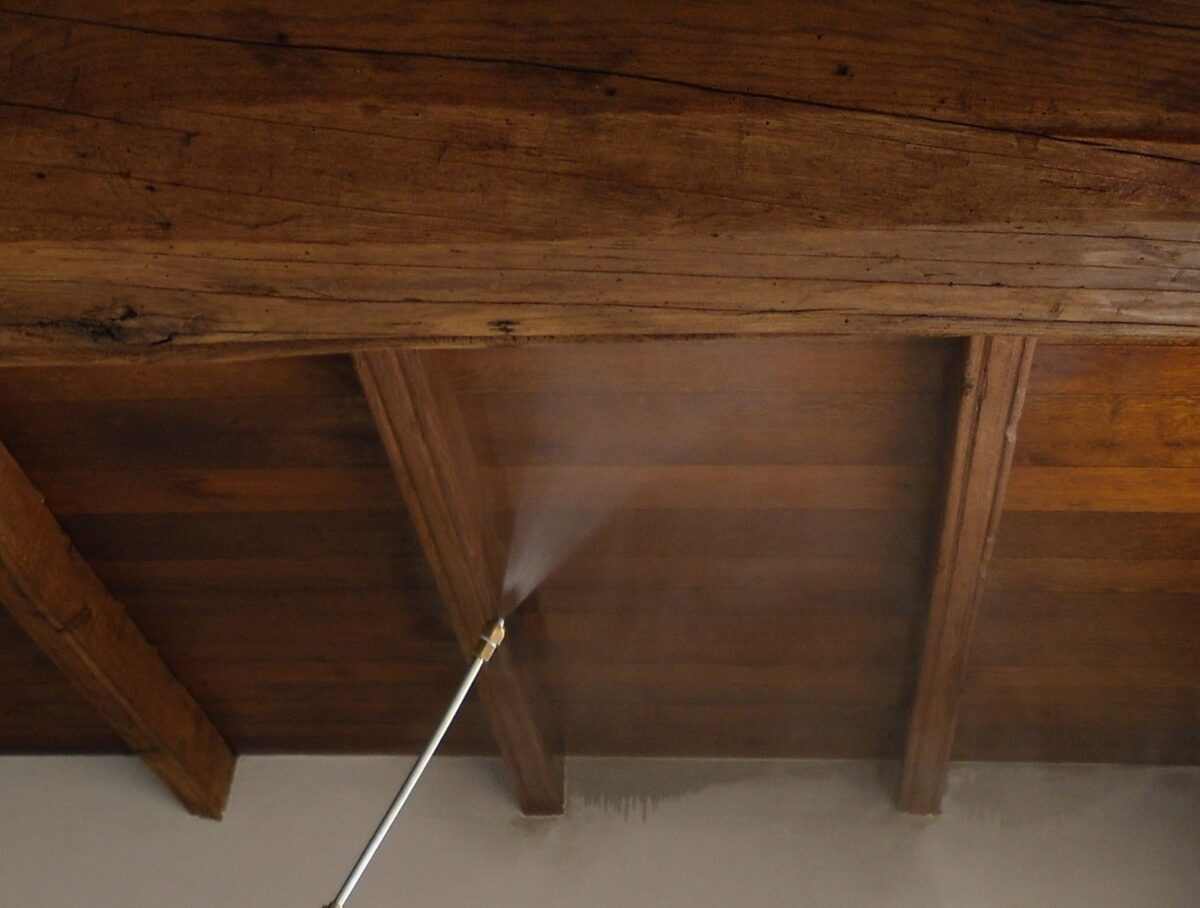
If the trunk is infested with woodworms, you will find wood dust, come out of the small holes. This dust is caused by the flickering action of the larvae that want to find a way out. Anti-moth treatment requires precision and patience. On the market you will find several dedicated products, sprays equipped with a special syringe, to facilitate the operation. But let’s find out how to do it, step by step.
Attention: for precise information on the times and doses to be used, refer to the method of use indicated on the packaging of the product you choose.
Anti-woodworm treatment
- Place a plastic sheet under the trunk, to protect the surrounding environment;
- It begins With the’use of the anti-moth product, directing the nozzle of the syringe into each hole in the trunk.
- Once you have completed the operation with the product, proceed to close the trunk inside the cloth of plastic. In this way you will go to protect the surrounding environment and all the larvae will die, trapped.
- Wait the necessary time, before proceeding with the actual restoration steps, which generally corresponds to a week. Waiting times vary from product to product, so it is good to read the provisions carefully.

You may be interested in: 10 ideas to decorate an old sofa
Refurbish the trunk
Once we have prepared the trunk for its restoration, eliminating any woodworms, we can proceed with the live of the operation.
Let’s see in detail what is needed, and then analyze step by step.
Necessary
- Sand paper;
- Brushes;
- Painting for wood;
- Oil o wood wax;
- Scissors;
- Cloth;
- Various tools (pliers, splint, hammer, nails, etc)
- Stucco for wood;
- Alcohol denatured;
- Cloth of plastic.
Method
- Before proceeding with the restoration, we proceed with the elimination of all the parts of the trunk (handles, hinges). This way we could work precisely and flawless.
- The next step is the thorough cleaning of the trunk. Let’s proceed with denatured alcohol and a piece of cotton. We eliminate all residues of dirt and dust.
- For also clean the inside of the trunk, which is usually covered with cloth or paper, consider whether the latter need to be replaced. In this case proceed with the elimination of the old lining and clean the inside of our object with denatured alcohol.
- Now that our trunk is perfectly clean, let’s proceed with theuse of putty for wood, for refine any defects or parts of the trunk that have been damaged. Use a splint to apply the putty.
- One time that also it wood putty will be dry, let’s proceed with the sanding phase. Let’s help ourselves with the sandpaper to make the whole surface of the wood smooth and homogeneous.
- Here is the moment of paint. Armed with colors for wood and brushes, and transform your trunk. You can opt for a classic work, which will not alter the initial state of the trunk, or for a whimsical and colorful work. Once concluded, makes a wax pass or wood oil, to polish it.
- If the paper or inner fabric was damaged, now is the time to apply the new fabric. Cut it to size and place it with a punch.

These are the basic steps to renovate any trunk. However there are many techniques artistic that allow us to transform our precious object into something truly unique. You can use, for example, the technique of decoupage to coat the inside or outside of your heirloom. Alternatively, you can add wheels or iron feet, to transform the trunk into a very special cabinet.
Renovating an old trunk: photos and images
Here is the photographic journey that traces all the important phases for the renovation of an old trunk. Dig deeper and give new life to your family trunk.
How beautiful are the old trunks, with their perfect finishes and their stories to tell. Each of them contains an old tradition, made up of ancient treasures. Each trunk played a fundamental role in the life of the families of the last century. Let’s find out some ways to restore it.


THE old trunks represented in the homes of families a important element, a way to keep clothes, toys or even the dowry destined for the daughters, in view of their marriage.
If you have inherited from your grandparents or parents an old trunk, we can find out together what they are all the steps to renovate it and bring it back into vogue. You’ll soon find out that it is a pleasant, relaxing practice is easier than you think, which requires little manual skill but a good dose of patience. If you don’t have a trunk instead, but would you like to try to restore one, look for it at one of the many flea markets or thrift shops around Italy.
Read also: Furnishing with an old staircase: 10 ideas + 1
Also online there are many portals dedicated to vintage and restoration lovers. And now let’s venture in the beautiful art of DIY restoration. Ready?

Preparation of the trunk
Before proceeding with the live restoration, it is necessary to make a careful evaluation of the condition of the object. It will be necessary to verify, eg, if there are woodworms inside the wood, or if it will be necessary to make radical interventions, such as the change of the internal fabric or some external components.
If the trunk is infested with woodworms, you will find wood dust, come out of the small holes. This dust is caused by the flickering action of the larvae that want to find a way out. Anti-moth treatment requires precision and patience. On the market you will find several dedicated products, sprays equipped with a special syringe, to facilitate the operation. But let’s find out how to do it, step by step.
Attention: for precise information on the times and doses to be used, refer to the method of use indicated on the packaging of the product you choose.
Anti-woodworm treatment
- Place a plastic sheet under the trunk, to protect the surrounding environment;
- It begins With the’use of the anti-moth product, directing the nozzle of the syringe into each hole in the trunk.
- Once you have completed the operation with the product, proceed to close the trunk inside the cloth of plastic. In this way you will go to protect the surrounding environment and all the larvae will die, trapped.
- Wait the necessary time, before proceeding with the actual restoration steps, which generally corresponds to a week. Waiting times vary from product to product, so it is good to read the provisions carefully.

You may be interested in: 10 ideas to decorate an old sofa
Refurbish the trunk
Once we have prepared the trunk for its restoration, eliminating any woodworms, we can proceed with the live of the operation.
Let’s see in detail what is needed, and then analyze step by step.
Necessary
- Sand paper;
- Brushes;
- Painting for wood;
- Oil o wood wax;
- Scissors;
- Cloth;
- Various tools (pliers, splint, hammer, nails, etc)
- Stucco for wood;
- Alcohol denatured;
- Cloth of plastic.
Method
- Before proceeding with the restoration, we proceed with the elimination of all the parts of the trunk (handles, hinges). This way we could work precisely and flawless.
- The next step is the thorough cleaning of the trunk. Let’s proceed with denatured alcohol and a piece of cotton. We eliminate all residues of dirt and dust.
- For also clean the inside of the trunk, which is usually covered with cloth or paper, consider whether the latter need to be replaced. In this case proceed with the elimination of the old lining and clean the inside of our object with denatured alcohol.
- Now that our trunk is perfectly clean, let’s proceed with theuse of putty for wood, for refine any defects or parts of the trunk that have been damaged. Use a splint to apply the putty.
- One time that also it wood putty will be dry, let’s proceed with the sanding phase. Let’s help ourselves with the sandpaper to make the whole surface of the wood smooth and homogeneous.
- Here is the moment of paint. Armed with colors for wood and brushes, and transform your trunk. You can opt for a classic work, which will not alter the initial state of the trunk, or for a whimsical and colorful work. Once concluded, makes a wax pass or wood oil, to polish it.
- If the paper or inner fabric was damaged, now is the time to apply the new fabric. Cut it to size and place it with a punch.

These are the basic steps to renovate any trunk. However there are many techniques artistic that allow us to transform our precious object into something truly unique. You can use, for example, the technique of decoupage to coat the inside or outside of your heirloom. Alternatively, you can add wheels or iron feet, to transform the trunk into a very special cabinet.
Renovating an old trunk: photos and images
Here is the photographic journey that traces all the important phases for the renovation of an old trunk. Dig deeper and give new life to your family trunk.
