What to invent this year to give some novelty with Christmas decorations? You can try to make some using pine cones and a few others needed, to get original and creative decorations for your home.
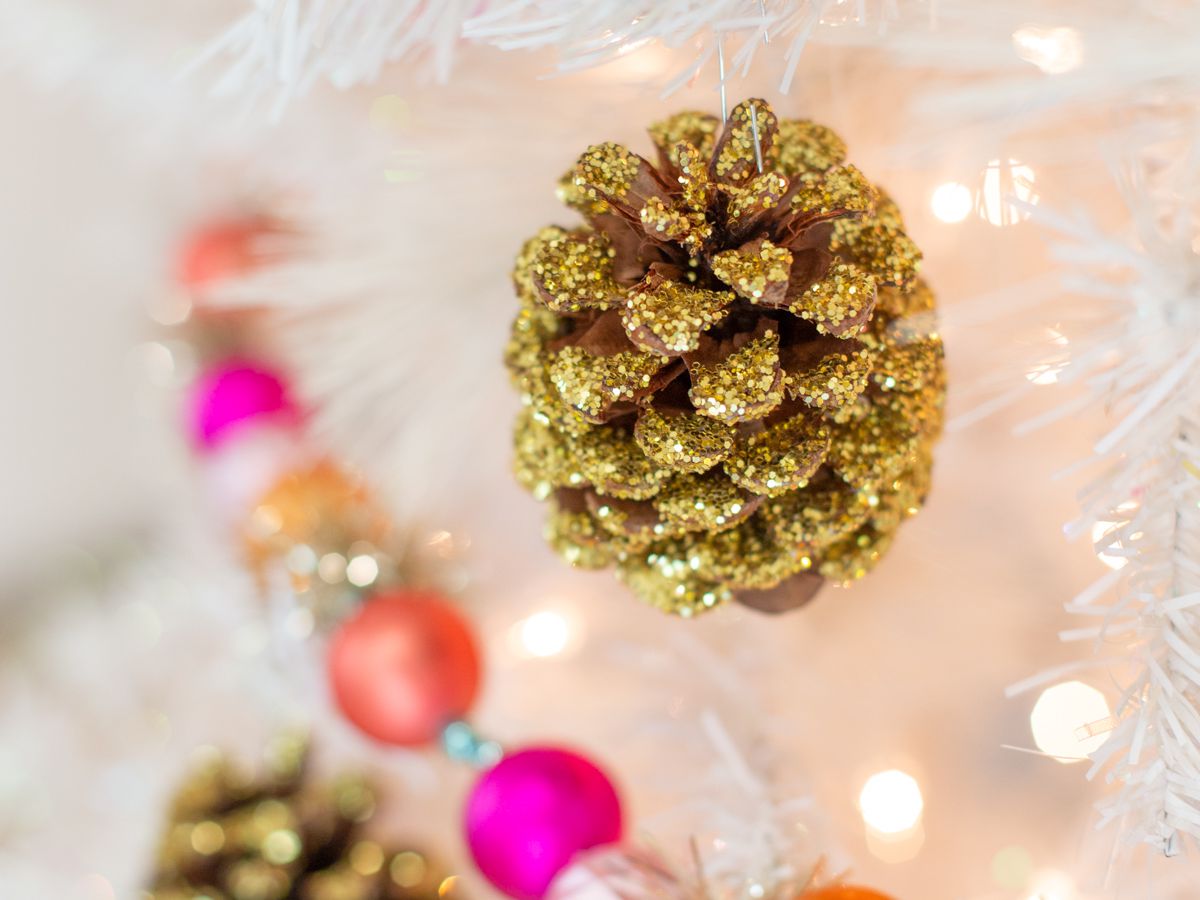
When Christmas is coming, even the domestic walls change their appearance to welcome this magical period full of warm and welcoming atmosphere. About this then they enter the scene the Christmas tree e the different Christmas decorations to make you feel like Christmas everywhere in the house.
Self However you care that every year your house looks different, there is not any need to spend as much for buy different decorations, because you can accomplish something you too with DIY and creative recycling. you can for example create different Christmas decorations with pine cones, a bit of imagination and some necessities. Then you will see that the results you will get will be really satisfying and you will not even notice that they are homemade decorations.
Read also: Christmas decorations with pine cones: 15 brilliant ideas
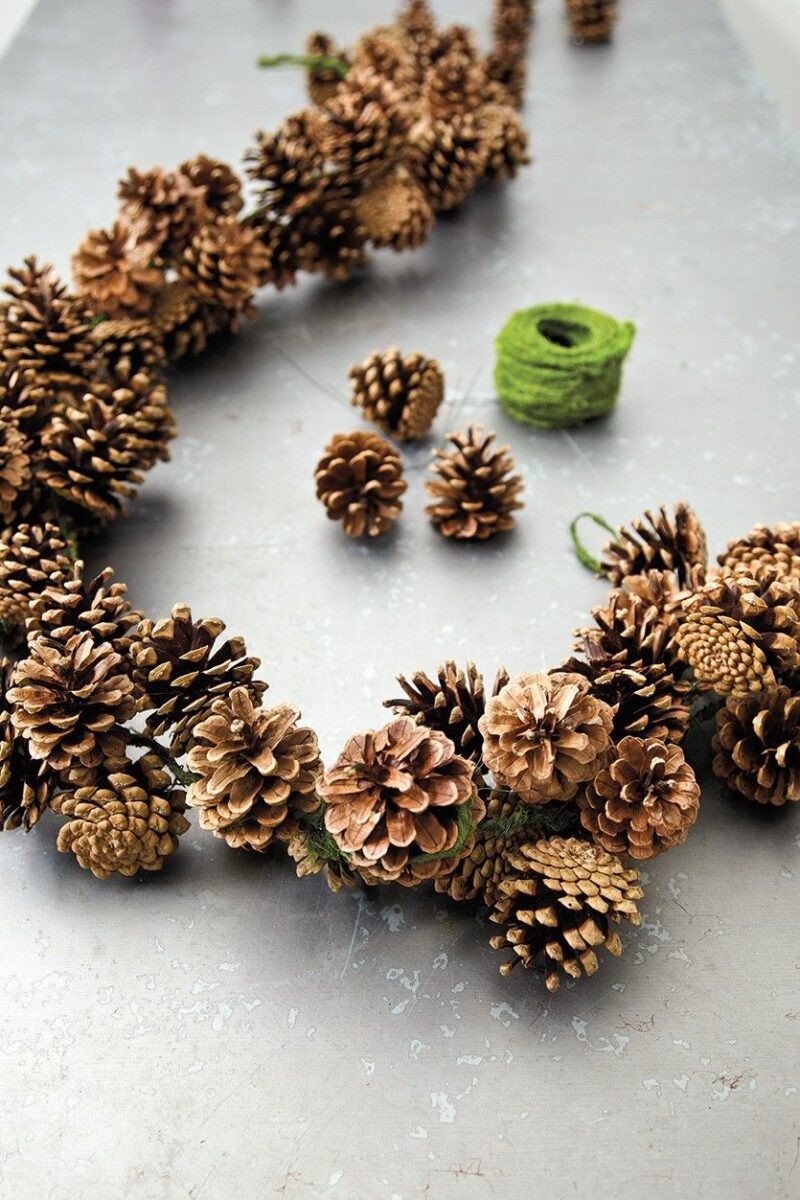
1. A wreath of pine cones
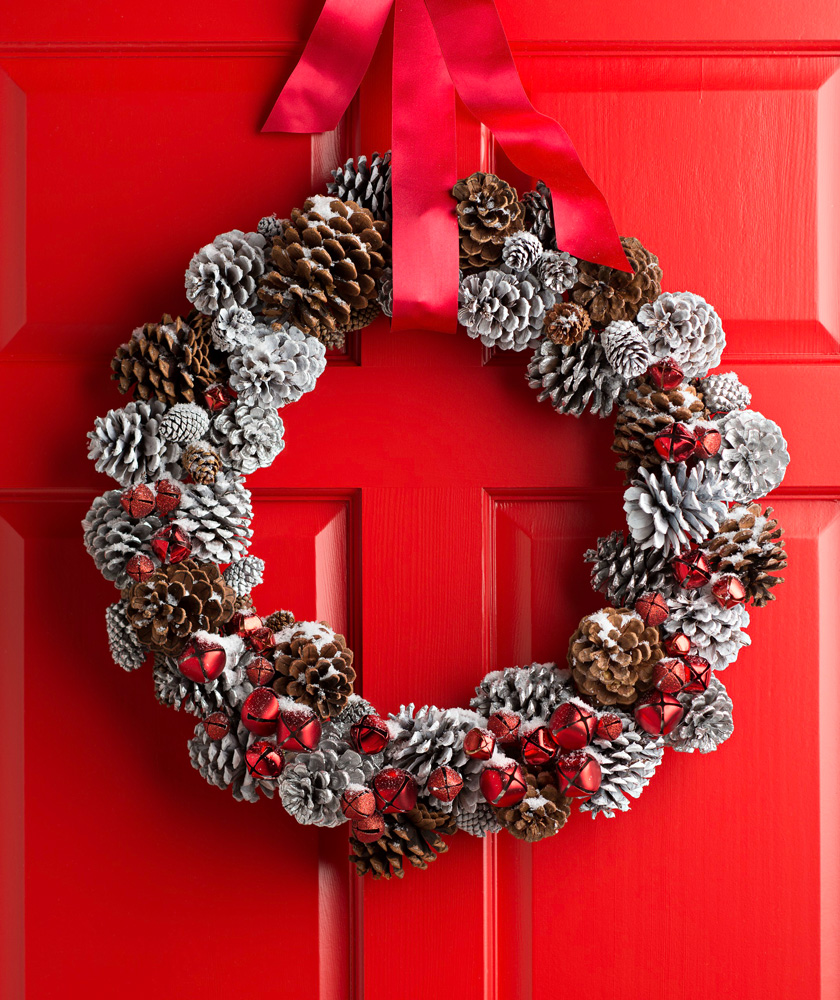
The wreath is one of the most common Christmas decorations with which to decorate the house as much as the Christmas tree, so having one at home would really be a Christmas touch that could make a difference.
Though, why have a classic pine needle wreath, if you can have an original one to realize with pine cones? In fact, you can make one in a few minutes and with few needed:
- pine cones
- cardboard or cardboard a2 or a1 (depending on the size you want to give the garland)
- a red silk ribbon a couple of centimeters thick
- fake spray snow
- red bells (or the color you prefer)
- hot glue.
- Let’s start with making the base for your wreath. Take the cardboard and draw a great circle how much the size of the garland you want to get and cut.
- Calculate the thickness of the garland you want, for example 6 cm, draw another circle inside it then smaller and size. At this point you will have a circle with a hole in the center, similar to a donut with a hole!
- At this point you can decide if to leave the pine cones of their natural color, or sprinkle them with fake snow. We recommend that you leave them some natural and others with the snow effect, to get a more particular look.
- Support the pine cones along the entire circle starting from the inside out, in order to understand how many pine cones you will need and how you would like to arrange them for an optimal result. When you are satisfied with the aesthetic of the wreath, with hot glue, make the pine cones adhere to the cardboard until all free spaces are filled.
- The work is almost done, only the last details are missing. Place the doorbells here and there, maybe where there is some small empty space left, and paste with hot glue again and make it adhere well.
- Now you just have to take the red ribbon, pull it through the circle and make a nice bow. Hang the wreath on the front door and your job is done.
2. Cute characters to decorate with
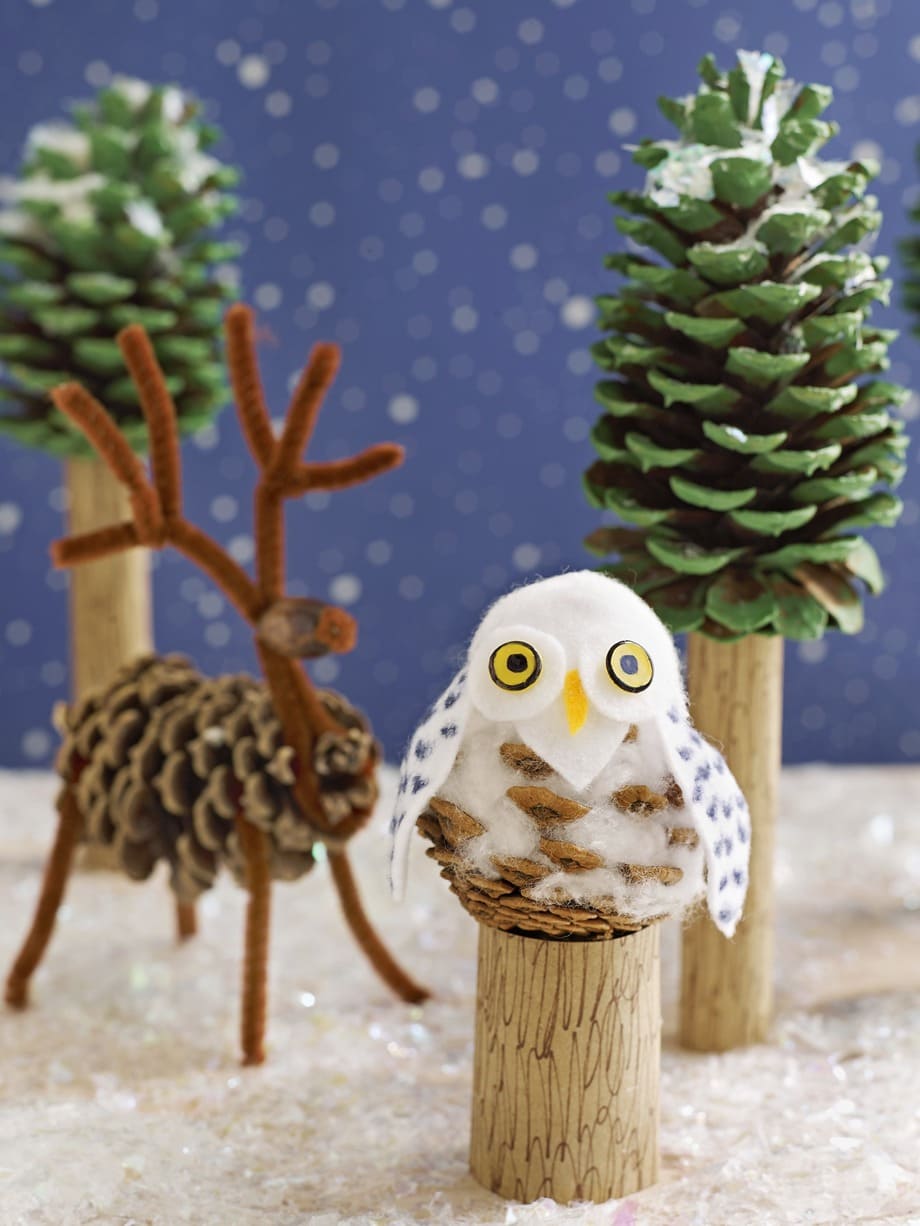
Pine cones are very versatile materials and you can create some very funny decorative objects, such as some nice characters with which to decorate the top of the fireplace, enrich your centerpiece or a shelf in the living room. In fact, you can make an owl, a tree or even a reindeer. It sounds difficult, but it’s nothing that complicated.
The pine cone tree
To make the tree you will need it:
- green tempera color
- a pine cone
- a brown card
- hot glue.
Paint the pine cone green and let it dry for good.
Cut a rectangle out of the construction paper, and paste the two ends to make a cylinder.
You may be interested in: Traditional and innovative Christmas decorations
Now pour hot glue along the top of the cylinder and lay down gently the pine cone to make it adhere. Now your tree is ready, and you can also use it to create a kind of Christmas landscape by adding the other characters that we describe later.
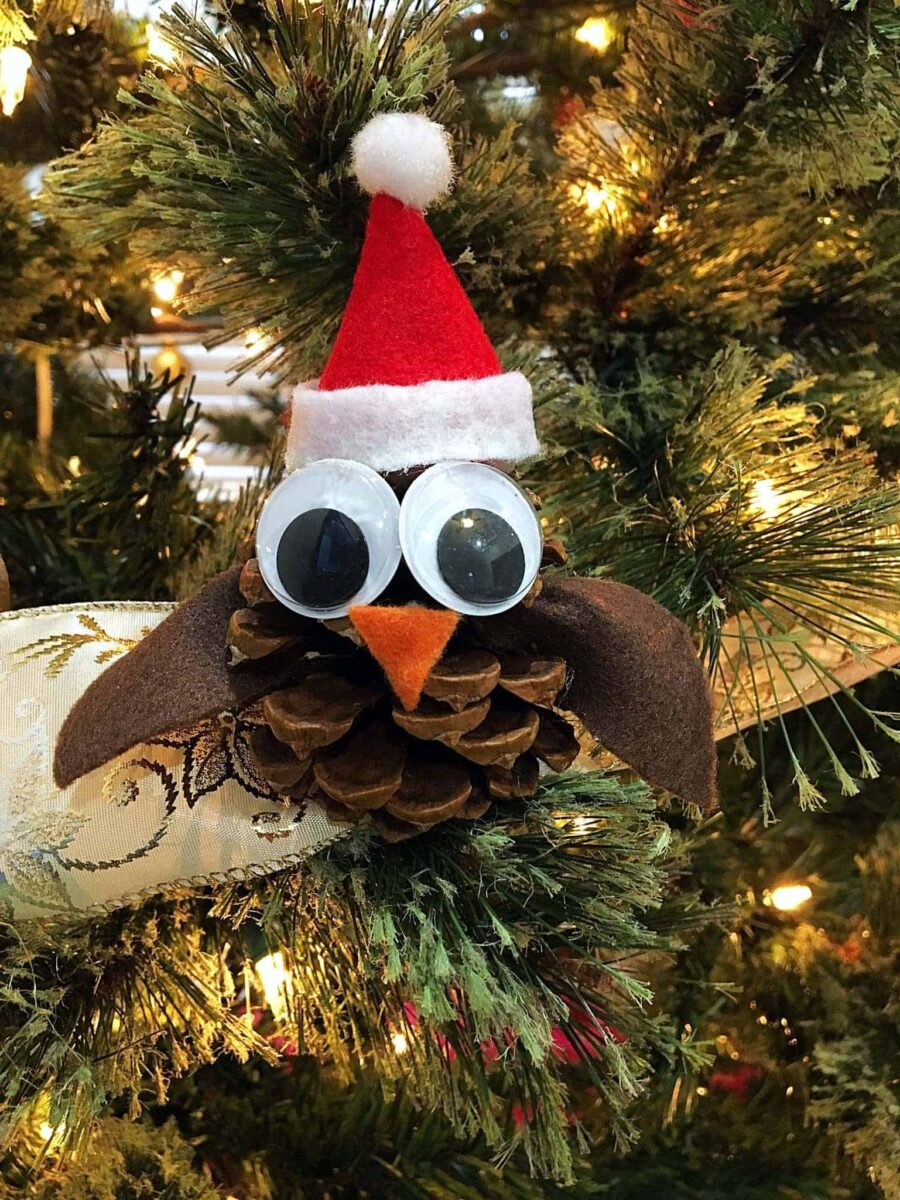
A nice little owl
To make the owl with the pinecone you can use two different methods depending on the look you want to give to your character, then with white felt for a white owl or with brown felt to have an owl with wings in the color of the pine cone.
With this small tutorial we’re going to make an owl with eyes large stickers, otherwise you can use felt to make them as you like.
Do you want design advice on how to furnish? Join the group
To make the owl you will need them:
- a pine cone
- 2 adhesive googly eyes
- red, white, orange and brown felt
- hot glue.
Draw a small triangle on the orange felt which will become the owl’s beak. With red felt make the drawing of a semicircle, paste the two ends to join them e so you will get a cone. At this point it will be enough for you draw a white rectangle to glue around the cone is so you will have obtained the hat of the owl, to which you can then add a small pompom on top.
Now that you have all the pieces ready, you can finish the job gluing each piece in place, plus sticky eyes and the owl made with the pine cone, is ready.
3. A mini tree decorated
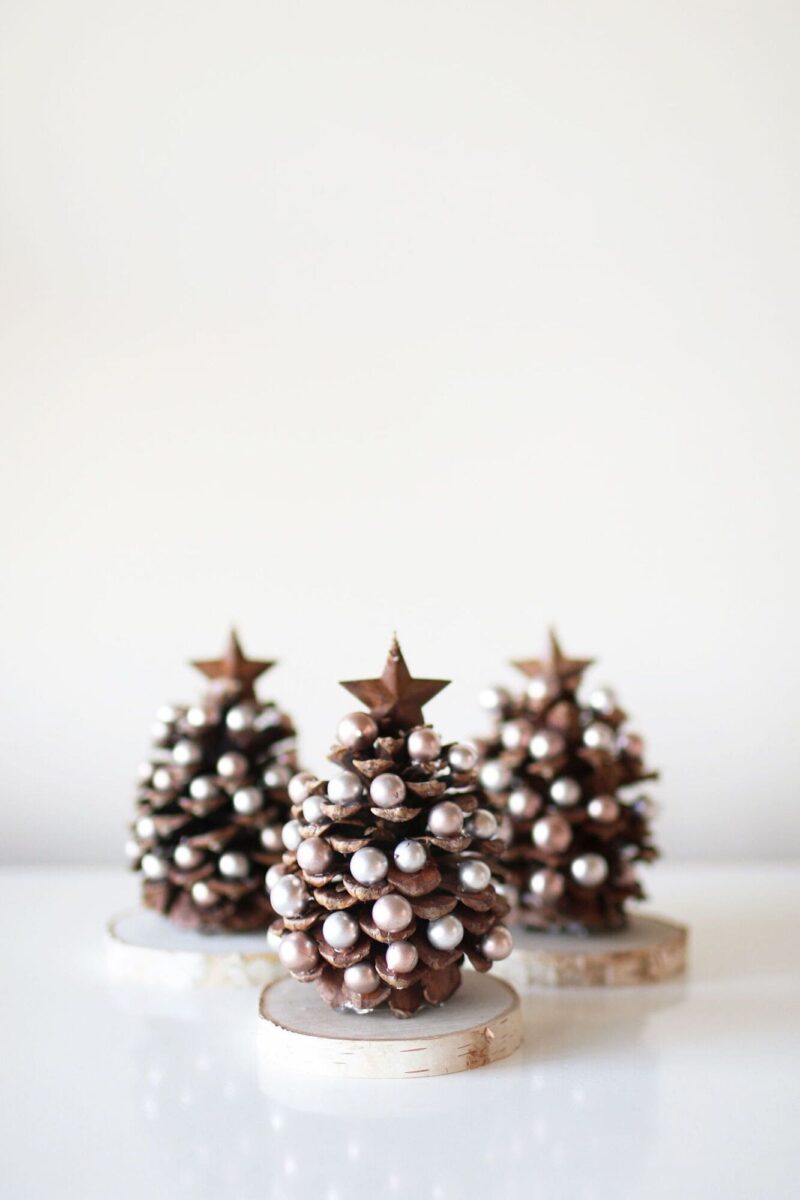
A small tree decorated with which to enrich a bare shelf in the living room it could be a perfect Christmas decoration.
To create one you will need it:
- a pine cone
- 1 wooden disk
- fake pearls
- hot glue
- a pendant in the shape of a star or a star to be created with cardboard.
Apply to each end of the pine cone, a fake pearl with hot glue, up to enrich each “plane” of the pine cone as if they were the balls of a Christmas tree.
Now that the tree is ready, then put a dot of glue on the wooden disk and lay the pine cone pushing hard to fix it. On the end of the pine cone glue the star and your mini pine cone tree is ready.
3 Christmas decorations with pine cones: pictures and photos
Making small creations that will become your Christmas decorations is not that complicated. All you need is a few pine cones and a little imagination and that’s it.
What to invent this year to give some novelty with Christmas decorations? You can try to make some using pine cones and a few others needed, to get original and creative decorations for your home.

When Christmas is coming, even the domestic walls change their appearance to welcome this magical period full of warm and welcoming atmosphere. About this then they enter the scene the Christmas tree e the different Christmas decorations to make you feel like Christmas everywhere in the house.
Self However you care that every year your house looks different, there is not any need to spend as much for buy different decorations, because you can accomplish something you too with DIY and creative recycling. you can for example create different Christmas decorations with pine cones, a bit of imagination and some necessities. Then you will see that the results you will get will be really satisfying and you will not even notice that they are homemade decorations.
Read also: Christmas decorations with pine cones: 15 brilliant ideas

1. A wreath of pine cones
The wreath is one of the most common Christmas decorations with which to decorate the house as much as the Christmas tree, so having one at home would really be a Christmas touch that could make a difference.
Though, why have a classic pine needle wreath, if you can have an original one to realize with pine cones? In fact, you can make one in a few minutes and with few needed:
- pine cones
- cardboard or cardboard a2 or a1 (depending on the size you want to give the garland)
- a red silk ribbon a couple of centimeters thick
- fake spray snow
- red bells (or the color you prefer)
- hot glue.
- Let’s start with making the base for your wreath. Take the cardboard and draw a great circle how much the size of the garland you want to get and cut.
- Calculate the thickness of the garland you want, for example 6 cm, draw another circle inside it then smaller and size. At this point you will have a circle with a hole in the center, similar to a donut with a hole!
- At this point you can decide if to leave the pine cones of their natural color, or sprinkle them with fake snow. We recommend that you leave them some natural and others with the snow effect, to get a more particular look.
- Support the pine cones along the entire circle starting from the inside out, in order to understand how many pine cones you will need and how you would like to arrange them for an optimal result. When you are satisfied with the aesthetic of the wreath, with hot glue, make the pine cones adhere to the cardboard until all free spaces are filled.
- The work is almost done, only the last details are missing. Place the doorbells here and there, maybe where there is some small empty space left, and paste with hot glue again and make it adhere well.
- Now you just have to take the red ribbon, pull it through the circle and make a nice bow. Hang the wreath on the front door and your job is done.

2. Cute characters to decorate with
Pine cones are very versatile materials and you can create some very funny decorative objects, such as some nice characters with which to decorate the top of the fireplace, enrich your centerpiece or a shelf in the living room. In fact, you can make an owl, a tree or even a reindeer. It sounds difficult, but it’s nothing that complicated.
The pine cone tree
To make the tree you will need it:
- green tempera color
- a pine cone
- a brown card
- hot glue.
Paint the pine cone green and let it dry for good.
Cut a rectangle out of the construction paper, and paste the two ends to make a cylinder.
You may be interested in: Traditional and innovative Christmas decorations
Now pour hot glue along the top of the cylinder and lay down gently the pine cone to make it adhere. Now your tree is ready, and you can also use it to create a kind of Christmas landscape by adding the other characters that we describe later.

A nice little owl
To make the owl with the pinecone you can use two different methods depending on the look you want to give to your character, then with white felt for a white owl or with brown felt to have an owl with wings in the color of the pine cone.
With this small tutorial we’re going to make an owl with eyes large stickers, otherwise you can use felt to make them as you like.
Do you want design advice on how to furnish? Join the group
To make the owl you will need them:
- a pine cone
- 2 adhesive googly eyes
- red, white, orange and brown felt
- hot glue.
Draw a small triangle on the orange felt which will become the owl’s beak. With red felt make the drawing of a semicircle, paste the two ends to join them e so you will get a cone. At this point it will be enough for you draw a white rectangle to glue around the cone is so you will have obtained the hat of the owl, to which you can then add a small pompom on top.
Now that you have all the pieces ready, you can finish the job gluing each piece in place, plus sticky eyes and the owl made with the pine cone, is ready.

3. A mini tree decorated
A small tree decorated with which to enrich a bare shelf in the living room it could be a perfect Christmas decoration.
To create one you will need it:
- a pine cone
- 1 wooden disk
- fake pearls
- hot glue
- a pendant in the shape of a star or a star to be created with cardboard.
Apply to each end of the pine cone, a fake pearl with hot glue, up to enrich each “plane” of the pine cone as if they were the balls of a Christmas tree.
Now that the tree is ready, then put a dot of glue on the wooden disk and lay the pine cone pushing hard to fix it. On the end of the pine cone glue the star and your mini pine cone tree is ready.

3 Christmas decorations with pine cones: pictures and photos
Making small creations that will become your Christmas decorations is not that complicated. All you need is a few pine cones and a little imagination and that’s it.
